Search the Community
Showing results for tags 'lines'.
Found 15 results
-
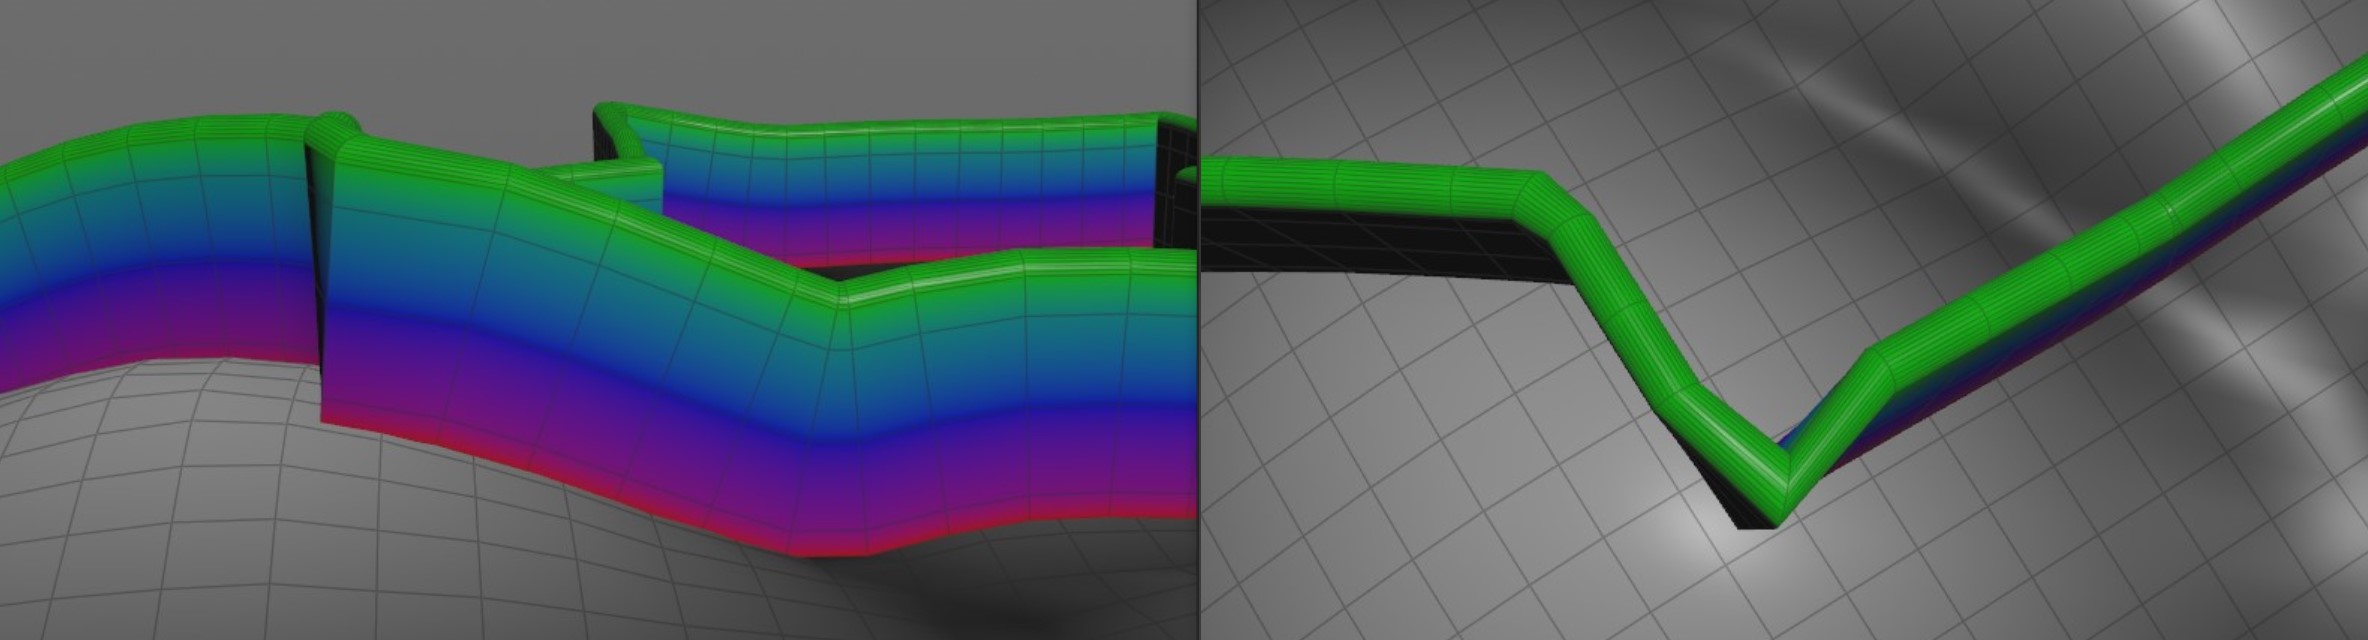
I'm snapping a path along a terrain and then using that path in a sweep node as a backbone curve to generate a wall. The problem I'm running into is that the sweep is following the tangent of the terrain normals and creates a warped look in the corners that's accentuated with increased height. I tried to correctly orient the cross sections in the sweep node by using an orientalongcurve node with the snapped path in input 1 and the pre snapped path transformed higher in y for input 2. That works more or less for the longer portions of the wall but still results in warped corners. Since this is a wall and not a roller coaster, is there a way to force the cross sections to always be oriented straight up in y while still following the snapped path around the terrain? My assumption is that this would fix the corner issue, but I'm very new to Houdini so I may be going about this all wrong. Any help would be very appreciated.

-
Hey guys, I'm watching this talk by Will McNeil, he created a great oil painting setup that I'm trying to study it. He made clusters from a image, then traced and made lines inside, I'm struggling in this step, to get the trails inside the contour: Here's his talk if anyone want to checkout: Any help to get these contour lines inside will be super helpful Thanks!

-
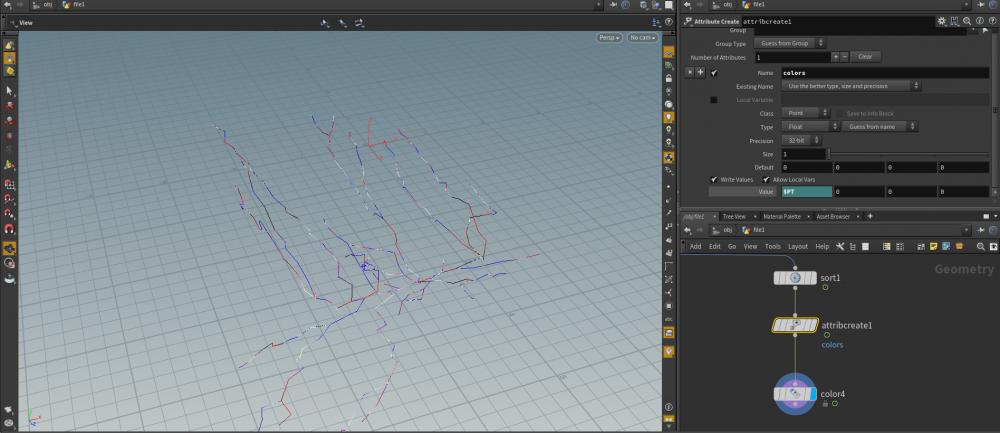
Hey everyone, does anyone know how to split the lines up into different colours being animated with shortest path and a carve node? This is what i've got so far, but the different colors aren't following lines
-
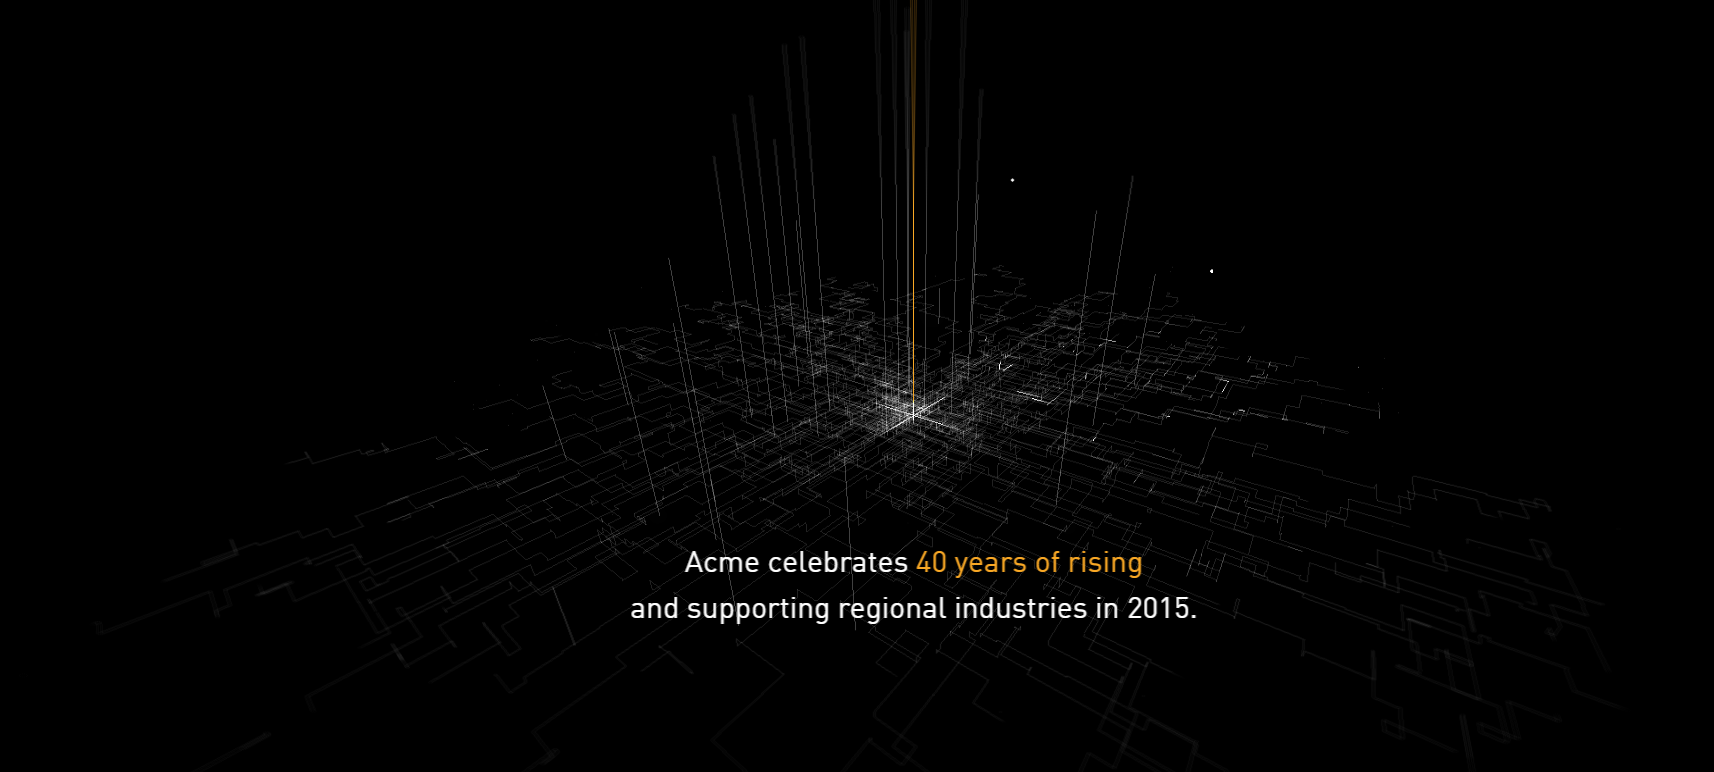
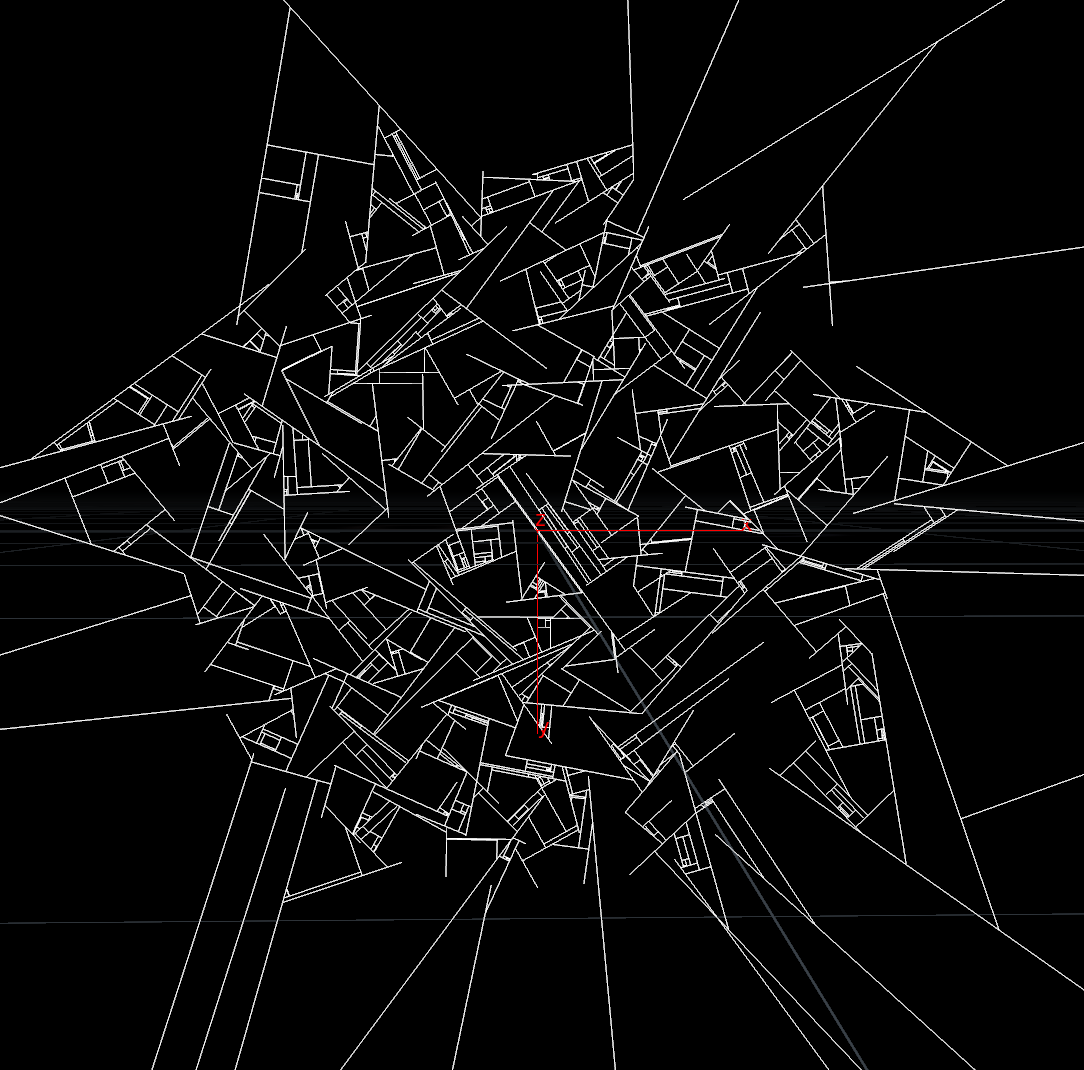
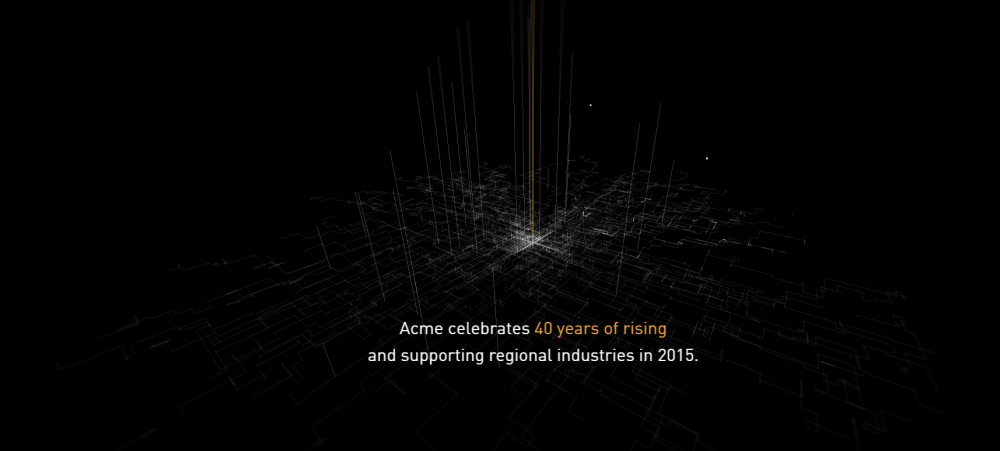
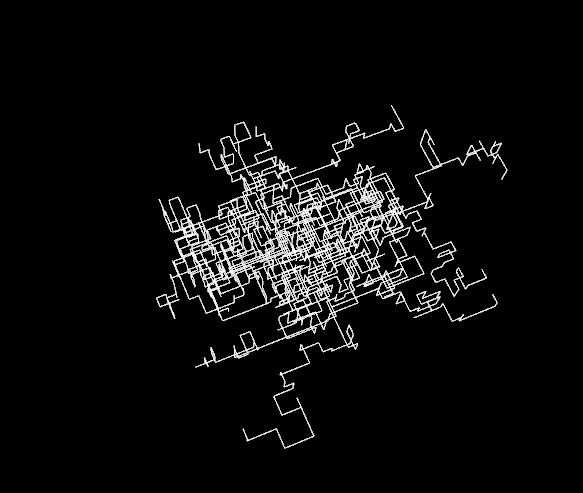
Hey, I am trying to reproduce this kind of structure that we can see on this website : http://acme-experience.com/ (under the menu in the bottom left corner). So far I manage to create polylines between points of a grid (pic. 2). But I think this is not the way to go for this effect. Because my polylines have always the same size and they don't seems to come from the center to the outer as much as in the example. I am not so far though but if u have any idea on how I could improve it let me know I am stuck since a day on it... You can find my project file linked if it is helpful. Thank you for reading, And as always take care drawRectLines.hip
-
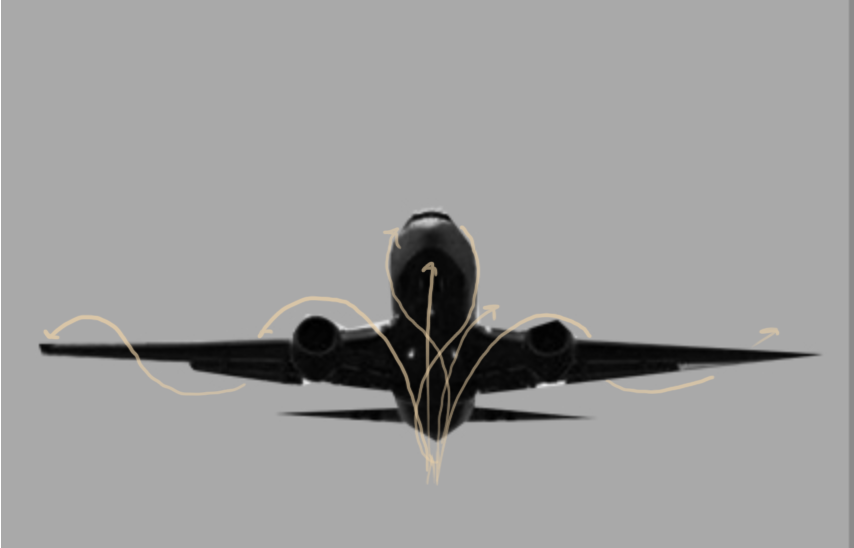
Hey magicians, I'm trying to figure out the best approach to make something like this, idea is having some lines that came from back and try to catch the airplane flowing around it with a nice flowy motion: So far I tried having some pop emitter at the back, and using attractor / collider to get the particles flow in that direction, with no luck. I also did some manual curves to use with curveforce but i'm trying to make it more procedural, avoiding manual curves. I also played a bit with find shortest path, wich is the closest, but wanted to make something in pops to get more flowy movement. Here are some frames of what I get with shortest path: Any thoughts or ideas will be super helpful, feeling stuck here. Thanks!
-
Hi guys, I would love to recreate these 2 effects from Michael Rigley I would love to know how to make the one below first. it looks simple and bautiful. https://player.vimeo.com/video/301087373?app_id=122963&wmode=opaque&autoplay=1 and so far I created this .Hip pelotitas.v01.hip Any idea, tip, tutorial, help with this subject comes in handy Thanks a lot


-
Hi, I'm running into a little issue where I'm trying to randomize colors over bunches of lines. Basically what I'm doing is making a small bunch of lines, say 6 close to each other. Then I copy that bunch over a distance around 500 times. (See attached file) After I divide all the lines into 3 groups with group by expression and I assign a different color to each group. However this splits up All the lines created, what I want is to randomize by initial bunch so each bundle of 6 lines has a mix of the three colors. What happens now that I want to avoid is the possibility of 1 "Bunch" being 99% one color which can happen working with this many lines. Doing the group split before copying and transforming will give me the exact same randomization thus giving you a repeating pattern. How would I best go about this? Randomized bunching issue.hip
-
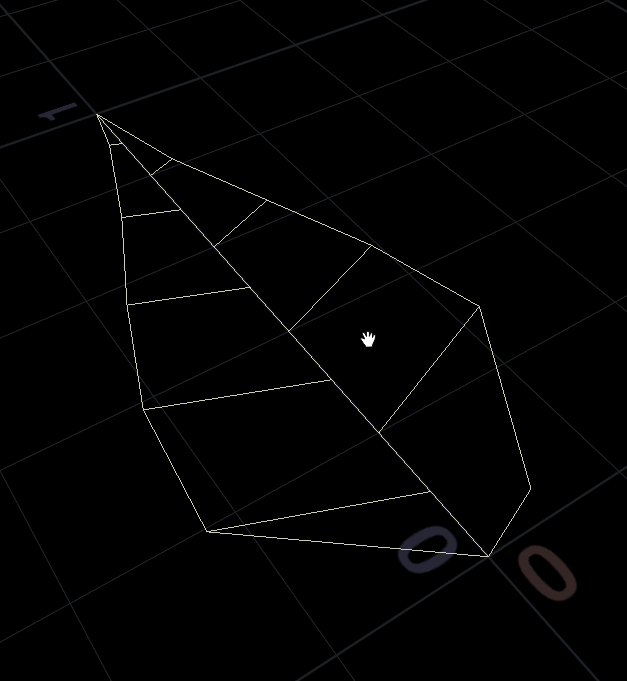
Sup guys, What would be the best way to create a mesh from these lines? Scene file attached Leaf_v0102.hip
-
Hello everyone!! I have seen these organic creations and I have fallen in love <3 How we can do somenthing like this? We need too much VEX code to achieve it? I'm sure that between all of us we can achieve it! Cheers!!!!
-
Hi guys, wonder if anyone could help me. A bit new to Houdini and learning a bit of vex and the solver sop. I followed along with an Entagma tutorial on intersecting lines that build up interesting grid like shapes. Was looking at trying to get all the point movements to move non-linearly instead of in straight lines. I figured instead of of just giving the points a random initial direction vector, could use sin/cos(time) as the directions within the solver, add a point and a poly line on each frame to get the curved lines, but can't seem to get it working at all. Any help would be much appreciated! attached my hip file from the tutorial straight line setup here. thanks Intersecting_Lines.hiplc

-
Hi Guys, I need a little advice. I am trying to create trails that have a look similar to the image below. My initial thought was to scatter points on a circle with an initial velocity and then advect them through a volume using curl noise...before using an add sop to group by id (Hip file attached). I am having difficulty trying to replicate the look and feel of the trail animation in the video below at 0.24. The trails appear very wispy and almost fluid like. If someone can help point me in the right direction that would be greatly appreciated. Many thanks, Clive Test_Curves.hip
-
 Hello Guys, I am wondering if anyone can help me get my head around a little problem. I have a subdivided mesh being generated with a for each loop, similar to the Entagma setup, with an ends sop set to unroll. I would like to select a point on said mesh then have each point draw a line to its subsequent neighbour, repeating this processes until the whole mesh is formed...creating a kind of growth effect. I would also like to add some randomness to the speed of the connection on a per point basis. Now I have tried to achieve this a few different ways but I just can't seem to pull this off. Any help will be greatly appreciated. Thanks, Clive Growing_lines_between_points.hipnc
 -
Hi guys, I need to export some hair as alembic but it's not as easy as it looks like. I think it need to be converted to geometry first. Do you guys have any idea on how to proceed?
-
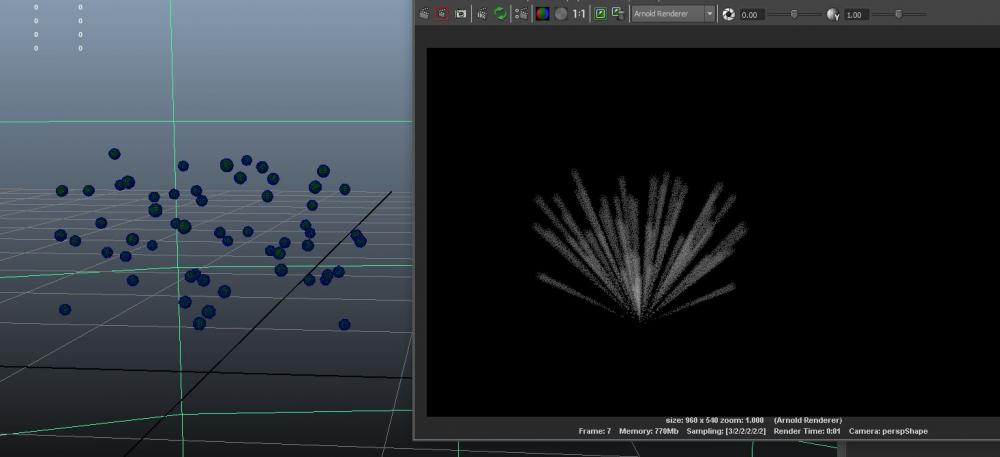
Anyone have this strange problem exporting particles from Houdini to Maya?It doesn't happens on all frames,its just sort of random,some frames render fime if you turn off snapping in timeline and scrub,weird. The render engine its Arnold,i know there is a way to carry the v information in vertex to Maya But this its the only way to avoid this issue? The particles are geo after a copy operator,nothing fancy
-
Hey everyone, I'm slowly starting to learn Houdini and I've had a bunch of help from the forums so I wanted to give back and share a hip that I just finished. It's not the most complicated thing in the world, but I learned a lot while making it, so maybe it'll help someone else out. Feel free to offer any suggestions/improvements on it (especially when it comes to how I coded the vex in the attr wrangles). Mike mb_bezier_plexus.hiplc