Search the Community
Showing results for tags 'qt'.
Found 10 results
-
Modeler 2021 for Houdini Released! Release notes: https://www.dropbox.com/.../Modeler-2021-Release-Notes... Product Link: https://gum.co/mdNet Release video and new video tutorials will be available soon

-
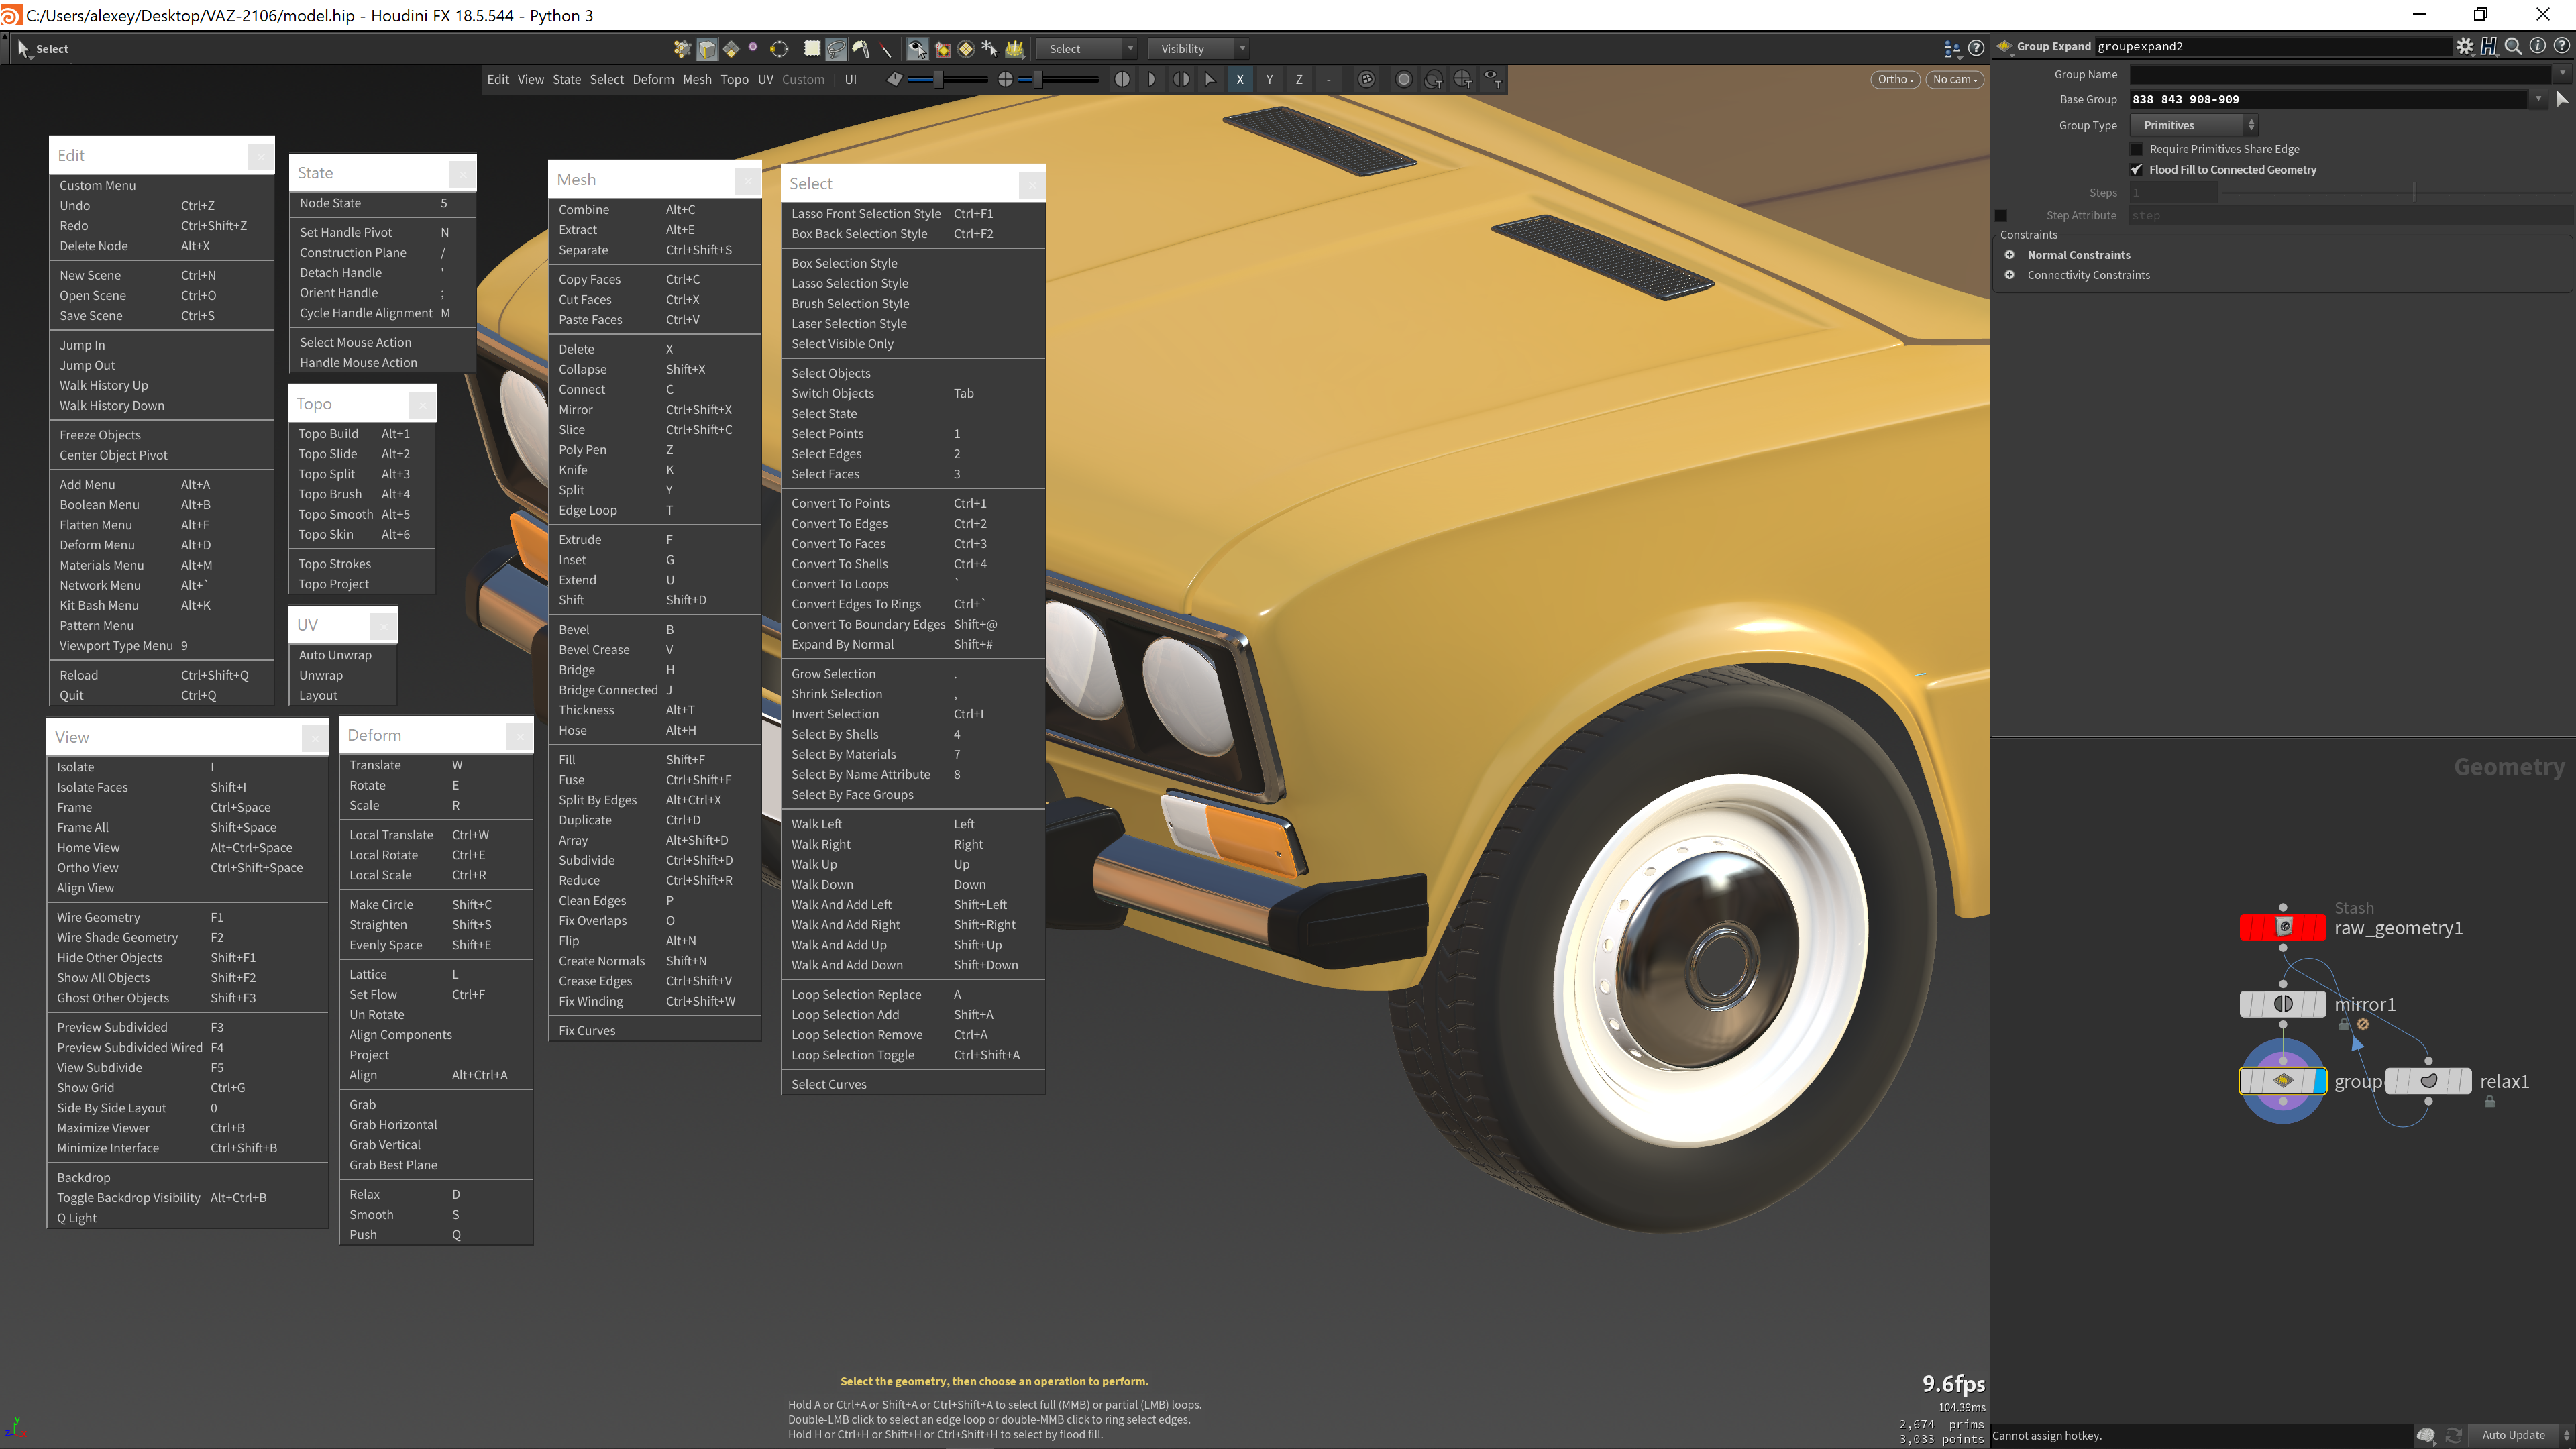
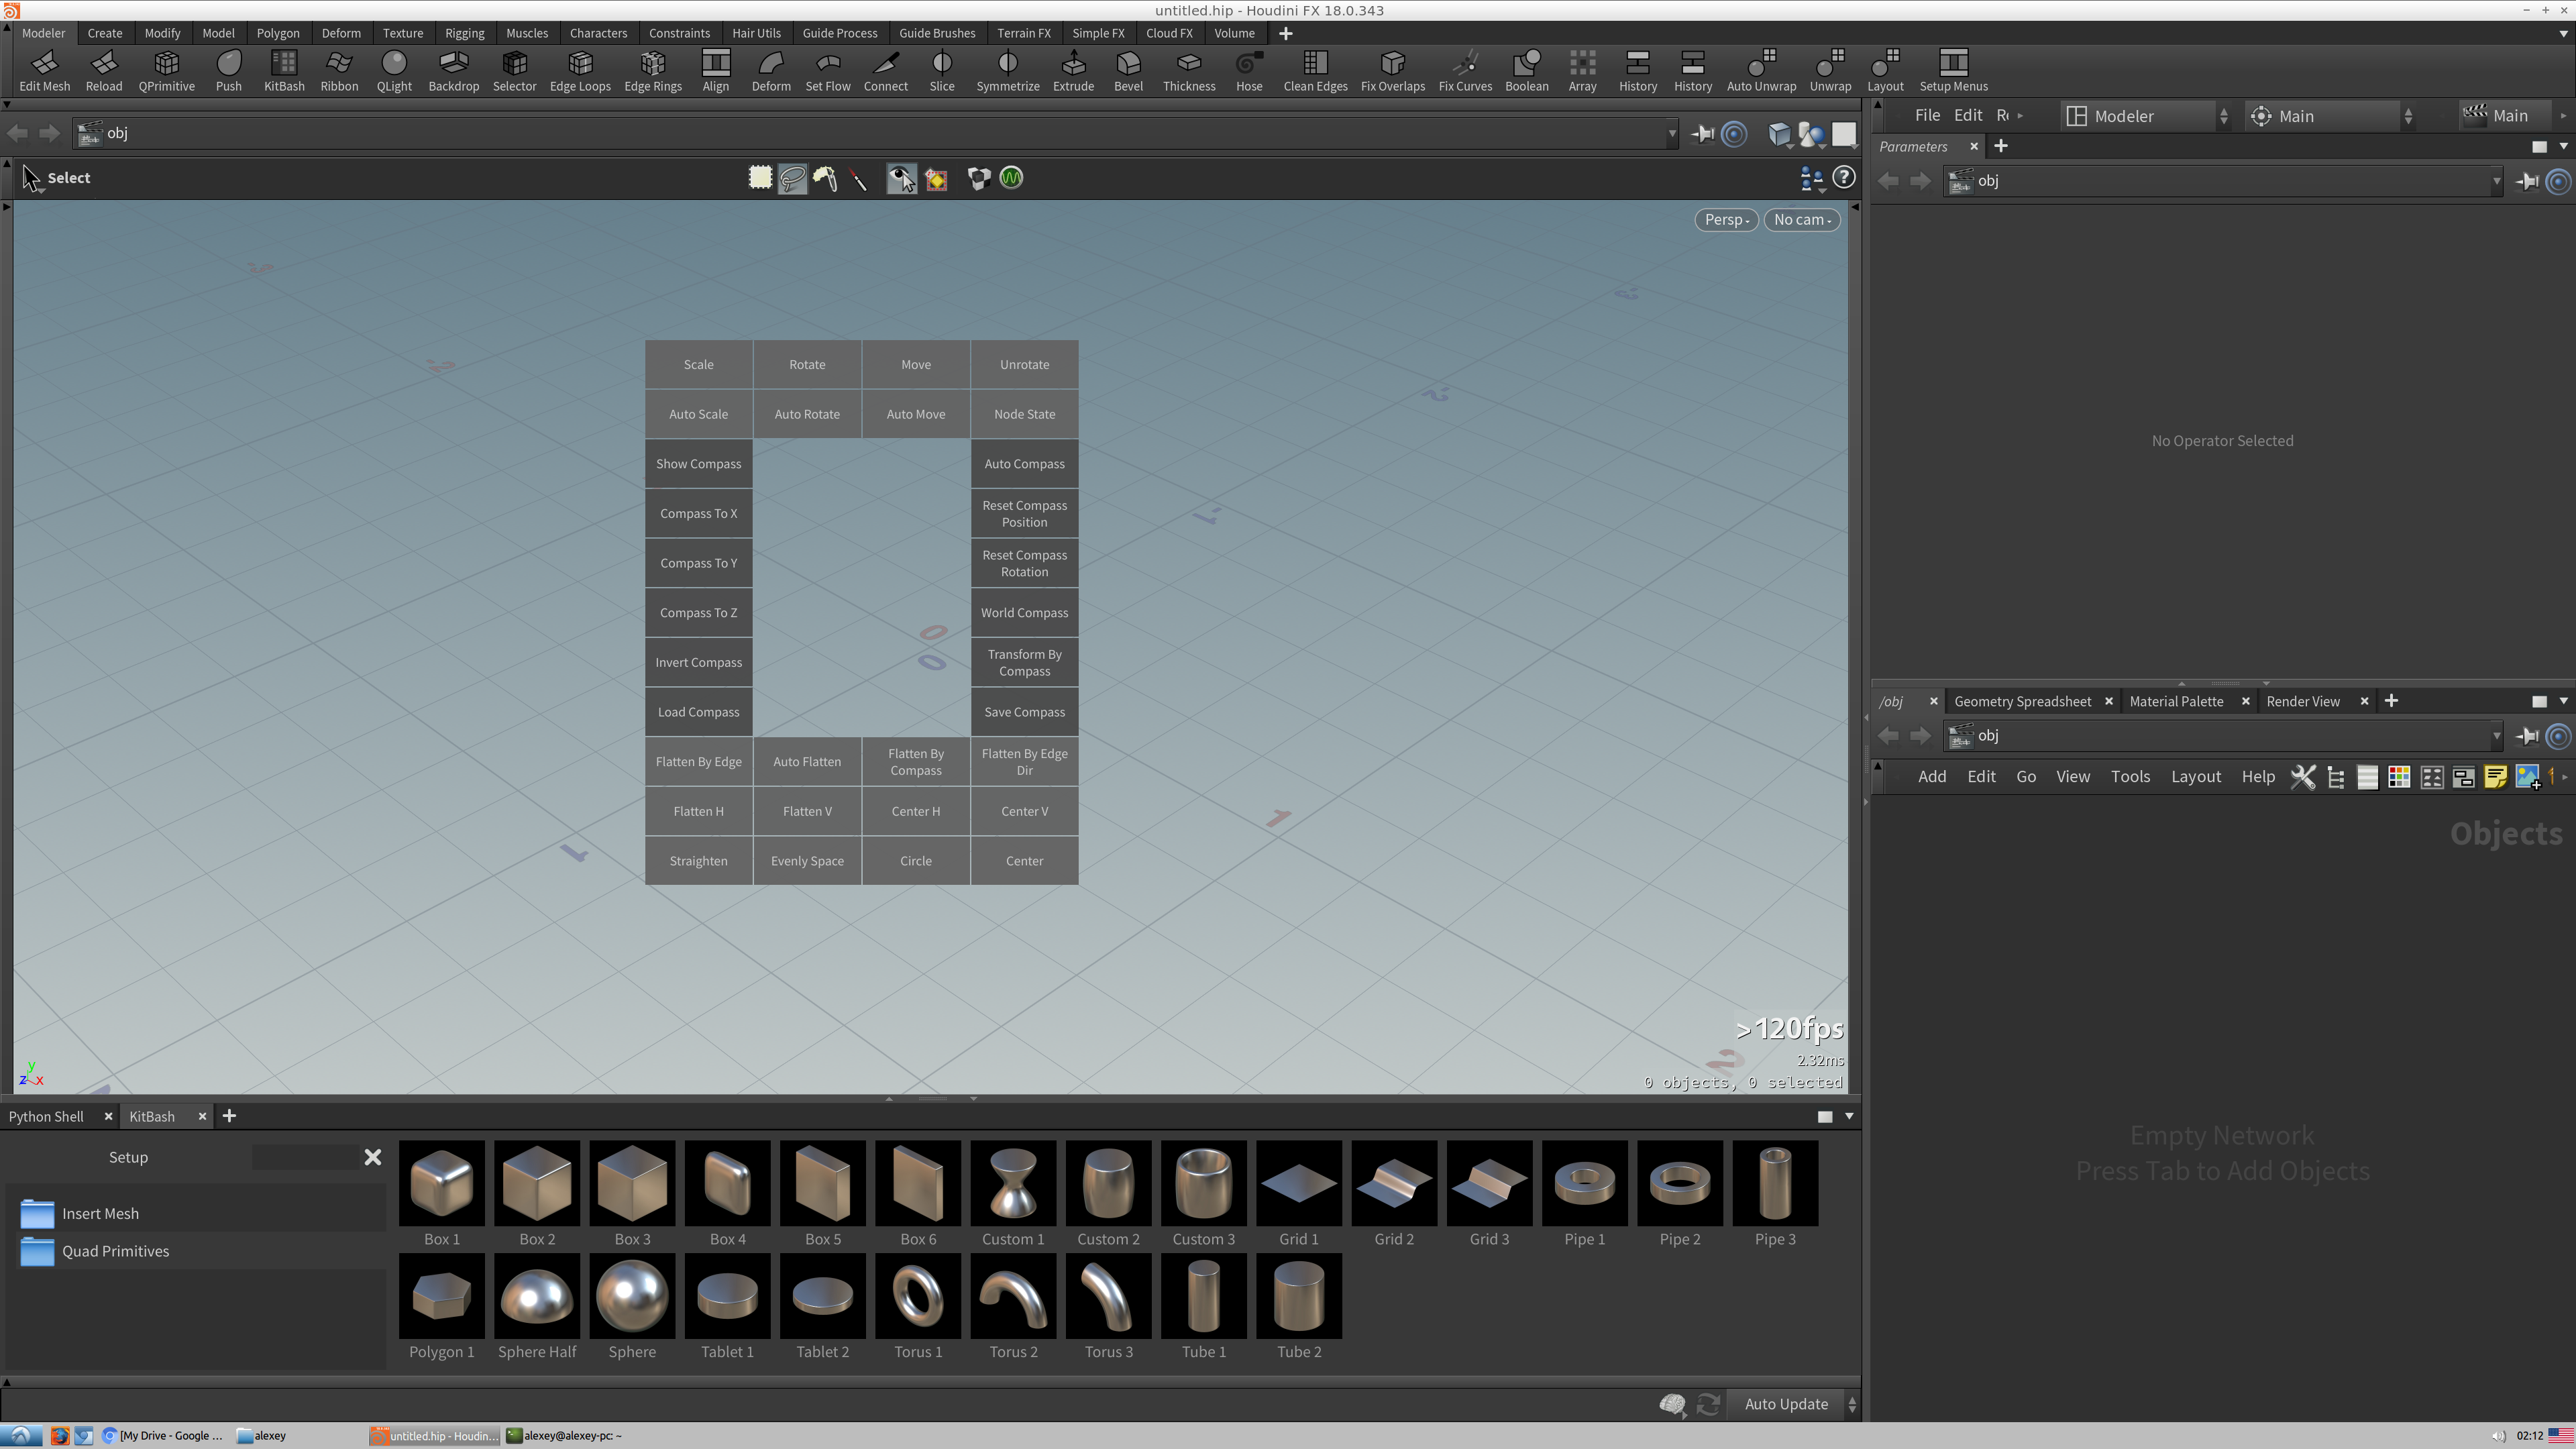
Modeler 1.0 for Houdini released! Free for all the DM 2.* users. $70 for the DM 1.* users. https://gum.co/xKBKM What's new: 1. DM now renamed to Modeler 1.0 2. new feature: the DM menu (Z hotkey) has been replaced with a new alignment menu where you can use tools for fast and accurate transformation. The menu includes the whole set of tools for working with a compass, geometry centring, quick flattening with gestures and many other transformation tools. Use the hotkeys for the tools of the old DM menu. 3. new feature: Deform Menu (N hotkey) with lots of interactive deformation tools including a new Lattice tool 4. new feature: MODELER_PICK_STYLE environment variable allows to override Modeler startup selection pick style. Add it to the houdini.env file. Use "Box", "Lasso", "Brush" or "Laser" values, then restart Houdini. 5. new feature: the hard and soft boolean tools are now combined in a new menu called Boolean (J hotkey) 6. new feature: a Fix Curves tool helps get rid of broken lines in open polygons. This helps when beveling corners of open polygons. 7. new feature: a Select Curves tool helps to select open polygons (curves) in the model 8. improvement: now some tools can create curves and process them. For example, the Extrude tool can produce lines from selected points. The Collapse tool can flatten open polygons (curves). The Connect tool can be used to cut a segment between two selected points or connect two open faces. The Push tool now properly moves points in open faces. 9. improvement: the RMB menu of the Push tool has a new item Toggle Connectivity, which allows you to move points, capturing the points of other closed pieces 10. improvement: the Push tool now works slightly faster 11. improvement: the Push tool can now slide point with Ctrl+MMB 12. improvement: the mouse and keyboard shortcuts of the Push tool have been completely redone 13. improvement: if nothing is selected, the Hose tool searches for all the curves in the current geometry 14. improvement: a Group parm added to the Hose Tool. Can be used in conjunction with a result of the Duplicate tool 15. improvement: Hose now creates straight edges tube if the Resample Curve set to zero value 16. improvement: Geometry Library renamed to KitBash and works only as the python panel 17. improvement: KitBash replace feature now doesn't update the item icon 18. improvement: Tools Panel now has a new category KitBash with tools for working with the library items. Now you can create, save, overwrite and update icons faster, without actually working in the KitBash panel 19. improvement: volatile edge sliding now does not require explicit movement of the mouse pointer to the edges 20. improvement: volatile edge sliding now can be used to slide points and faces 21. improvement: Fix Overlaps can now use face groups 22. improvement: Duplicate applied to edges now creates a curve in the current geometry object 23. improvement: the Resymmetry tool now works slightly better. The Tollerance parameter is no longer saved between nodes (). This allows you to not change the position of the seam points. 24. improvement: mouse wheel manipulation in various tools has been improved 25. improvement: new simple box type has been added to the QPrimitive HDA 26. improvement: Tools Panel now has a more logical structure for faster access to popular tools 27. improvement: the Modeler shelf was fully revisited 28. improvement: the Walk History Up and Walk History Down tools (Up and Down hotkeys) now work more interactively when traveling through nodes with more than one input or output. 29. improvement: the Select By Shells tools was replaced with a new Convert To Shells tool (Ctrl+1) 30. improvement: double-clicking with LMB in the viewport is completely revisited. Now you can jump to objects level by double-clicking LMB in an empty space. Clicking on a geometry allows you to quickly switch between objects. If you are in a certain state, double-clicking activates the selection mode. All these improvements speed up the modeling process. 31. improvement: the deformation tools (Size, Ramp, View) now have the fixed blend feature. The transition between the deformable points and the undeformable part looks more correct. 32. fix: Hose now orients rings copies correctly 33. fix: Slice, Mirror and Cut tools now set correct geometry center on tool activation 34. fix: JumpUp and JumpDown tools does not work when Compass is active 35. fix: QLight now works properly if you run it from the orthographic viewport 36. fix: sometimes camera movement with Alt did not work after a mouse click 37. Lots of tools have changed hotkeys. Look at Tools Panel for more details. 38. Python code has been revisited 39. Documentation has become more detailed 40. Overall speed improvement 41. Other improvements Works only in Houdini 18. Use build >= 18.0.346

-
http://patreon.com/posts/32631275 http://gumroad.com/l/houdinisupercharged In this video I will go through the GUI customizations I did for Houdini 18. So let's get into it.
- 7 replies
-
- 2
-

-
- workflow
- performance
- (and 8 more)
-
As the title suggests, how do you drag and drop Qt data on to a parameter? I was able to use this example as reference. But in my case the i couldn't make the drop event register. The code i have now kinda works, but the dropped text is wierd. What's the right way to do this....could use some help! I'm attaching an example code. from PySide2.QtWidgets import * from PySide2.QtCore import * from PySide2.QtGui import * import hou class TreeWidget(QTreeView): def __init__(self): super(TreeWidget, self).__init__() self.setDragEnabled(True) # def dragEnterEvent(self, event): # print "dragEnterEvent" # event.acceptProposedAction() def mouseMoveEvent(self, event): print "MoveEvent" mimeData = QMimeData() data = (self.selectedIndexes()[0]).data() mimeData.setText(data) drag = QDrag(self) drag.setMimeData(mimeData) drag.exec_(Qt.CopyAction | Qt.MoveAction, Qt.CopyAction) # def dropEvent(self, event): # print "dropEvent" # mime_data = event.mimeData() class Example(QWidget): def __init__(self): super(Example, self).__init__() self.build_ui() def build_ui(self): self.setGeometry(300, 300, 150, 250) self.setParent(hou.qt.mainWindow(), Qt.Window) mainlayout = QVBoxLayout() self.setLayout(mainlayout) self.tree_widget = TreeWidget() self.tree_widget.setRootIsDecorated(False) self.tree_widget.setHeaderHidden(True) model = QStandardItemModel() self.tree_widget.setModel(model) mainlayout.addWidget(self.tree_widget) for i in range(10): parent_item = QStandardItem('Example_{0} \nnew_line_{0} \n '.format(i)) model.appendRow(parent_item) def dragEnterEvent(self, event): event.acceptProposedAction() # def dropEvent(self, event): # print "dropEvent 2" # str = event.mimeData().text() # event.acceptProposedAction() ex = Example() ex.show()
-
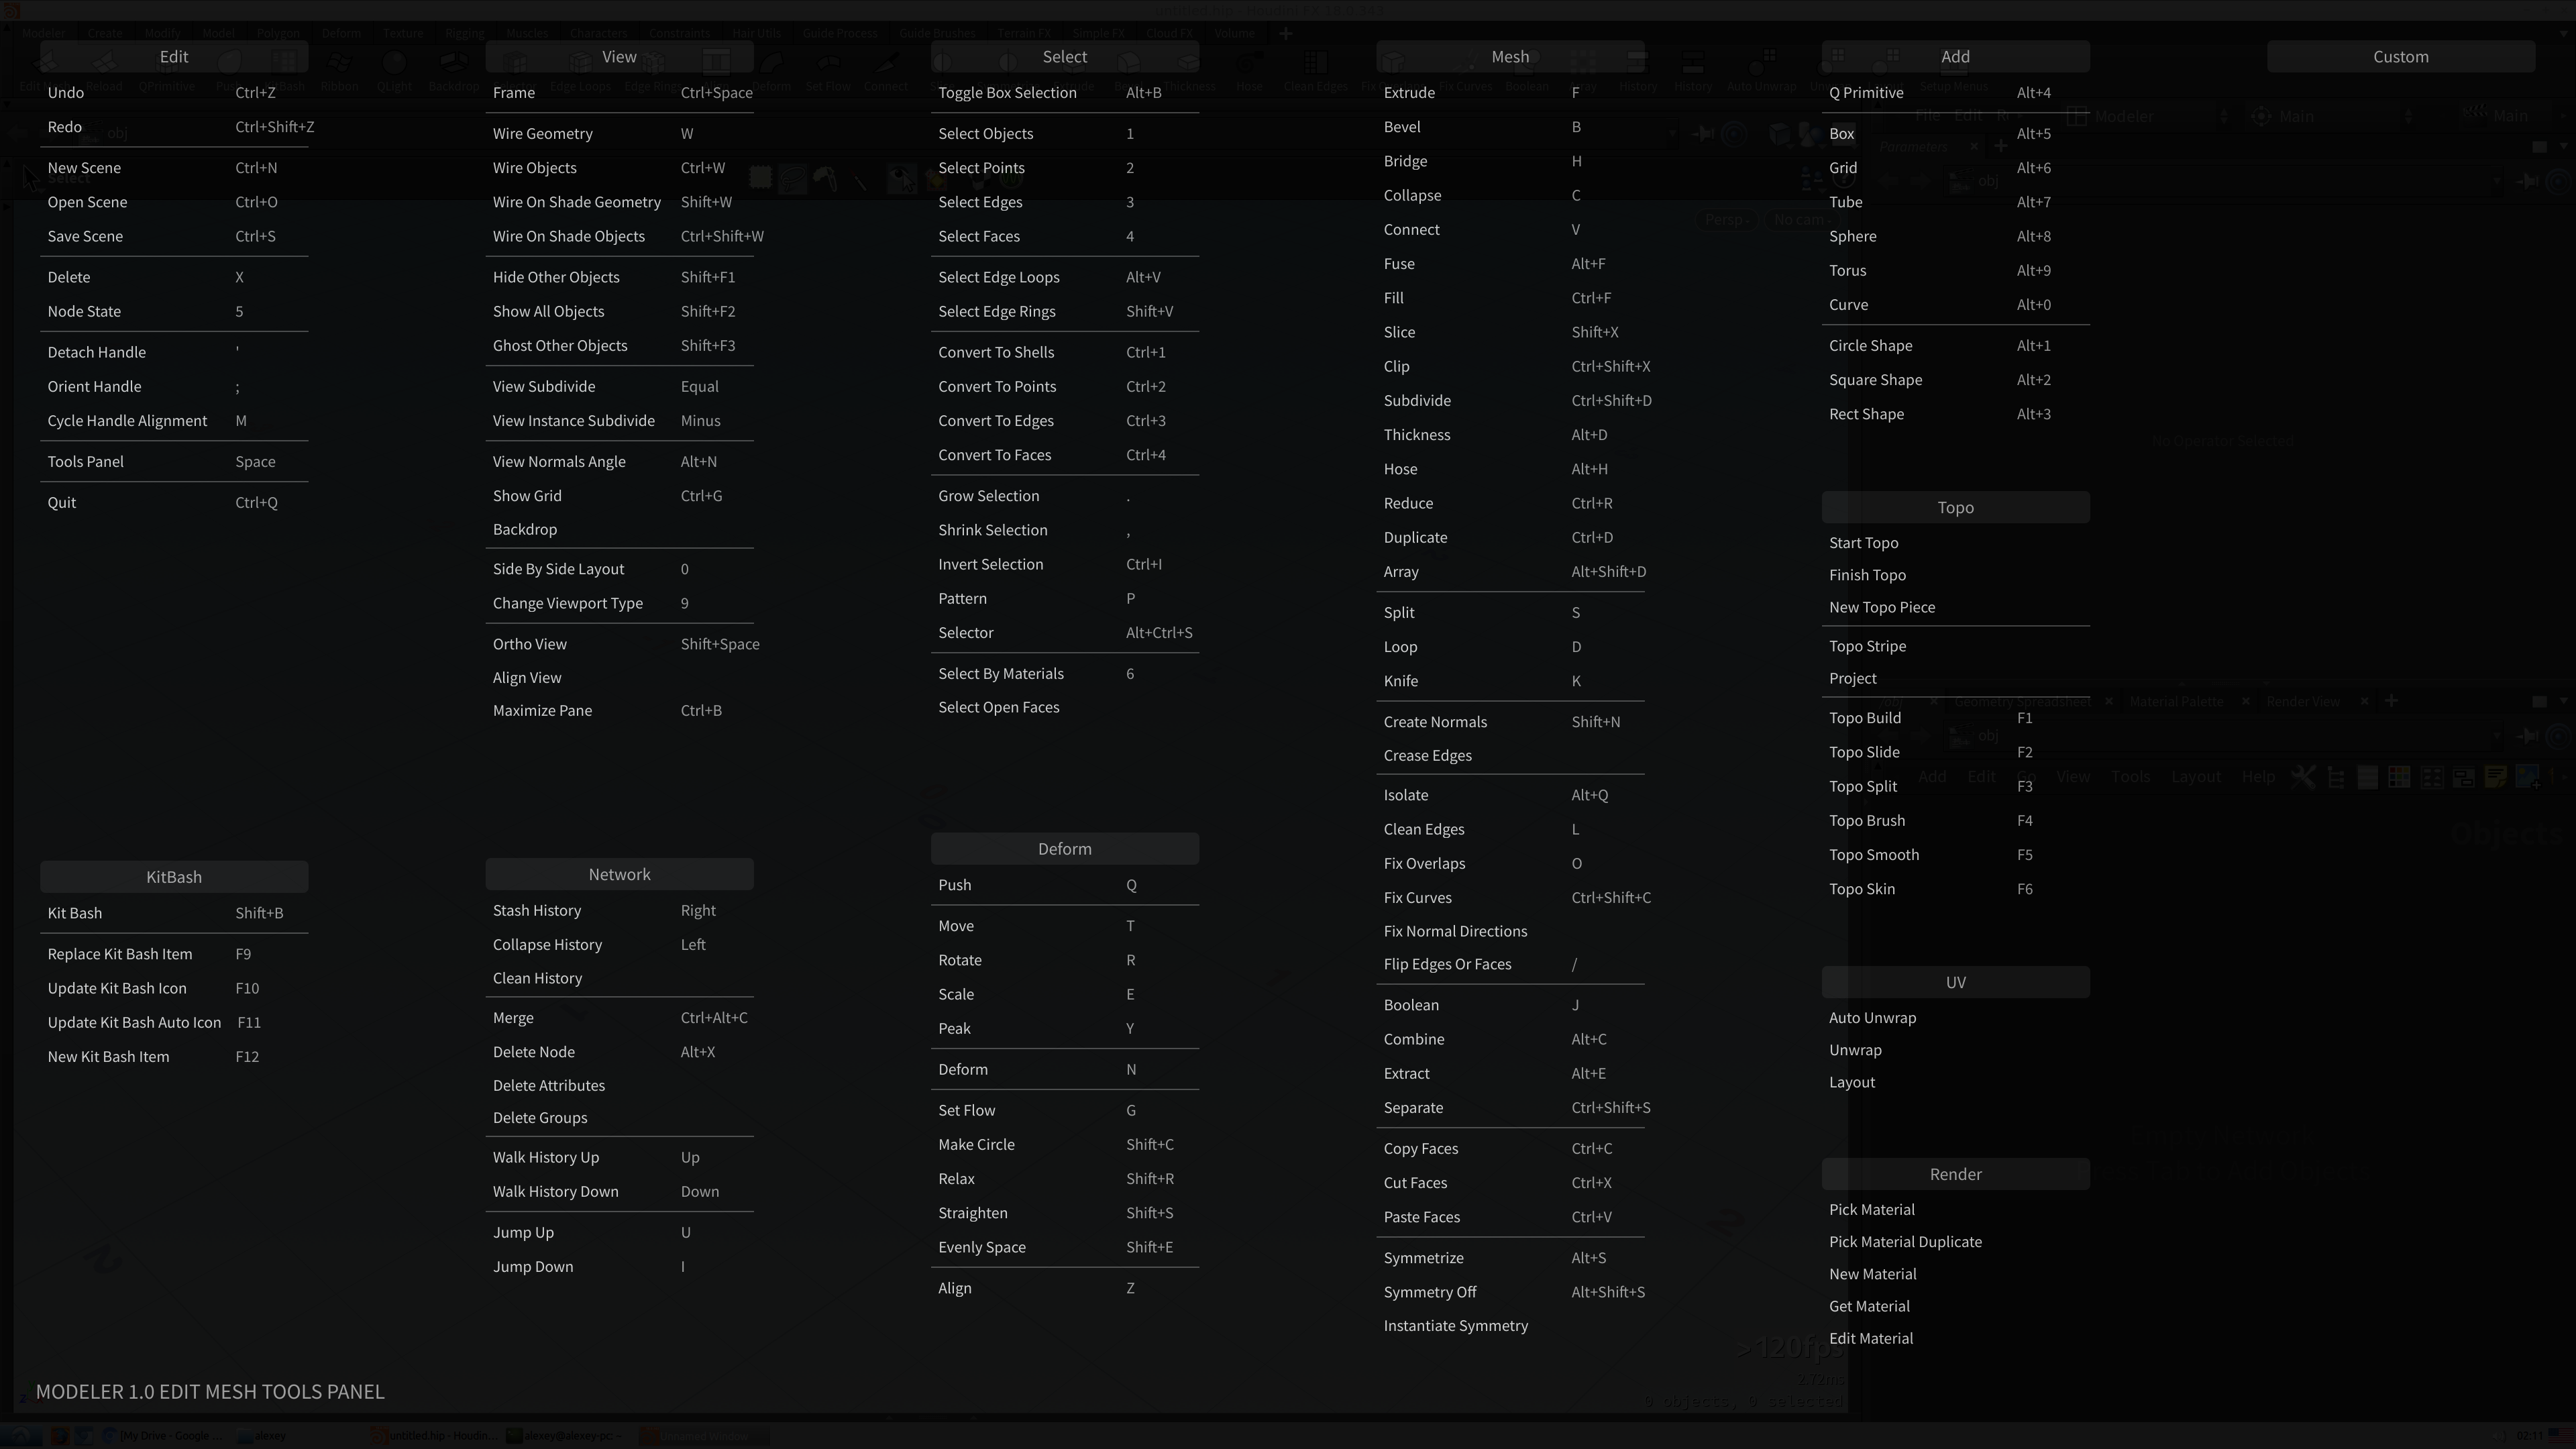
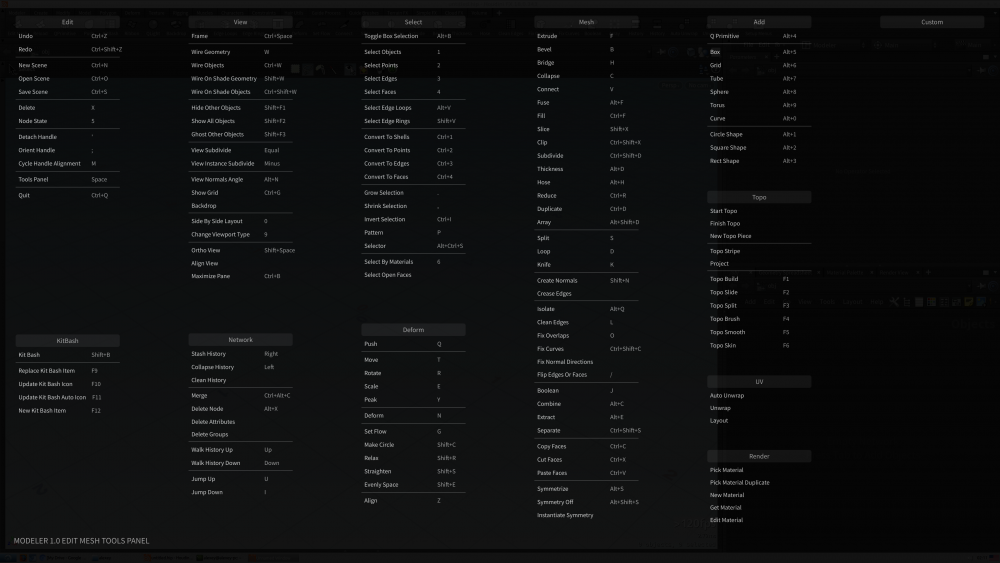
http://patreon.com/posts/33249763 http://gumroad.com/l/houdinisupercharged In this video I will show you some of the inner workings of the context-sensitive rule-based hotkey system that I implemented and one I have been using for a while to speed up my workflow inside Houdini. It's a very light-weight and flexible system that allows an arbitrary number of actions to be assigned to any key, with extensive modifier key and state support (Ctrl, Shift, Alt, Space, LMB, MMB, RMB, selection state). It's deeply integrated into the overlay network editor workflow.
-
- 5
-
-
- optimization
- walkthrough
- (and 11 more)
-
Hi everyone, I wonder if someone has already succeed to load a .ui file made with qtdesigner, but the particular case is that .ui file is inside a HDA in Extra Files. I've tried with opdef but it seems to be not working. the command I used was QUILoader().load(path.ui) (and it's working if the .ui file is on disk) Thanks to all
-
Hello everyone, i´m writing a tool in Pyside and i can´t figure out how to set the color of the individual cells in a QTableView. Here is an example, which demonstrates the problem: from PySide import QtCore, QtGui import hou class cellColor(QtGui.QDialog): def __init__(self): QtGui.QDialog.__init__(self) self.resize(297, 174) self.verticalLayout = QtGui.QVBoxLayout(self) self.tableview = QtGui.QTableView(self) self.verticalLayout.addWidget(self.tableview) # without parenting the ui to houdini, i can set the cell colors self.setParent(hou.ui.mainQtWindow(), QtCore.Qt.Window) model = QtGui.QStandardItemModel() item1 = QtGui.QStandardItem("Color Red") item1.setBackground(QtGui.QColor(240,10,10)) item2 = QtGui.QStandardItem("Color Green") item2.setBackground(QtGui.QColor(10,240,10)) model.appendRow([item1,item2]) self.tableview.setModel(model) testwindow = cellColor() testwindow.show() testwindow = cellColor() testwindow.show() Is there a way to set the color of the cells, when the window is parented to Houdini? Thanks for all replies
-
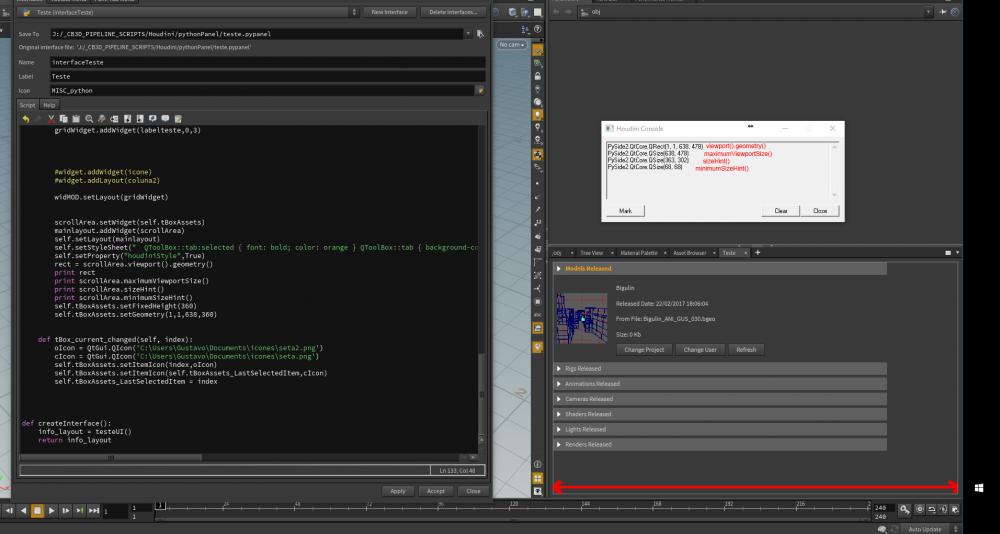
Hi, I´m trying to create a custom panel editor. Still in the early stages, but I would like to have my QToolBox has the same size of his parent widget the QScrollArea. I was thinking about implement resizeEvent() to resize the QToolBox (horizontally) when the QScrollArea changes size. But I´m always getting the wrong sizes from QScrollArea, even changing the size of the panel I´m receiving the (1,1,638,478) size from the viewport().geometry() or sizeHint(). I´m puzzled!! Thanks for helping!
-
Hi, I´m looking to integrate Houdini inside our custom pipeline. We already have a pipeline script working inside Maya and I´m trying to replicate it in Houdini. I started with interface creation with Qt and Pyside. I´m in the early stages but already have some doubts. In maya I can create a shelf panel, add some icons and integrate to my script. I´m trying to do it inside qt using buttons with icons but the result is very ugly. So, It´s possible to create these kind of special houdini panels with a qt interface? Somebody has some tutorials or docs about custom interfaces using python in houdini? I couldn´t find anything more than this Masterclass on vimeo. Thanks
-
Hi, dear SESI team !!! Python Panel is very good addition to Houdini, but: 1. How to set main houdini widget as parent of my own widget? 2. I installed eventfilter to main widget for monitoring Qt ui behaviour. And i saw that not all events can catch. For example, Leave event (when we go to other top level widget). I dont understand why Leave event not generated in this case 3. As I understood, Qt draw Houdini old-style UI system, and we can`t add for example QPushButton to main window. Or maybe this can changed in future releases --- Also, I think that we need some identification method of main Houdini widget via PySide. For example, in Maya we can filter widget via objectName (QtGui.QWidget.objectName). In HDK I can get it with RE_QtWindow::mainQtWindow() Thanks for any details about Qt... --- PS Look at this level of PyQt\PySide intervention What do you think? Best regards...