Search the Community
Showing results for tags 'mari'.
Found 2 results
-
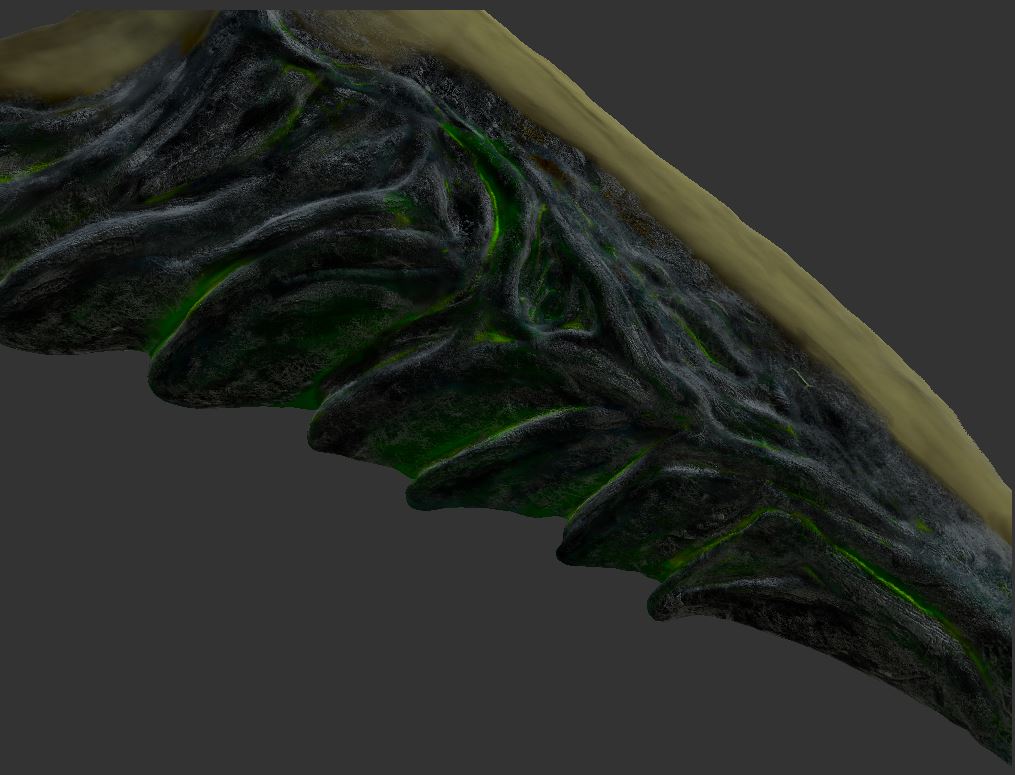
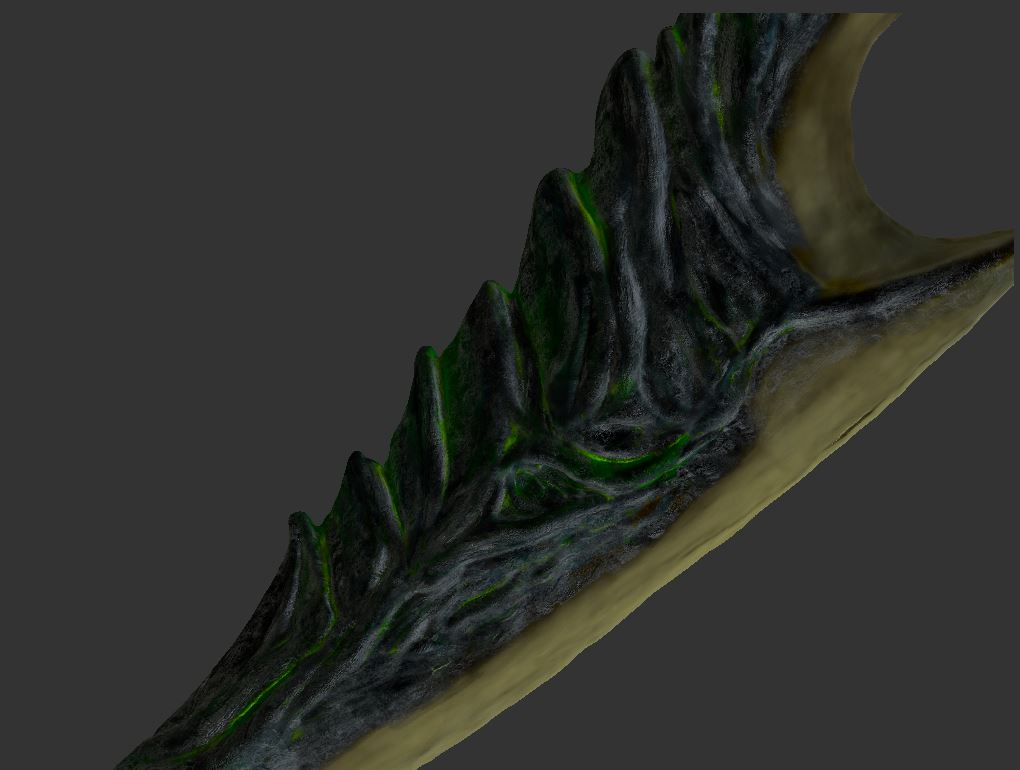
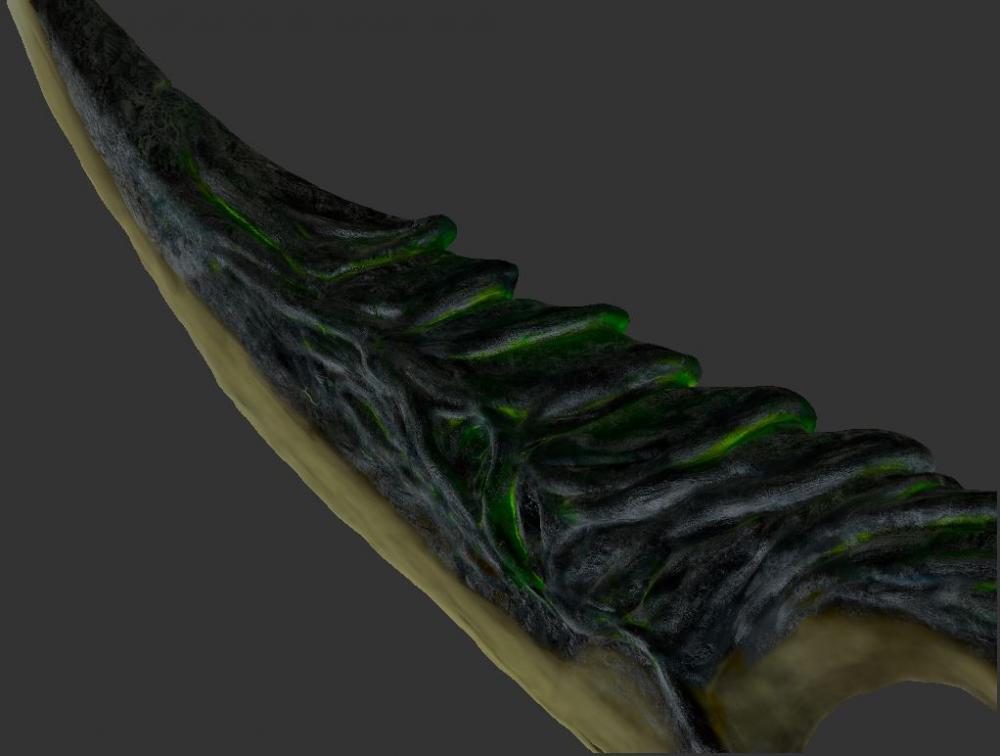
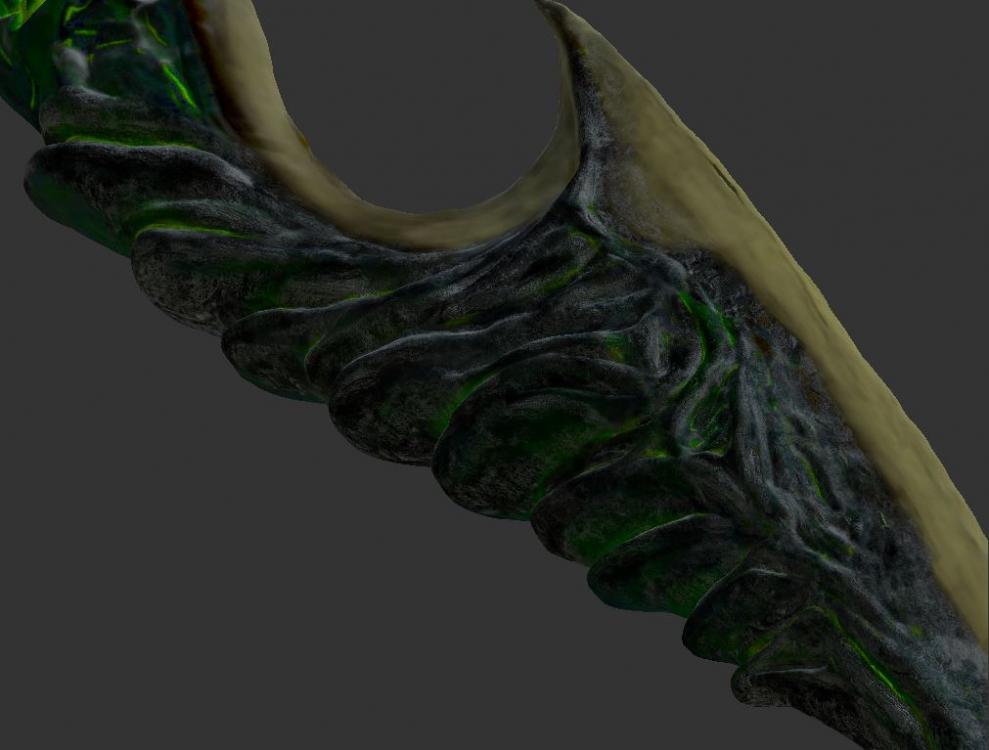
Hello, I have textured a model in Mari. Fiew examples added as attachment. Mari has option to mimic different shaders (You just select shader like arnold or vray or unreal). I achieved ths texture when unreal shader was selected in Mari. 1. Is there a option to copy shader settings from mari to houdini? 2. What shader material i need to use to get unreal material? 3. Do i need specific plugin for that? What Houdini shader tutorials do you recommend? Can you recommend some one who knows very well how to do custom shaders in houdini?


-
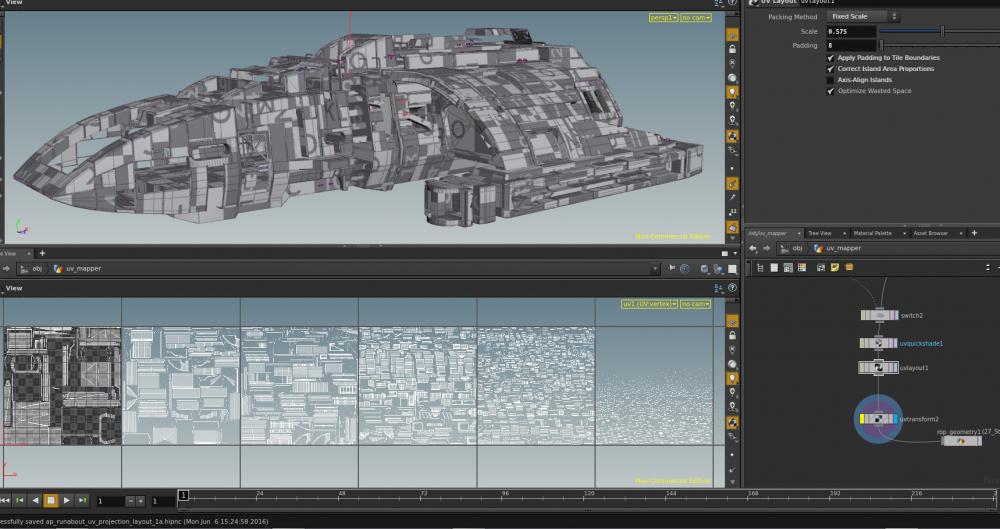
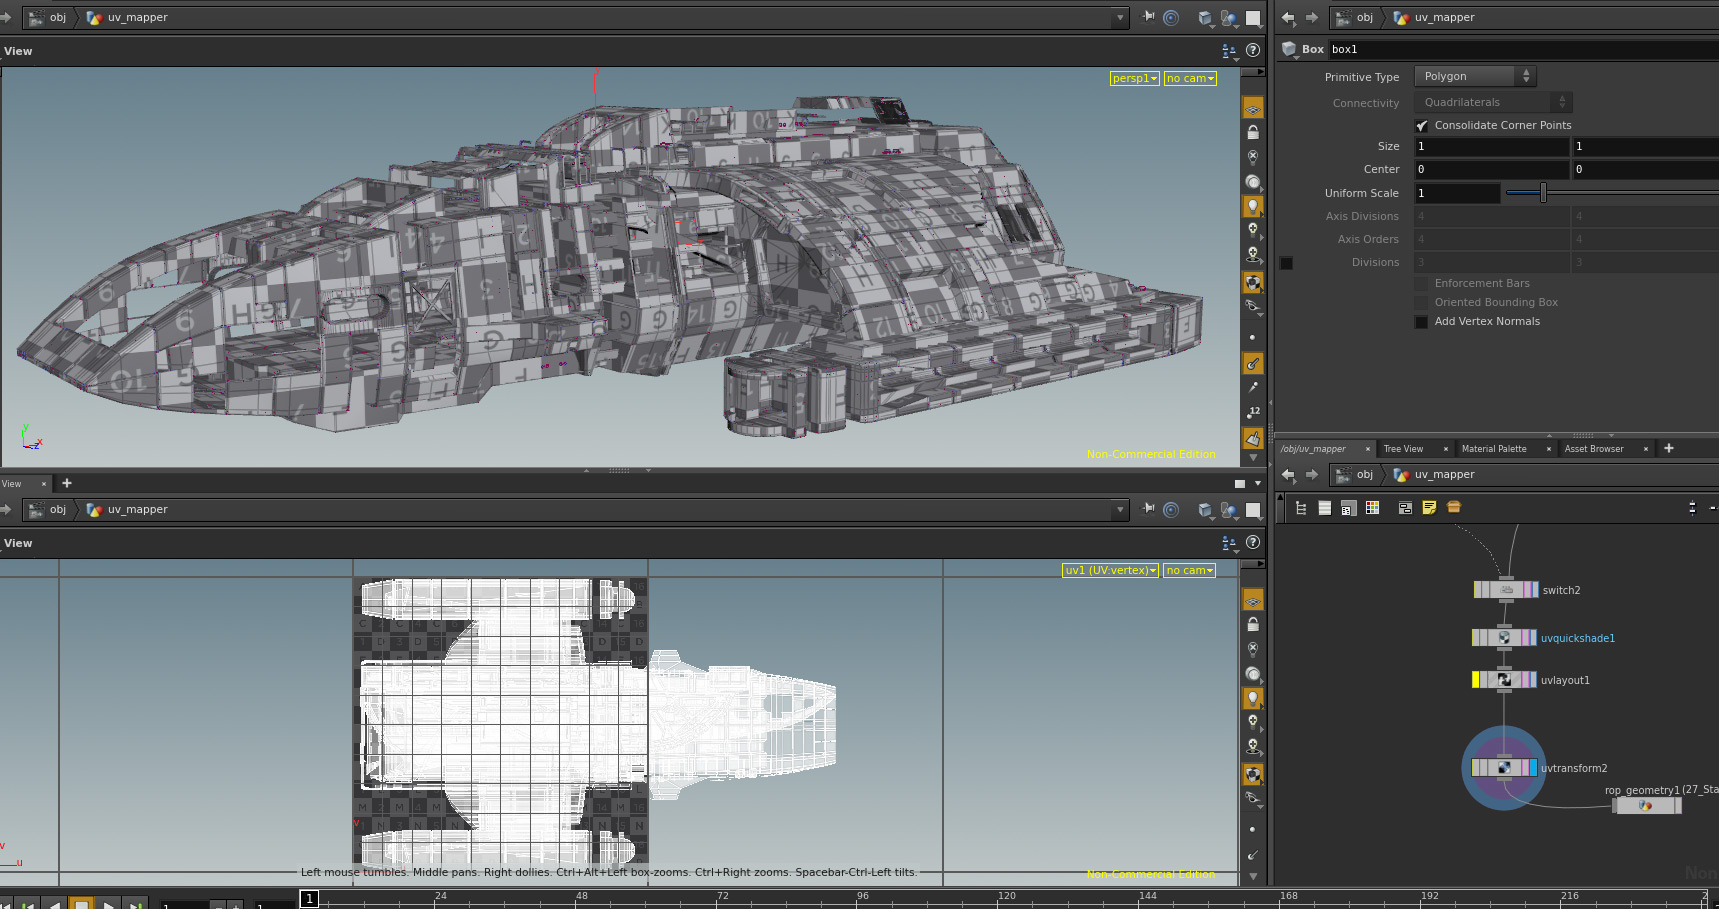
Hi All, I am trying out Mari NC to see what kind of workflow is needed to get UV models out of Houdini and into Mari. In this image I have nice a Box projection that provides a decent looking UV grid across the object. However, if you examine the UV grid you will see that there are a lot of overlapping areas which will not work with Mari. Overlapping areas mean if you paint on one face color may appear on another unintended face. So I have tried out the Houdini UV layout tool and set the scale to limit my UV layout to the maximum of 6 UDIM squares that Mari NC allows. And while this fixes overlapping faces and makes a UV set that Mari can work with it destroys the ability to select associated faces via a UV island. Also there is a ton of wasted space. It looks like the algorithm finds the largest area and populates all the large UV areas on one UDIM tile then moves on to the next UDIM tile, not considering that it could actually use 6 UDIM areas to start with. As you can see the UV faces get smaller and smaller as the UDIM count increases. This ultimately limits paint resolution in Mari when you have to paint on slivers. If the Houdini UV Layout area distribution were smarter I could increase the scale and reduce the number of sliver elements generated. Also, selecting faces in Mari is fairly primitive yet selecting UV islands is quite possible but with the islands split into so many tiny areas selecting by UV areas becomes quite tedious in Mari. I am just wondering if anyone has any tips on UV layout workflow? This probably applies to Substance Painter users as well. ap_runabout_uv_projection_layout_1a.hipnc