Search the Community
Showing results for tags 'Substance Painter'.
-
Hi, I try to export objects from houdini and paint them in substance painter. However, importing object to substance painter is working, but something not work as I expect. Curvature and particle rain don't work properly with object exported by houdini. Curvature mask seems nothing work, and particle rain should move down in world space, but it looks move to one direction of UV space. I tried exactly same way with an example object 'JadeToad.spp', then operation was working as I expect. Therefore, I guess my Houdini objects are something wrong with format or missing vertex info. I tried it with the both of original UV and auto UV, but did not work properly. I attached object files. Please let me know what's wrong with it. Or what requires to painting objects. Thanks! building1_destruction_asset_testB_v015.abc RnD_000_001_fx-rbdBld_v013.obj
-
- export
- substance painter
-
(and 1 more)
Tagged with:
-
I know Houdini focus has been VFX, I have few questions regarding cinematic pipeline. Hero characters, close shots UDIM-s etc. I know by the fact UDIM-s are used in films and often also on hero characters and in VFX pipeline. Main reasin is that you have more control over texture details on specific model. For example: If i have a character face and i need specific part of that face to be more detailed then other i have udim-s and that specific part (UDIM tile / UV tile) that covers that area of face has higher UV texture resolution thus means that that area can have more detailed / higher rez textures. Now typical pipeline i understand is so called Sketch to screen workflow. (same workflow that Aaron Sims Creative Studio uses) and many others. 1. Model is sculpted 2. Model retopology is done (retopo that supports and follows basics for topo that is needed for animation) 3. Model is animated (in maya or houdini) 4. Model is textured (ptex or UV-s) 5. VFX is created 6. Look dev that means shaders are created, lights are created etc) 7. VFX compositing (nuke etc) 8. and final shot(s) are rendered. What i struggle is how to proceed with my pipeline. Need to focus on specific things and not to try study full program as houdini is huge. Need to take one project and step by step try to complete it. SO at the moment regarding my project> 1. Sculpting part is done 2. Retopology part is done 3. UV-s are done (Used Unfold 3D( and model has UDIM UV-tiles 4, Model is tegxtured in Mari (So now model has UDIM textures) tho i was thinking for second to try ptex also but i think it does not support xyz texturing method. And now i am strugeling with shader building as there are not many good tutorials regarding Houdini skinn shader-s. And not getting good result with those. For second i was thinking to use substance painter as in that case you do not have to build shader from scratch. Example https://www.youtube.com/watch?v=gaUoYyWfMzE&t=75s But problem is that Substance does not have fully implemented full UDIM-s support. It does support UDIM-s but you cant paint seamlesly over model that has UDIM-s. Explained here https://www.youtube.com/watch?v=ihQTBc_e8DM So now i was thinking may be i can do skin shader in Maya as there are way more maya btutorials regarding UDIM-s and skin shaders then there is Houdini, But as my plan was also to create VFX effect i would try to do it in Houdini. And now arises question can i do VFX in houdini and shaders in maya and some how bring those over to Houdini or vice versa_
- 3 replies
-
- vfx
- substance painter
-
(and 3 more)
Tagged with:
-
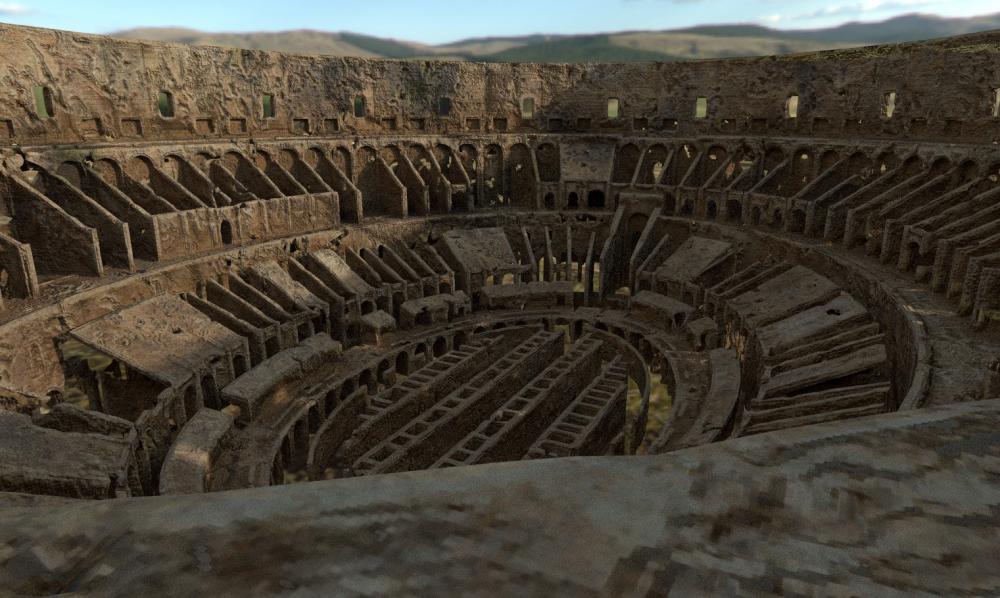
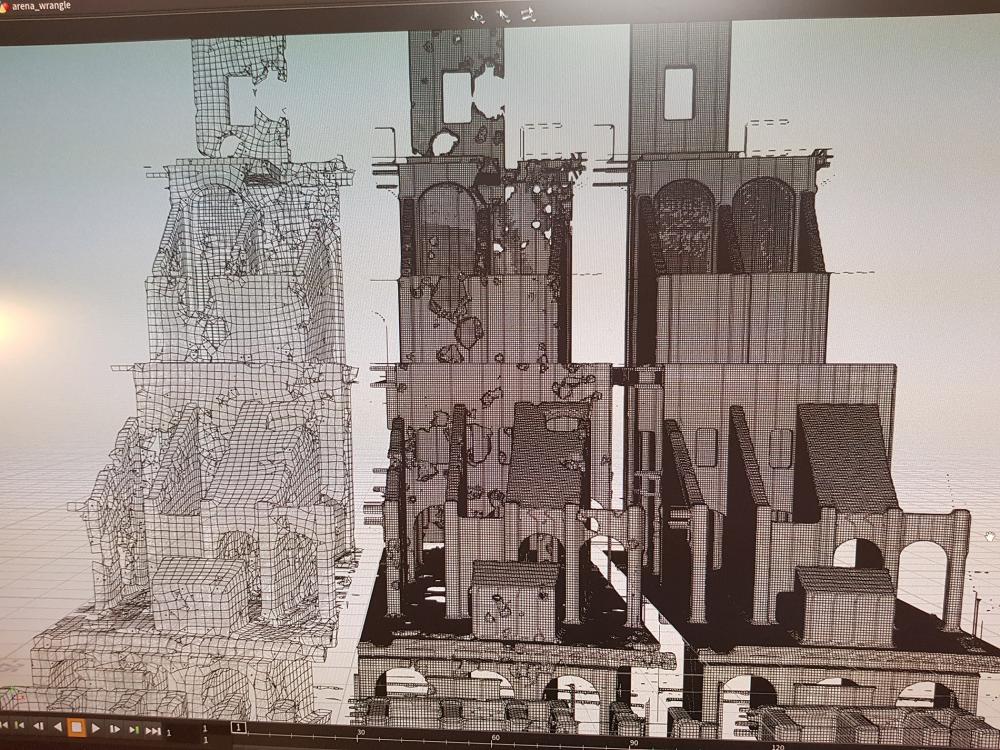
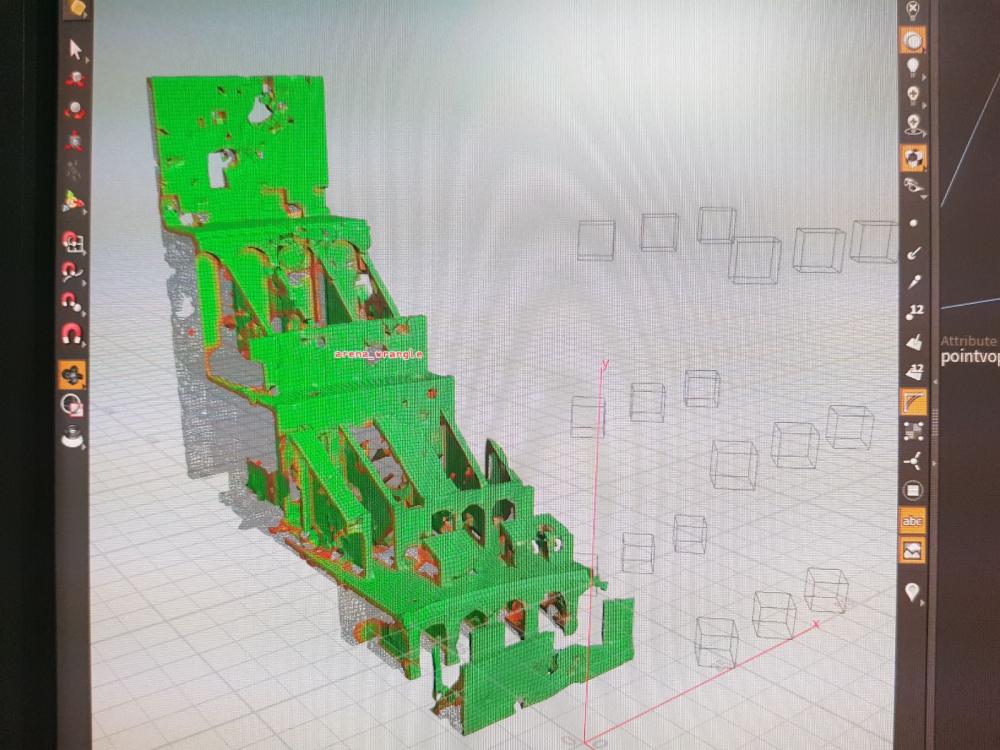
Hello fellow odforce-people, at the moment I'm working on my bachelor thesis which I'm writing about Dynamic Simulations for Film in Houdini. In order to demonstrate these effects, I'm producing two shots of a short film that I've wanted to do for a long time. And for the environment of this short film I decided to do some procedural modelling with Houdini. And since the houdini community is so extremely generous, I decided to take part myself and share my entire project file. It's slightly messy, but I hope it's useful. * I started out in Cinema 4D where I did some basic cloner-modelling to get all the basic shapes right. * Then I moved into Houdini, converted everything to an SDF and cut out dynamically generated holes. (Scatted loads of spheres into a vdb that I generated from the sdf, displaced the spheres, made an sdf from it and "difference-d" it away from the main mesh.) * Having converted the object back to polygons, I ran the mesh through Instantmeshes to get a clean quad-mesh. (Love this program almost as much as Houdini.) * For uv-mapping and memory-efficient exporting I got rid of all the faces that were not visible from the inside. (more than half) (I wrote a little script that sends rays from every point of the mesh to the 'god-points' in the center (because godrays, haha... ha...) and when any of these rays hit, it's marked as visible (green). Then I get rid of all the invisble points (red). * I unwrapped the mesh using Auto-Unwrap from the game-dev-toolkit and exported it (as well as the high-res-version from before) to Substance Painter where I baked all the maps (normals, AO, etc.) from the hi-res mesh to the low-res mesh. * In painter I just smashed a couple of smart material on there that I found on Substance Share, scaled up the UV-Tiling (because huge mesh) and was pretty much done with texturing. The render is a screenshot from painter's integration of I-Ray. (When I get everything together in Cinema and render with Octane, I'm gonna step the lighting up a notch of course. ) Here's a couple of pics: And attached you'll find the project file as well as the base-obj I started out with from Cinema (And one remesh to work with in case you don't have Instant-Mesh set up). To make viewing easier, I turned on a switch that sclices out only a small part of the arena for editing and increased the voxel-size so that loading only takes 15 seconds instead of half an hour. Cheers, Martin ARENAWRANGLE_TOODFORCE.zip
-
- 5
-

-
- instant-meshes
- texturing
-
(and 4 more)
Tagged with:
-
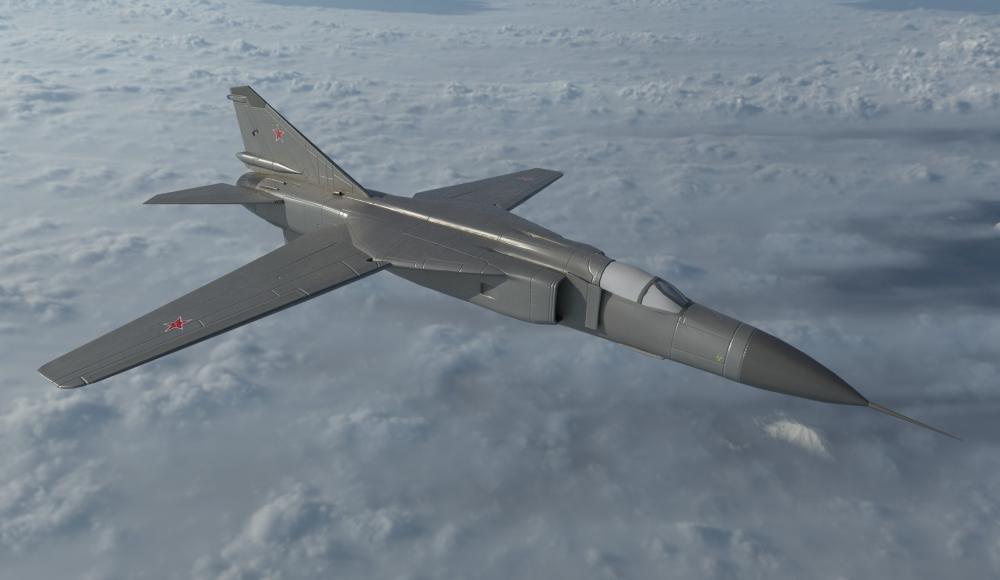
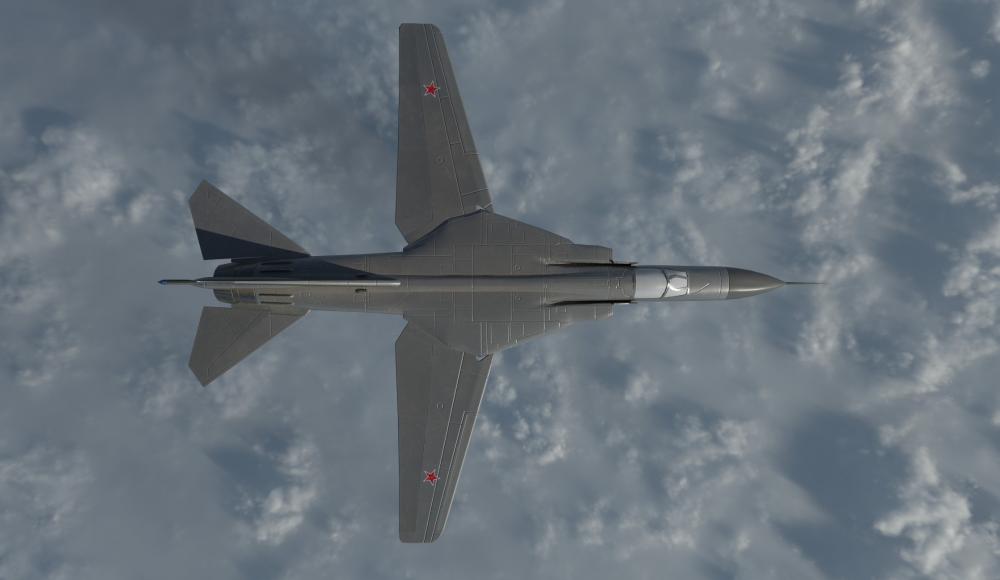
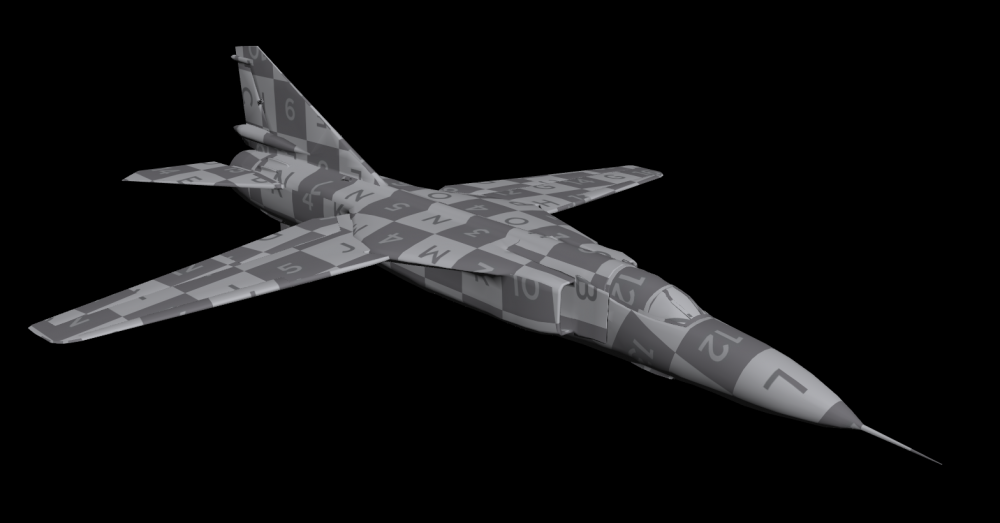
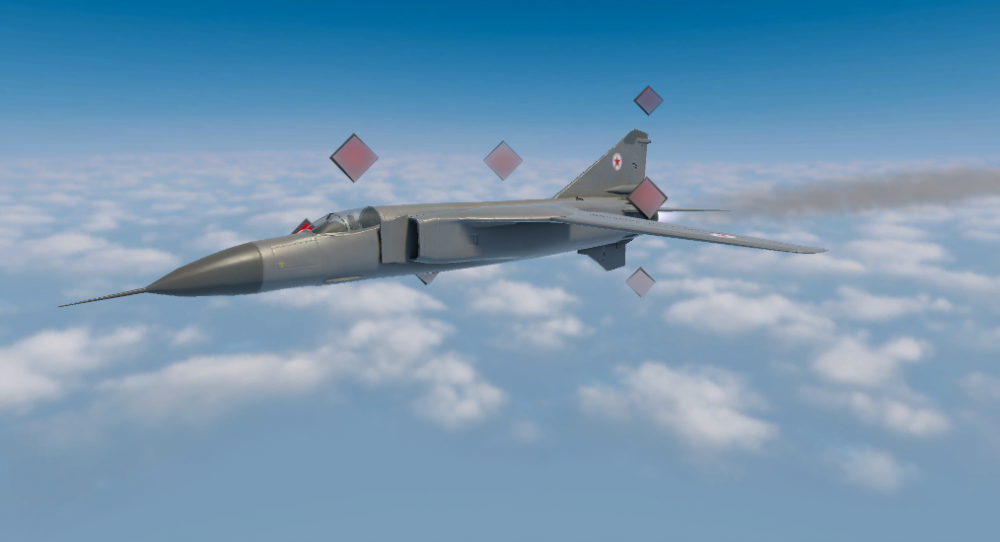
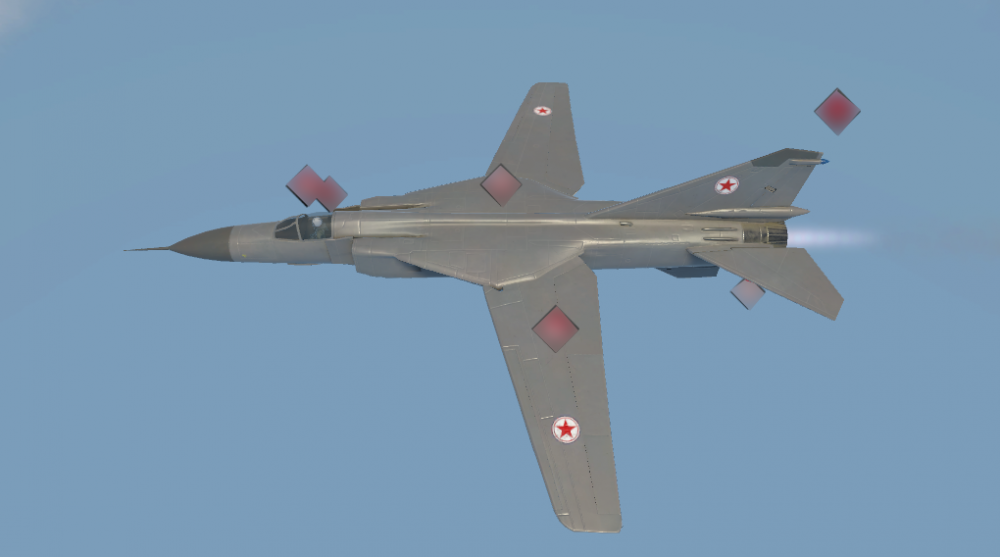
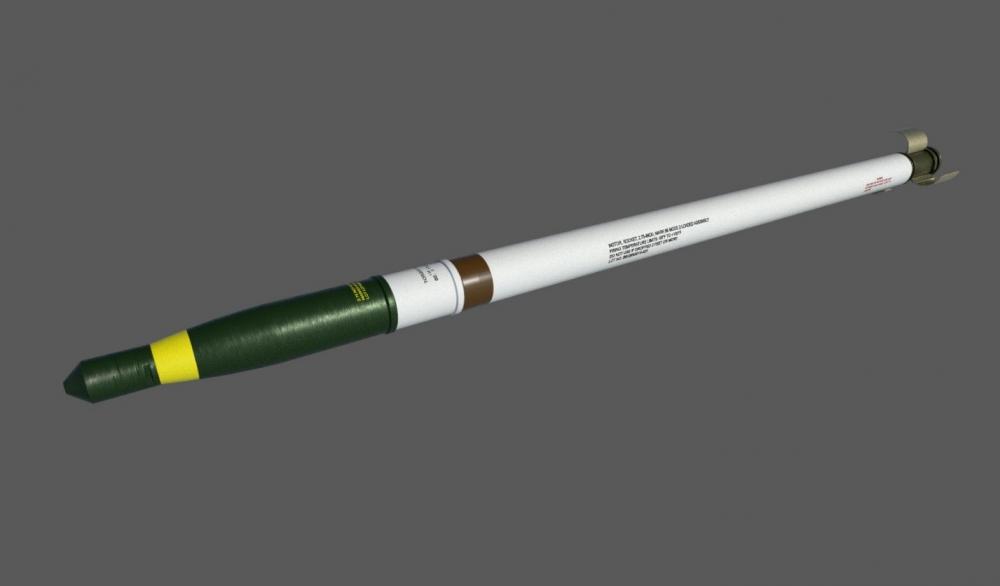
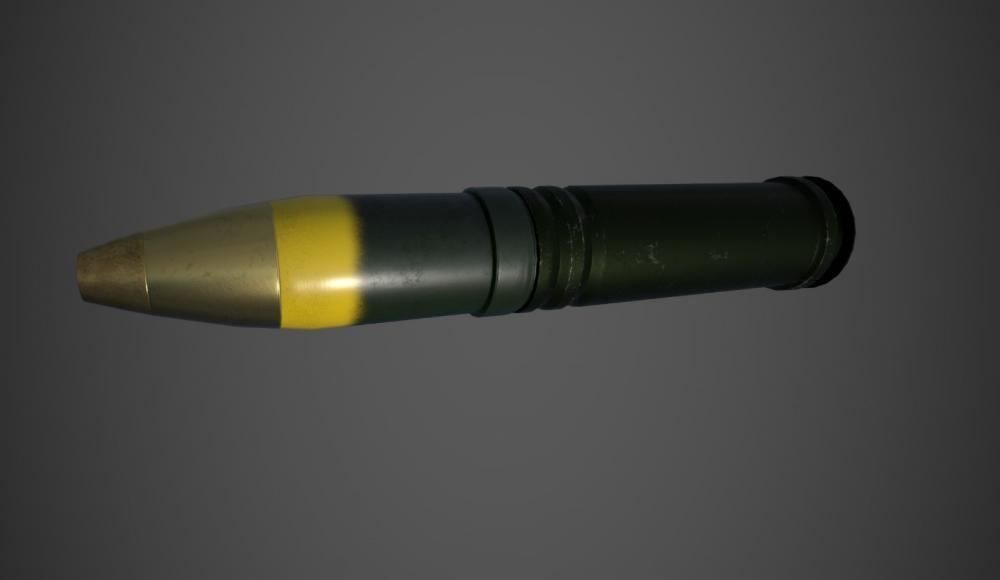
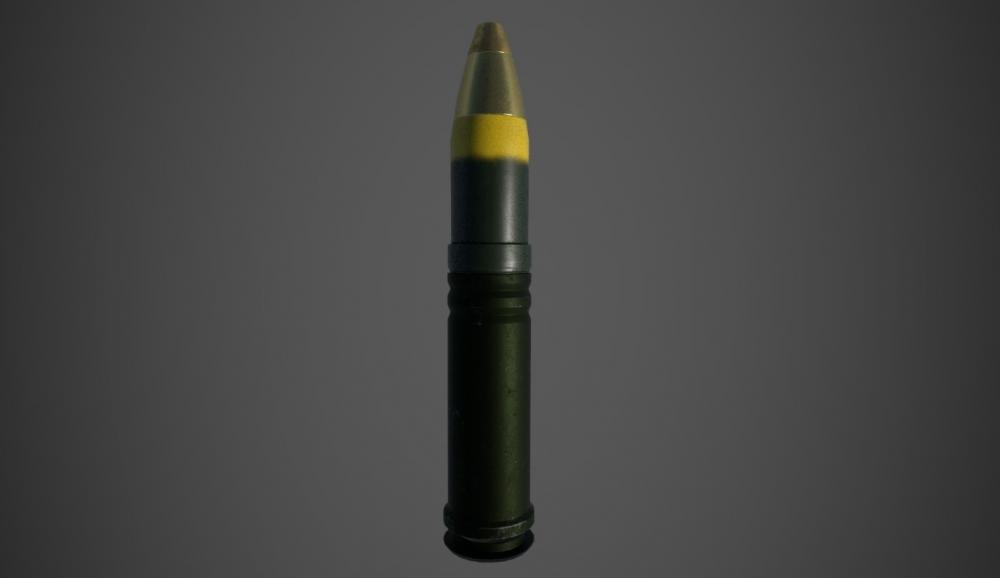
Low Poly MiG-23 DPRK Combat Plane I made using Houdini 16. I made the High Poly, Low Poly, and UVs using Houdini 16. I baked material ID and high to low normal map using the Games Baker ROP. Additional Normal details like the panel lines were in Substance Painter. It was exported from Houdini to Unity. Let me know what you think. Render is from Substance Painter. Currently there is no glass shader for Substance Painter, that is assigned in Unity. Thanks. Waiting on screen shots in Unity. Will post as soon as I get them. *Edit - Screenshots from Unity. I was required to block out the UI elements. You can see the glass shader applied with the pilot inside. *Edit - Low Poly Hydra 70mm Rocket (AH-64 Apache Ammunition) and M789 HEDP Round (AH-64 Apache Ammunition)
- 6 replies
-
- 1
-

-
- houdini
- substance painter
-
(and 2 more)
Tagged with:
-
Had a few questions…I keep exporting FBX files to Substance Painter but it can never read the vertex colors. Anyone have any idea what's going on or any thing people generally miss? I have the FBX settings on default unless I'm supposed to change something but experimenting with all sorts of changes yields no vertex colors. Also how do you get Substance Painter to recognize the different mesh names? I've tried group names matching with _high and _low suffixes to isolate baking to mesh parts as well as attribute primitive strings with the name of the mesh with the suffix…and Painter can't read the parts independently of one another and feels like I'm forced to explode the mesh to bake. I hope the only way isn't to have EVERY PART at the object level as that's not practical. The mesh in question I want on ONE texture sheet so no I do not want a separate material index for each single part in case anyone suggests that As for baking internally I've tried the gameshelf baker and pointed it to my high and low mesh … it exports 256 by 256 black tiles no matter what I do despite the resolution being set to typical 2048, 4096 etc. Thanks.
-
Hi, I am using Substance Painter to paint textures on my object, I have a portion of the object that is glass and I have painted the opacity map and it looks good but when I bring the textures in Houdini I am not getting any refraction effects that we typically get in a glass sphere. I am connecting the opacity map into opacity color and also applying inverse map of opacity to refraction color. But I am not getting proper refractions. Opacity is working fine. Please help.
- 2 replies
-
- refraction
- refraction via textures
-
(and 1 more)
Tagged with:
-
Hello all, I was needing some help with getting the Exported maps from Substance Painter into the Chrome material in H14. I am exporting the following maps: Base Color Roughness Metallic Normal Height Emissive I am trying to reassemble them in H14's Chrome material. I know the Base Color goes into the Base Color Map in the Surface Tab Diffuse Tab. I think the Metallic map goes into the Reflection Mask Map in the Reflect Tab Reflection Mask Map Tab. I'm not worried about the Normal, Height or Emissive maps yet so that leaves Roughness. Roughness is key to the aged look I'm trying to get. In Substance Painter the textured model looks like this: A Houdini render looks like this (notice the difference the Roughness map makes against the SP render in back): I don't suppose someone could lend me a hand on how to get Roughness maps from SP into the chrome material in H14 could they? It would be really helpful. Thank you David
-
- Houdini
- Substance Painter
-
(and 2 more)
Tagged with:
-
In this polycount topic: http://www.polycount.com/forum/showthread.php?t=132334 there is one interesting line in main post Now the question is, does it mean that there will be Substance Designer support in Houdini or is it about already existing Unity support? Anyone heard something more?
- 6 replies
-
- 1
-

-
- mantragora
- substance
- (and 7 more)


