Leaderboard


Popular Content
Showing content with the highest reputation on 05/28/2012 in all areas
-
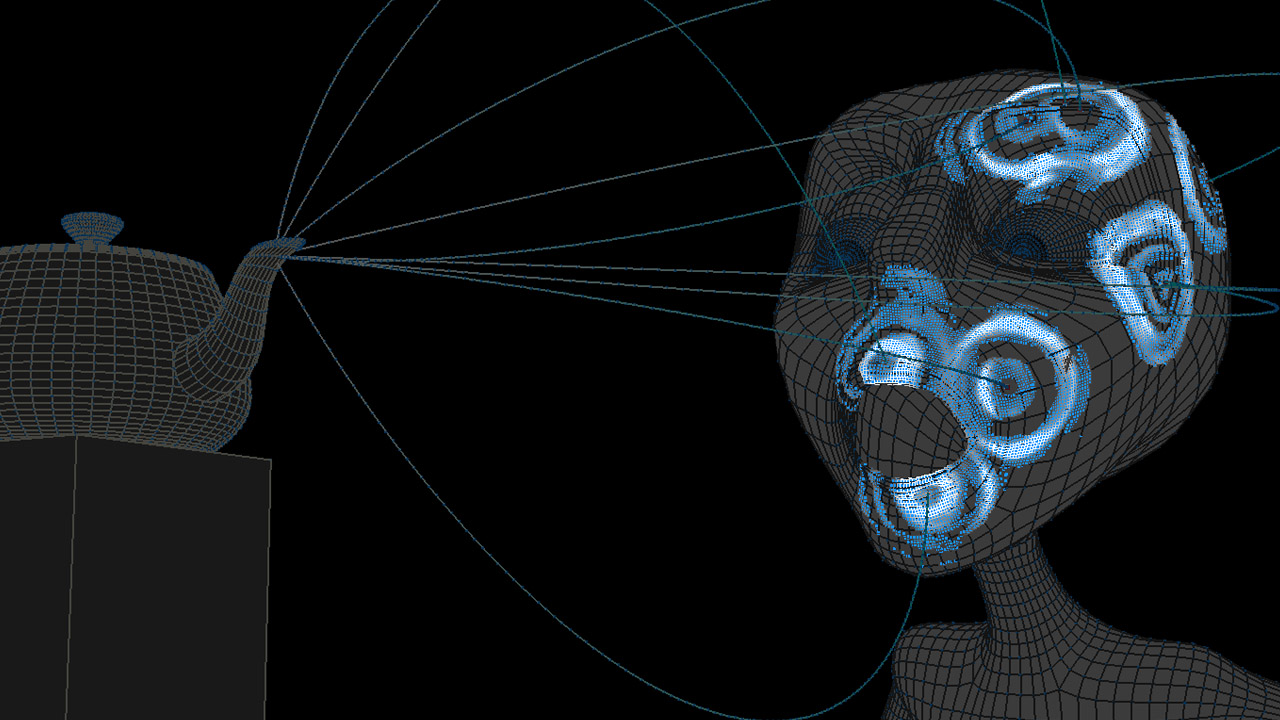
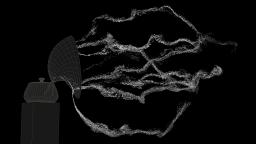
cmiVFX Releases New Houdini Point Cloud & Directable Particles Training Video For TD's High Definition Training Videos for the Visual Effects Industry Princeton, NJ (April 20th, 2012)‚ cmiVFX has released their newest lesson offering another glimpse into magical world of visual effects. The flows of power are often visualized with streamers of light chaotically traversing across the scene. How does one create chaos but also maintain the control a director will require? In this lesson we will teach one way this is done in a production environment. The workflow offered here is tested and proven effective within the film industry. This new, exclusive effect technique can succeed in scenarios where conventional particle control systems fail. Additionally, many lessons stop with mere particles in place. Martin Sawtell will teach you one way in which those particles may be used after the simulation is done. Martin answers the question, "Particles are simmed, now what?". He demonstrates a typical way to pass the results of a particle effect on to the compositing team for further refinement. This courseware will give you a clear idea of what is required of a VFX professional and how excellent results are achieved under the pressure of a real deadline. This video introduces viewers to the powerful world of VOPs within Houdini, and how it can be used to direct particles via it's point cloud features. Exploring VOPs implementations in shading & rendering, geometry and POPs it presents an entire workflow that brings them together to provide you with an intuitive way to control particles. Central to this workflow is the process of developing a "point cloud advect" Digital Asset that can be re-used in any particle system- allowing the user to push particles around with arbitrary geometry that could come from SOPs, another sim or even a Mantra render. Initially the tutorial starts slow to cater for newcomers but builds in speed to cover all aspects of the workflow in extreme detail. If you are looking for a way to gain more control over where your particles are going this talk is what you need. Short Description This video introduces viewers to the powerful world of VOPs within Houdini, and how it can be used to direct particles via it's point cloud features. Demo Video - Vimeo NOTICE TO VIEWERS: (*** This lesson is intended for professionals in a production environment or for those with aspirations to be such. Structure and techniques taught herein may cause cg dabblers minor depression and headaches. ***) Here at cmiVFX we maintain a current training library for the latest versions of popular software titles. When it comes to high end CG and VFX training, there is only once choice... cmiVFX! Don't forget about the cmiSubscription plan! Get one today. cmiVFX launched the most affordable subscription plan in Visual FX Training History for only $399 USD, and if you were a subscriber, this New Training Release would already be in your account. This video is also available a-la-cart in our brand new HTML5 player system. |||||||||||||||||||||| HOUDINI POINT CLOUDS & Directable PARTICLES |||||||||||||||||||||| http://www.cmivfx.com/tutorials/view/460/Houdini+Directable+Particles Chapter Descriptions Emitter Setup Half of any particle system is it's Emitter! In this segment a novel way to generate source points is presented- using mantra to write a point cloud using a noise pattern in a shader (which is in turn reading in sops geometry as a point-cloud). The chapter also covers the basic task of setting up the guide curves that the particles will follow later. If you are new to the concept of VOPs, point clouds, and their implementation in Houdini via the geometry and shading contexts this provides a good introduction. Particle Tendrils Getting on to the fun stuff (particles) this chapter introduces POP VOPs and how they can be used to open a point cloud and then advect particles based on variables like their distance from the sampled geometry and it's control attributes. It also shows how to generate useful vectors on the geometry for pushing the particles around, combining the vectors, troubleshooting the process and setting it up for re-use in other particle sims. By following the tweaking process a workflow is beginning to emerge which you can apply to many problems that require directable particles. Building Tools And Adding Features So you now have a cool way to push particles around... So what? Time to turn it into a tool, that's what. Building a nice interface, writing to an OTL (digital asset) and taking into consideration that other people/houdini sessions might be using the asset while you are editing it are all covered. The particles are also further tweaked to bring in some nice noise (as a feature on the tool and separately on the geometry) plus a suction funnel is added to drag the particles into the end of the teapot. Simming And Render Settings In theory and motion the particles look good, but that's only in the viewport. A practical method for splitting the sim up for distribution using python is presented, as well as shading, lighting and rendering the particles with AOVs that Nuke will be able to read. It's not difficult to give nuke an EXR that has the particle's age, each light and other shading variables encoded in different image planes. While rendering and comping the particles isn't the focus of this entire lesson it's worth showing some common methods for getting what you need later into nuke. Application So we've covered the workflow in a linear, detailed fashion so far but it's worth branching out and demonstrating different applications of the tool and related VOPs workflows. A very quick and dirty video that aims to give you a starting point and inspire you to do things like flow particles over a surface, use VOPs to define forces in a FLIP sim, advect particles with a pyro sim and naturally make some cool noised motion. At the end of this sequence of videos you'll have the know-how to build your own tool that can write velocity/force, position, and arbitrary attribute modifications to particles, geometry, shaders and fluids, unleashing in your mind the possibilities that VOPs and VEX offers in Houdini. Once you see the possibilities you will lose sleep. About The Author Martin Sawtell begun his Houdini wanderings as an intern at SideFX Software; in the past he's worked as a production designer, VJ at large scale music festivals, lecturer at university and college and as an FX TD at studios such as Framestore and DrD. He currently lives and works in Beijing at BaseFX. After a long week of production he sometimes has trouble at parties talking about anything other than particle systems and render farm politics. Project Contents All cmiVFX videos come with all the training materials you can need right from our website. No matter what time of day, your location, or how your feeling, cmiVFX will be there waiting for you! This video is available today at the cmiVFX Store: About cmiVFX cmiVFX is the leader in High Definition Video Training for the Visual Effects Community. Register for FREE and receive hours of FREE content at the cmiVFX Video-on-Demand Player. ( http://store.cmivfx.com/login ) For additional information about cmiVFX, visit www.cmivfx.com. © 2012 cmiVFX | cmiStudios. All rights reserved.


 1 point
 -
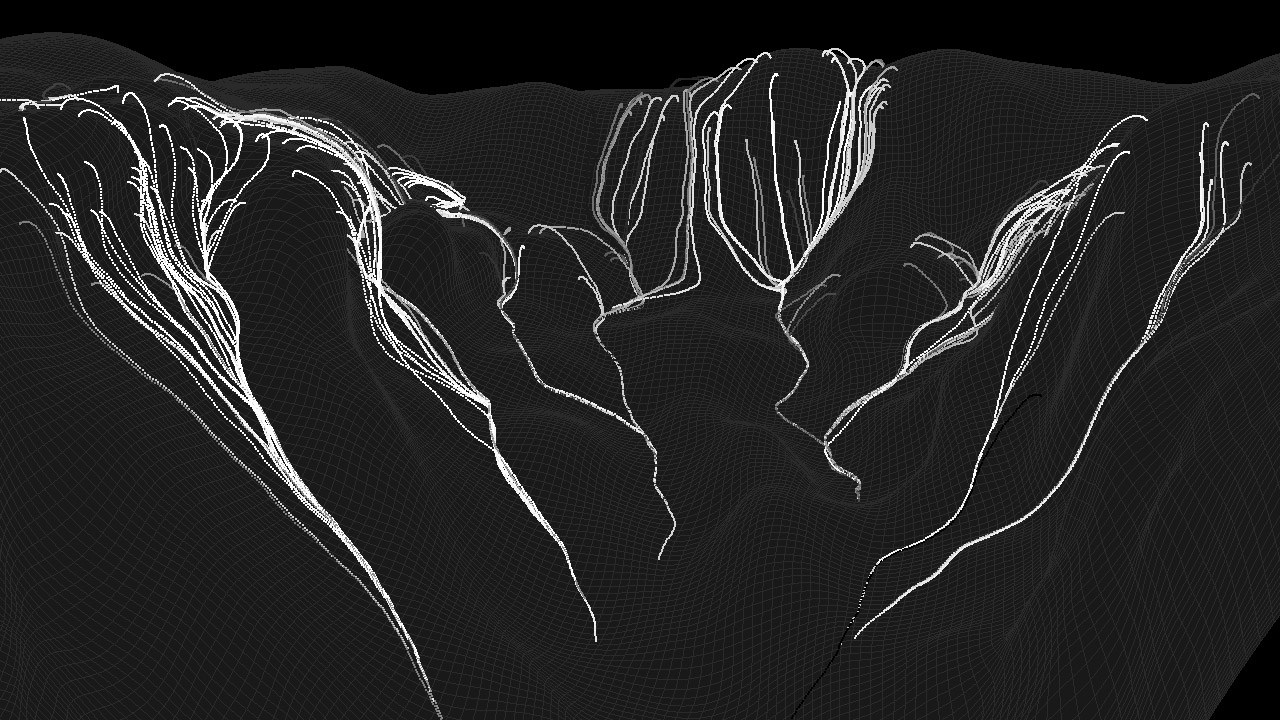
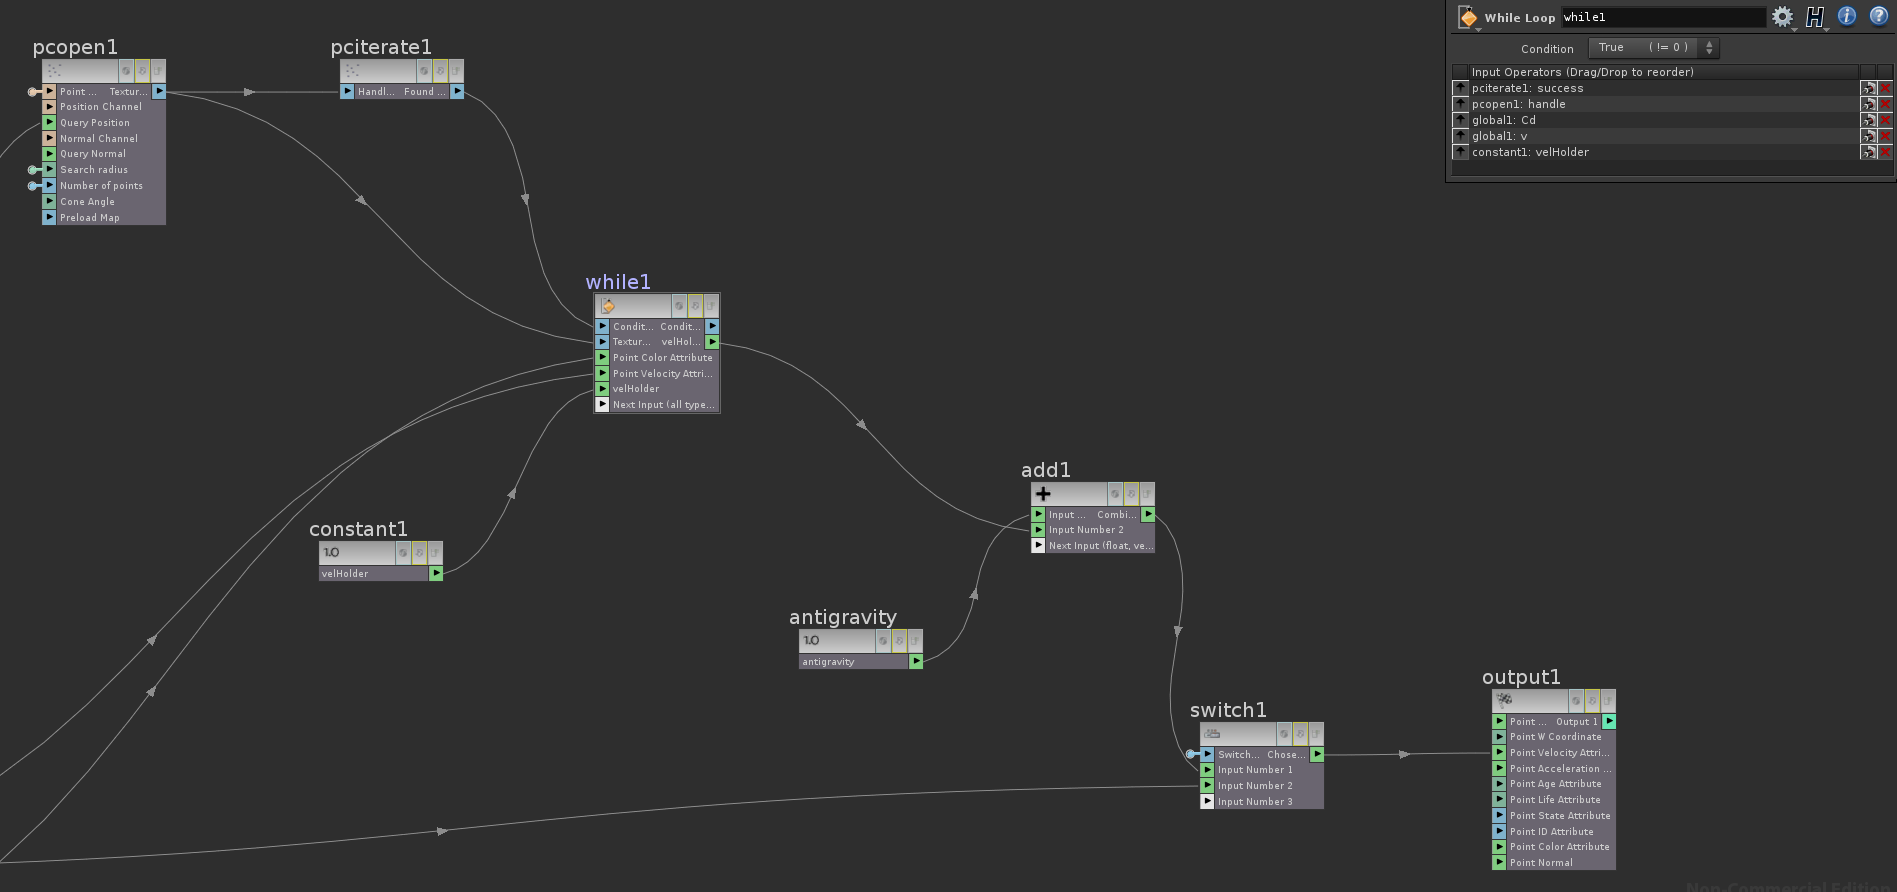
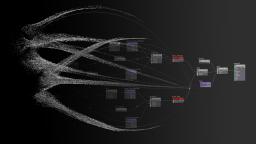
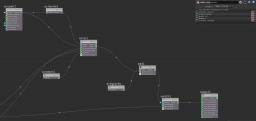
So, I talked with Iosif on Vimeo, and he told me his basic set-up and I've come up with a solution! This is my set-up, so I don't know if this is how he did it; I also only focused on the sim, not the shaders. http://youtu.be/oZ8NRrY9x0o Basically: 1) Do an RBD sim and save out the BGEO sequence. 2) Do a FLIP sim, and use a SOP solver (plugged into the 4th input of the FLIP solver) to override the FLIP velocity 3) Use point clouds to lookup RBD velocities from the baked out BGEO sequence. So, that's essentially what's happening, how it actually gets done is kinda complicated. The real trick was getting the FLIP particles to follow the RBD piece that they're inside. I used point color to connect the FLIP particles to the RBD particles, but you could use any attribute. I went with color because you can just use the voronoi fracture SOP to colorize your separate pieces. Inside the SOP solver, it's not terribly complicated, it's just a VOPSOP. Inside the VOPSOP is where the magic happens. Iosif told me that he used point clouds, so I went down that route as well, and it ended up working quite well. In the above screen cap, you can see a pcopen, with a pcitterate going into a while loop. For more info on point clouds, I highly recommend Peter Quint's tutorial. I'm using a constant "velholder" as a simple variable to hold the velocities collected during the while loop, just so you can average them together. The antigravity is another constant which is just negative gravity...it's kinda hacky cause I'm just canceling out the gravity node at the end of the autodop network (I'm sure there's a more elegant way to get that done). The switch at the end takes in the input point velocity (the FLIP fluid motion). My setup is just a simple keyframed switch between FLIP motion and RBD motion, but you could control it with a ramp, with the SDF from a fluid sim, etc. Here's the inside of the while loop: pc_color and FLIP_color are just vector to float nodes. "colors_are_equal" is an "and" node. All that's doing is looking at the RGB channels from the point cloud point (pc_color) and the FLIP particle color (FLIP_color), and if they're not equal it returns false, which causes the two-way switch to use the input velocity. "pcimport_vel" is a pcimport node and it's looking up the "v" channel. Whew! Lots of words... I'd upload the HIP file, but to really see it working you need the whole baked out BGEO sequence, and it's kind of a mess right now. There's probably a lot that could be done a bit more efficiently, but this set-up is working for me right now.
 1 point
 -
i´m not sure if i get what you mean because i´m neither martin sawtell nor do i have anything to do with this release or cmivfx in general!? the only thing i have in common with cmivfx or rather its owner is my forename. petz1 point
-
Hi sifis, for some reason I am getting the object blurred even when it is not moving. In Houdini the threshold is 1 and in Nuke I had a down a Vector Pass as you said and I have to increase the multiply parameter to get some blurring but as I said it is always blurred an not based on the real movement. Please see attached nuke file here: mblur.tar1 point
-
Thanks! If not too much to ask, any chance with H12 and/or particles?1 point
-
Got it working. Turns out it there were some permission issues on the directory where OTL's are stored. Thanks for the help.1 point
-
Sure it does and it is 100% compatible with Nuke vector blur too. You just have to set the default value of "vector blur" node from uv= 0 to uv= -0.5. This is essential in order to compensate for the negative float values "vector blur" requires to blur pixels moving from right to left. Thank you xtimmyx for this!1 point
-
It should be working for 11.1 as well though I haven't tested. Let me know if it doesn't and I'll try it out when I get home from work on my own box with 11.1.1 point
-
Do you have a version for 11.1?1 point
-
Hi Martin! It's Martin.0 points
-
HA, it seems my problem made it into the new CMIVFX release. Do I get a commission now, Martin (Petz?)?
 0 points
 -
Hey Manu, looks like a two-part issue. First off, you'll have to transfer the particles' velocity attribute to your sphere geometry in the copy sop. For this, just click on "use template point attributes" in the Attribute tab. Now that the spheres have a v attribute, you'll have to enable "geometry velocity blur" on your Obj, under the Sampling tab. This tells mantra to use the v attribute in calculating motion blur for that object. Fix those things and I think you should be set. Hope that helps, mike-1 points
-
http://www.sidefx.com/index.php?option=com_forum&Itemid=172&page=viewtopic&p=73319&sid=18089bb210de9bfa37e540113af392a4 This thread have more info on the shader from the exchange and an outline by Jason on how it should be done.-1 points
-
thanks for the tips !!! already got it working, appreciated!!!! regards, Manu-1 points
-
somehow I can't get the exchange RSMB shade to work test_movect.hip-1 points
-
I've updated my shader on the Exhange to work with Houdini 11 now. Enjoy. And let me know if you run into any problems. Cheers!-1 points
-
Hi guys, I'm having trouble creating a Motion Vector Pass for a rendering that needs to go out very soon. (1h ago) I installed the RSMB Motion Vector Otl from Houdini Exchange (Houdini Exchange) and it worked fine for objects that are moved in OBJ Level. As soon as I try to apply the same shader to particles (that are moving in local object space) the shader stops working and outputs the same green color information no matter where and when in the sequence. Any ideas? btw there's a sample file attached!! Thanks, Manu MotionVector_test.hip-1 points
-
GREAT!! Steps 1,2 and 3 is the answer to the using popnet instead of particle node. One thing to add, delete SOP must be set to "Delete Non-selected". I stuck a little bit there. The only thing I couldnt figure out is step 4. I got the logic but couldnt figure out how to do this, can you elaborate it? Thank you very much, great workaround.-1 points
-
After source node in pop add attribute node. In it's source group para select justborn group Name the attribute birthframe. Set it's value to $F. You can check the value of birthframe attribute in details view. It gives birth frame no of each particle.-1 points