Search the Community
Showing results for tags 'low poly'.
Found 6 results
-
Hey magicians, I'm burning my head trying to figure out the process to do this conversion: I asume VEX is a must? any thoughts would be helpful Thanks!
-
Hi all I am trying to figure out how to do transfer of uvs (with correct seams) from low poly geometry to hi. Example workflow (works for me in Maya) and to the point I’m stuck in Houdini. Take hi res 3D scan > do poly reduce (gets low poly) > do auto uv > transfer UV to high poly. now this for me works all the way to attribute transfer (vertex uv) but uv edges (seams) are not transferred. I tried transferring uv_seams edge group (and it works to some point) but just can’t get those clean UV islands as in low poly. I must be missing something simple but I can’t figure it out. thanks for help
-
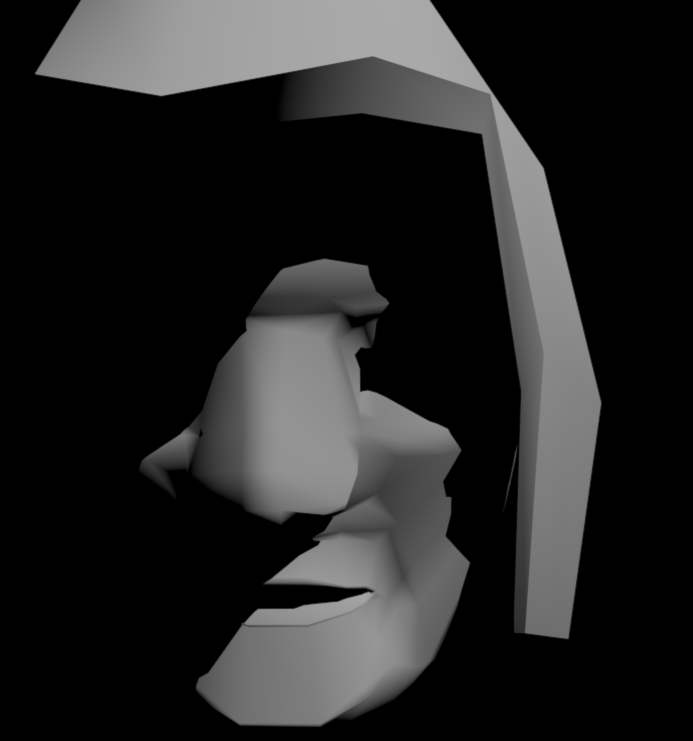
Hey! I have a low poly model and the shadows being cast don't look right. I only have this problem with mantra, when I render it with V-Ray in Maya I don't see the same problem. I tried adjusting the raytracing bias, but that did not fix it. The first picture is the mantra render, the second is from Maya. Any ideas on what causes this? (i dont want to subdivide the geo) thanks: ) shadow.hipnc

-
So I have been stuck on this issues for several days now, all the google links to similar issues have long since become purple. Two nice members of the Houdini discord tried helping me, yet i still can't seem to get this to work. I am working on a game that has quite a few pipes. So an optimized pipe building tool is simply a must for us. I can get the geometry generated perfectly fine, but am having an issue with optimizing it without severe uv stretching. This issue occurs from removing inline points with the facet node on the original path curve. I am trying to transfer the UV map from the hi poly: http://imgur.com/qMP3XGg onto the low poly. http://imgur.com/6zx2Nnx I would prefer to stay away from sweeping. I understand sweeping gives very nice uvs, but this is a branching curve and the branches wont connect like polywire. Using boolean on the intersecting geometry gives less desirable geometry and messes up swept uvs. http://imgur.com/CvbR631 It doesn't necessarily need to be uved like this to begin with. If I can find another way of uv mapping it from the "Path_Fused" node I would be just as pleased. File Included Branch Subnetwork_v1.hip
-
I thought this video by Seb Potter showing his procedural workflow for creating and populating low poly trees was pretty cool. https://youtu.be/006iPuxJyV0
-
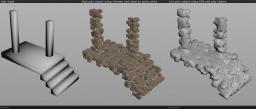
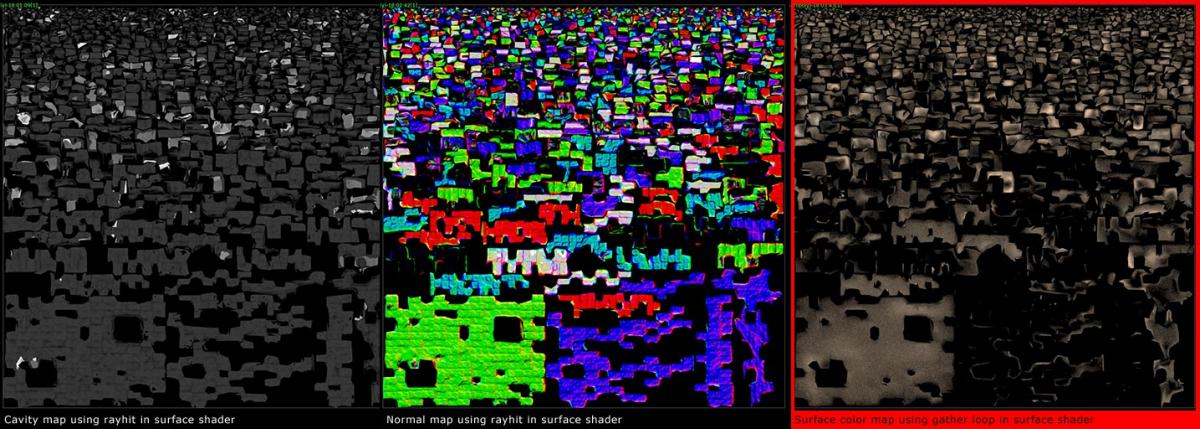
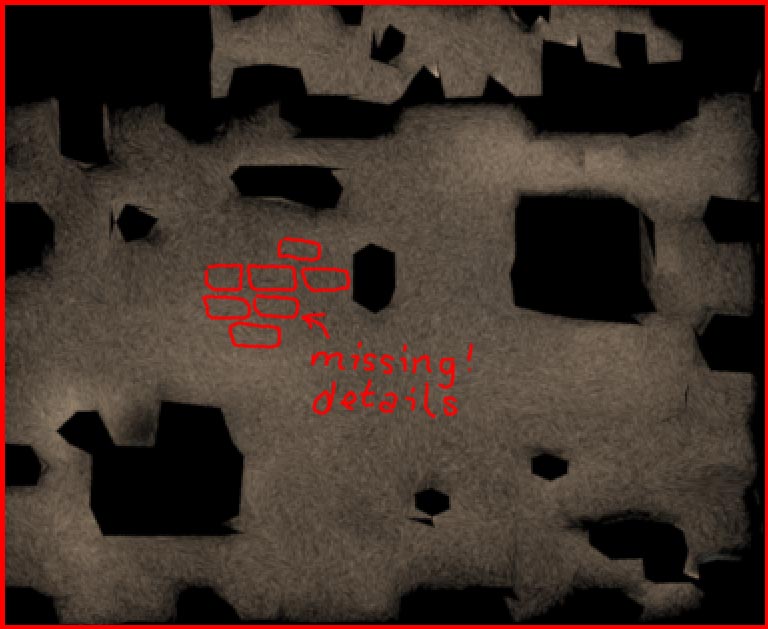
I am trying to bake point colors from a high poly-model to a low poly-model using the gather loop within a surface shader. While my baking shader for cavity (left) and normals (center) shows all the details, the surface color baking does not work as well (image on the right). In this case all the grout and gaps are missing: I attached the hip file. Any ideas how to solve this issue? pillar_sculpted.hipnc