subdproxy
-
Posts
21 -
Joined
-
Last visited
Recent Profile Visitors
3,055 profile views


subdproxy's Achievements
")


-
Hi art3mis, We used all those options before and it depends on what you are exporting. Alembic for vellum cloth is not great for optimisation later on and VAT was constantly loaded in memory which gave us problems during optimisation as well. We ended up using dembones for our baked cloth simulation and in the end was a lot lighter on the system. RBD to FBX was used extensively through out our production. That was great since we can optimise the the simulation right before it was baked and it doesn't change the rbd sim at all. Another issue with Alembic is that it doesn't handle a 2nd UV channel. Glen
-
 subdproxy changed their profile photo
 -
Can you post a Hip File?
-
Thanks! I didn't think about that! This was taken more away from the city, less foot traffic. Now I am curious on what they look like downtown.
-
Thanks! I have been meaning to record a video of a project in the near future. Most likely after the new year. Glen
-
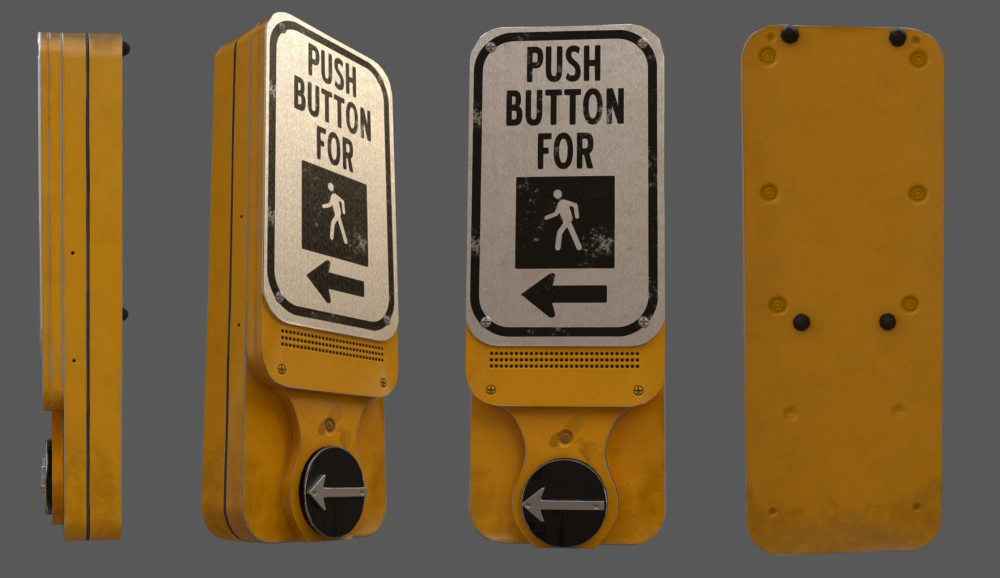
Instead of posting a new topic for each piece of game art, I am just going to dump everything here instead. Here is a low poly walk button I made during my lunch periods. It took about two lunch periods to finish this model. High and low poly, and baked maps were created in Houdini. I baked out a Vertex Color (Mat ID), Normal, World Space Normal, Curvature, Position, and Thickness map. Rendered in Substance Painter.
-
Thanks! I haven't tried any USAF planes yet. I was looking into modeling the Pavelow or the F-35 in the future.
-
Thanks! I'll try and get seomthing together within the next couple of months. This was a mixture of procedural and traditional modeling, more traditional modeling though.
-
Thanks! Not sure if we have the wings swept back in Unity. If not I'll try and get one from Substance.
-
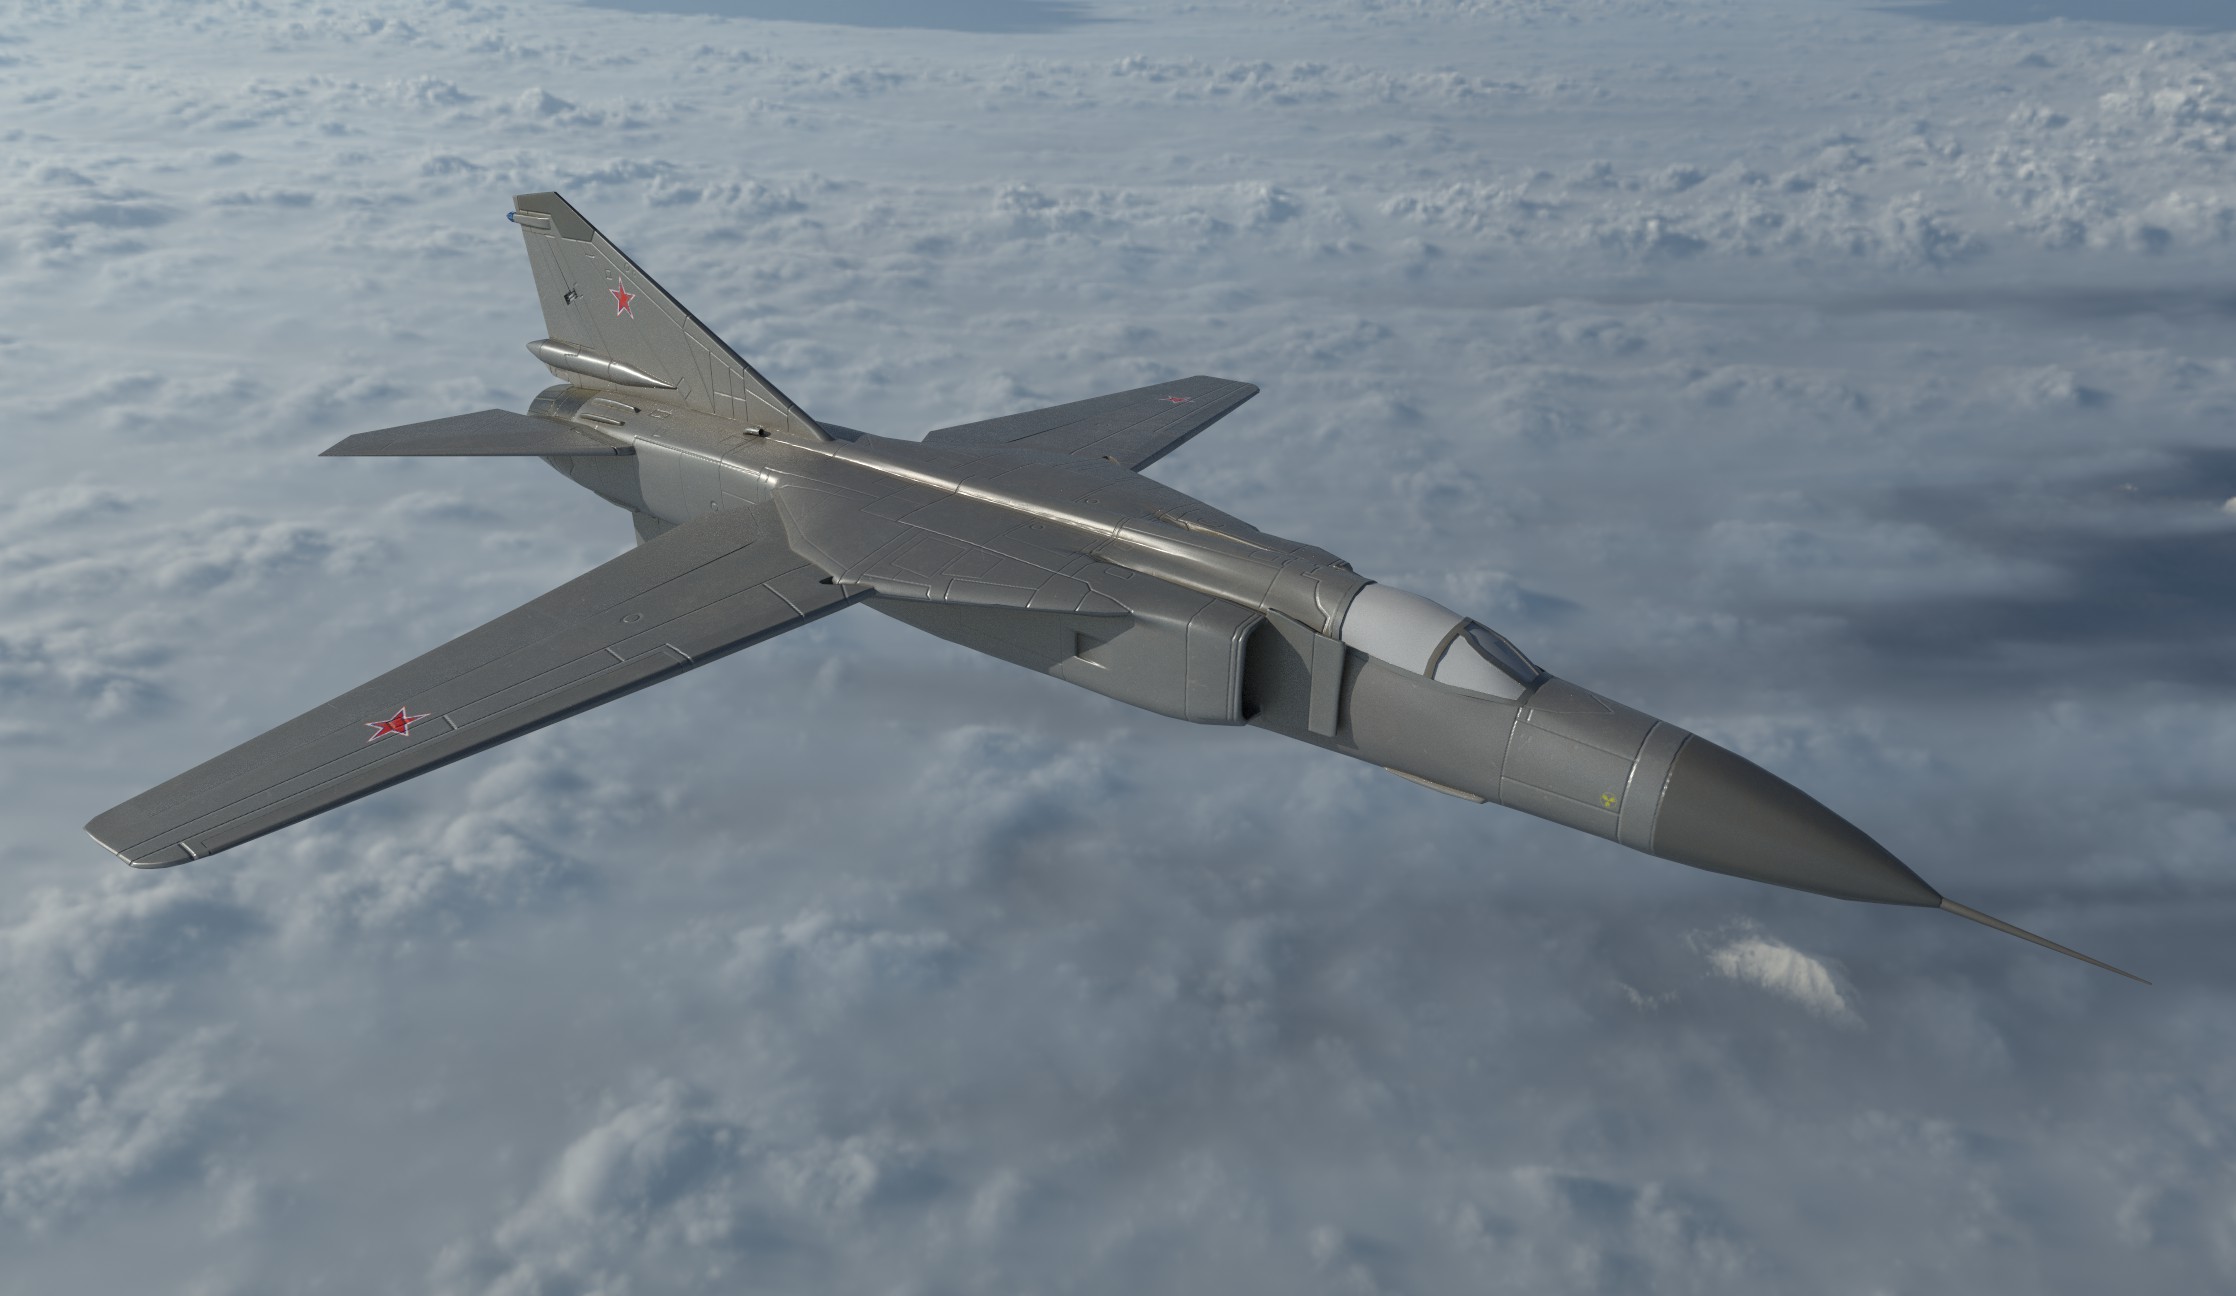
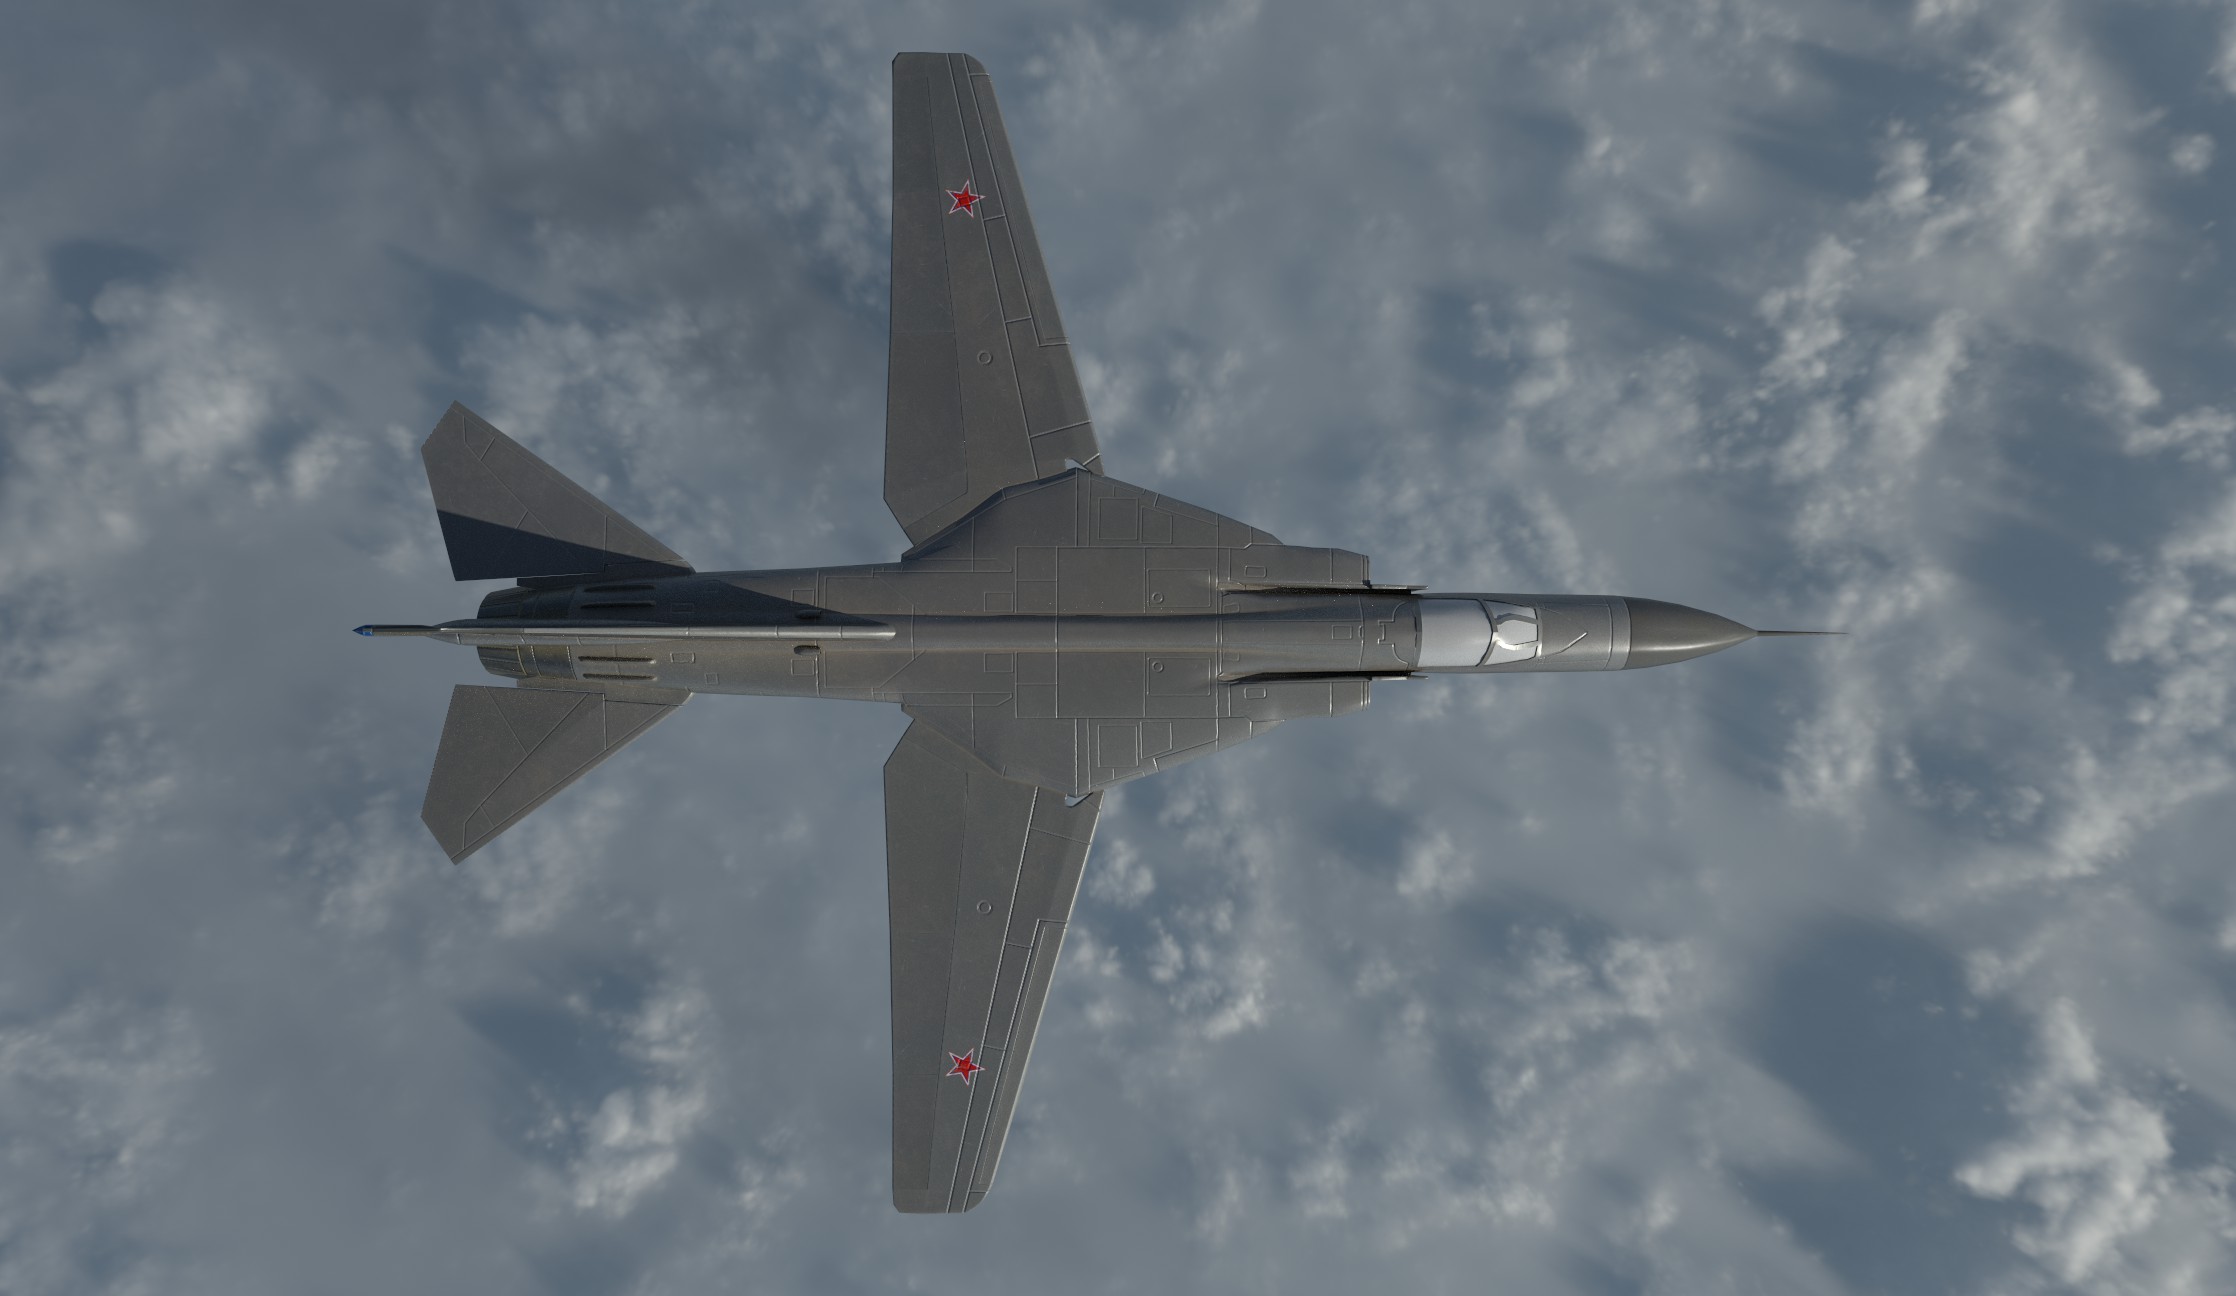
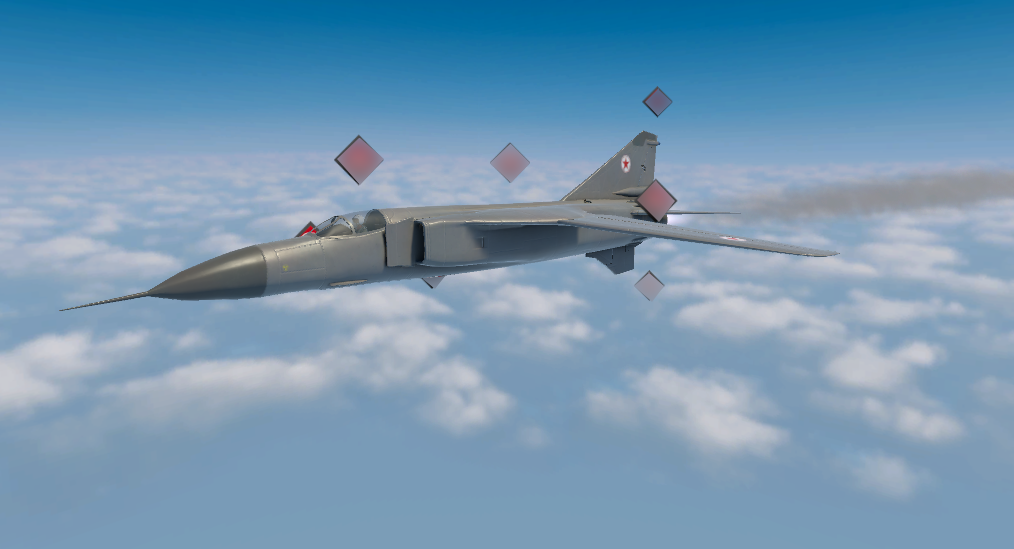
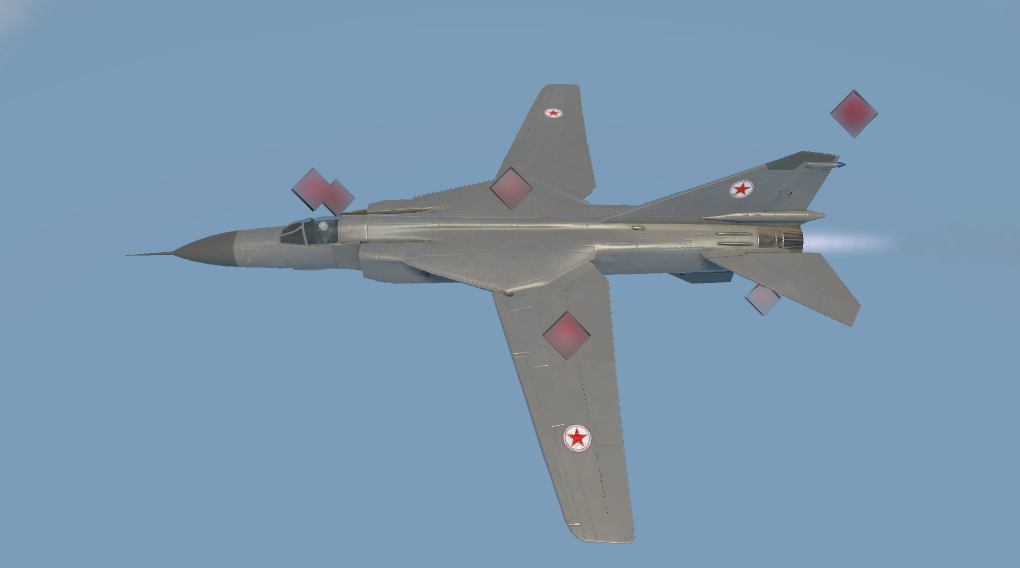
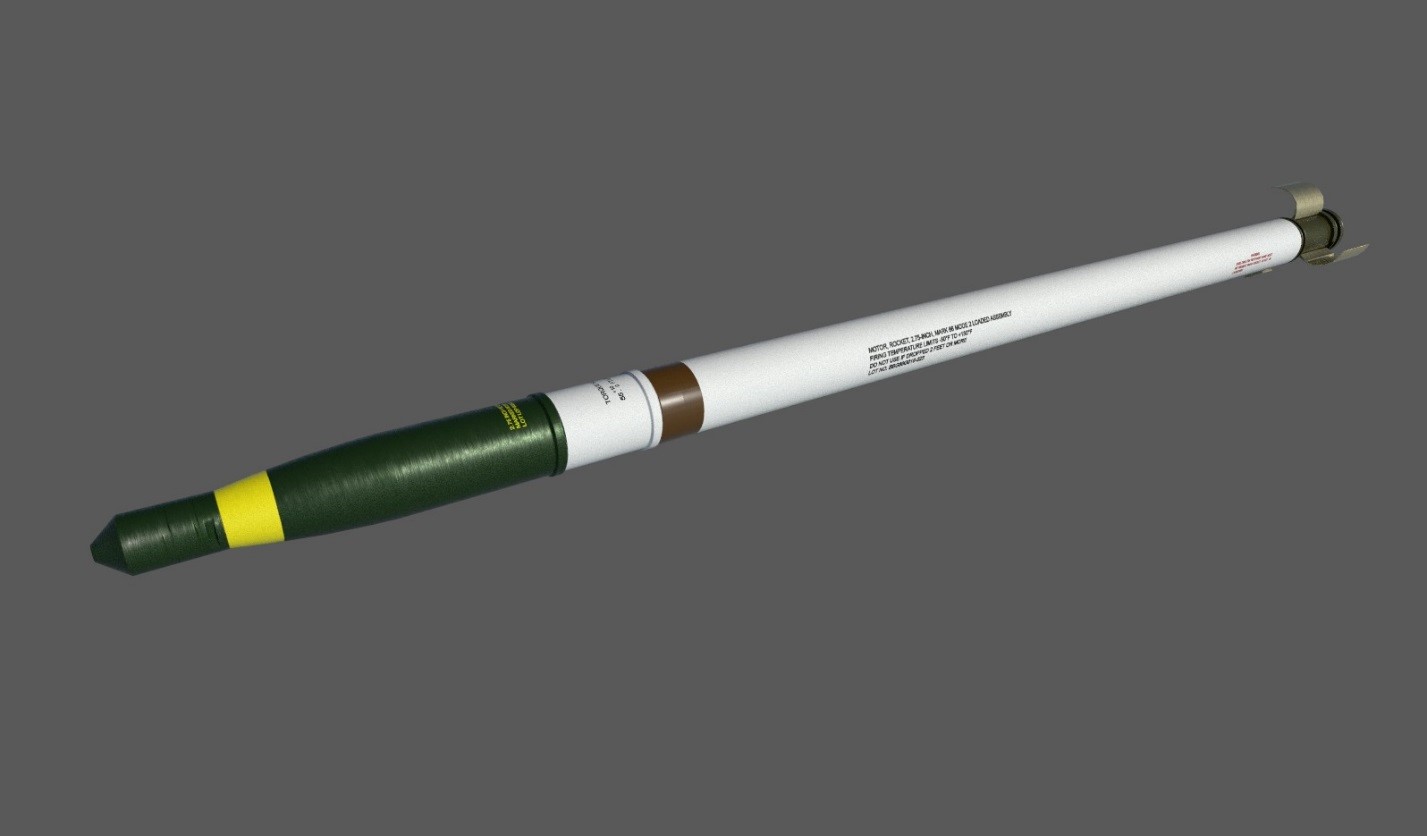
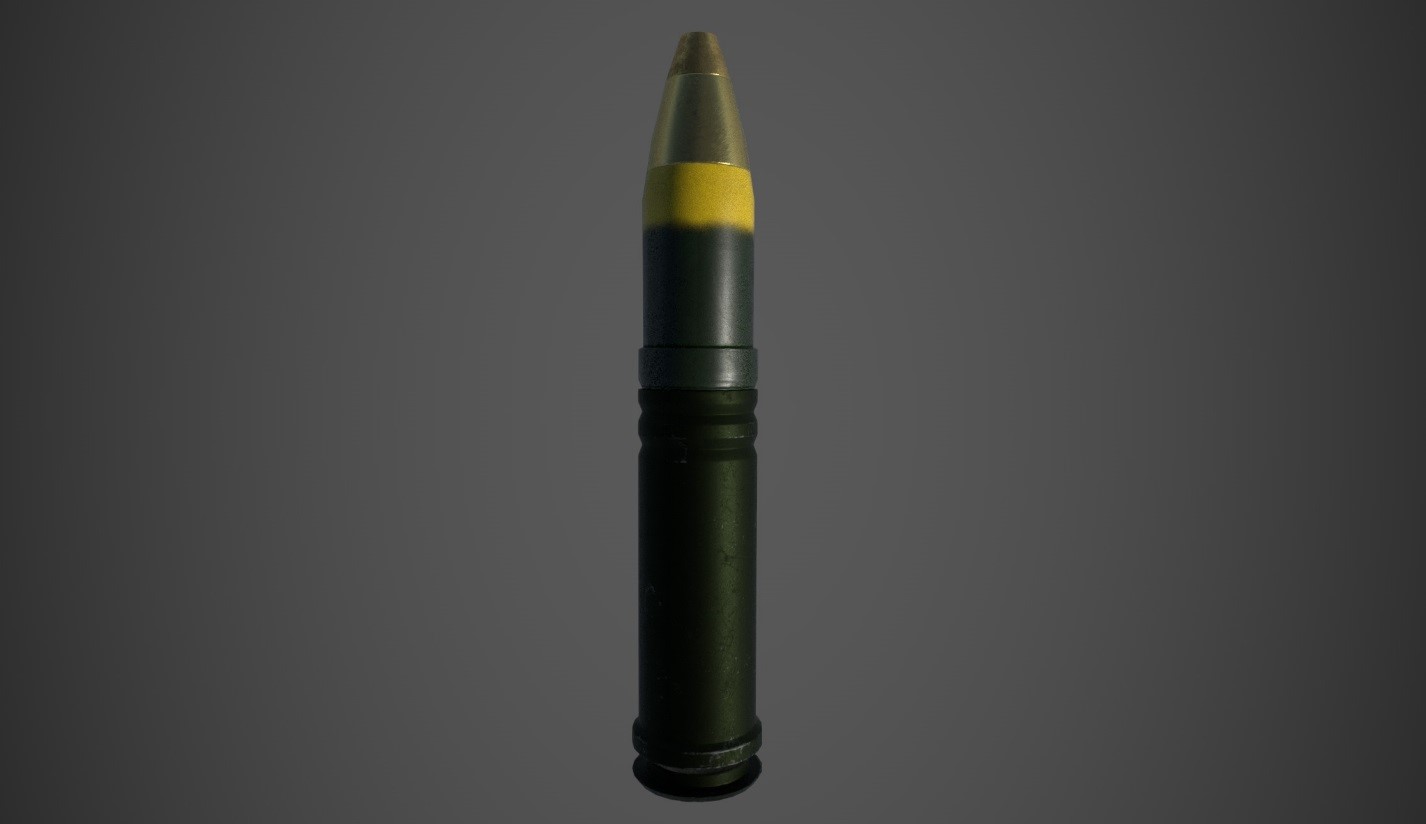
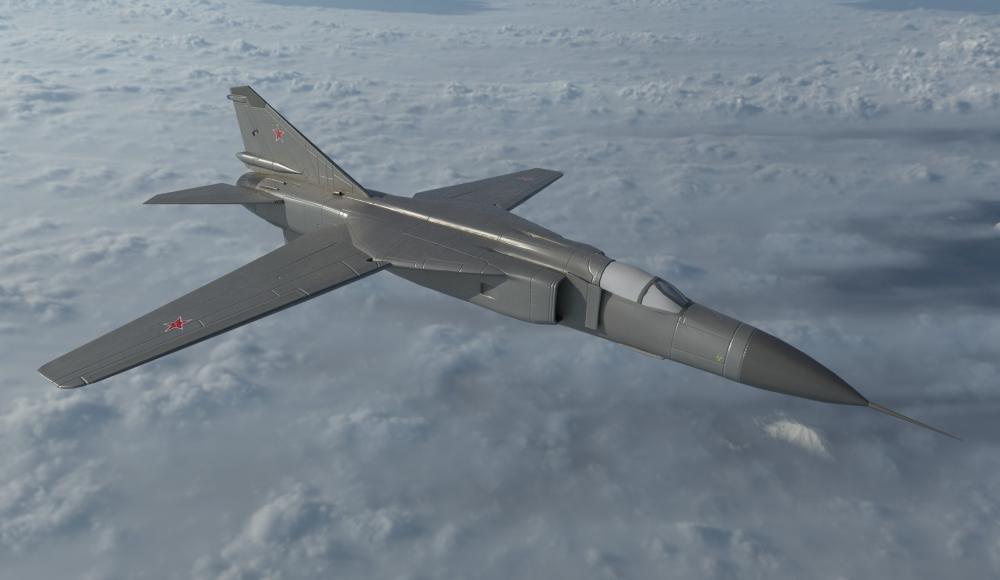
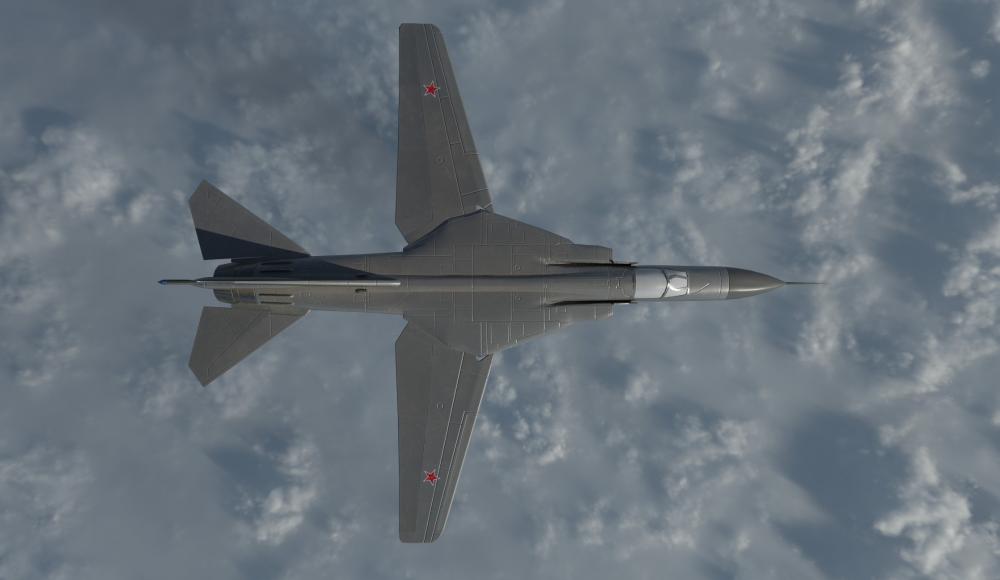
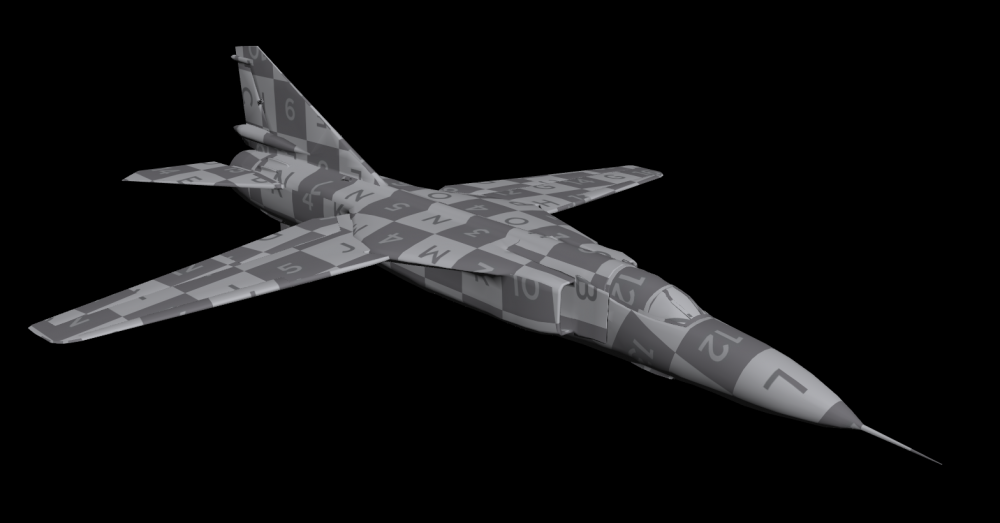
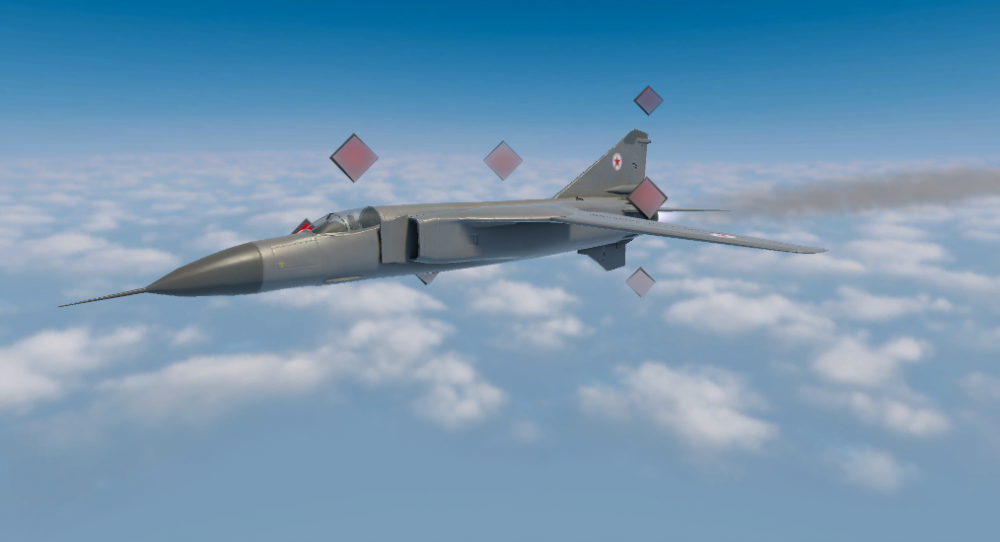
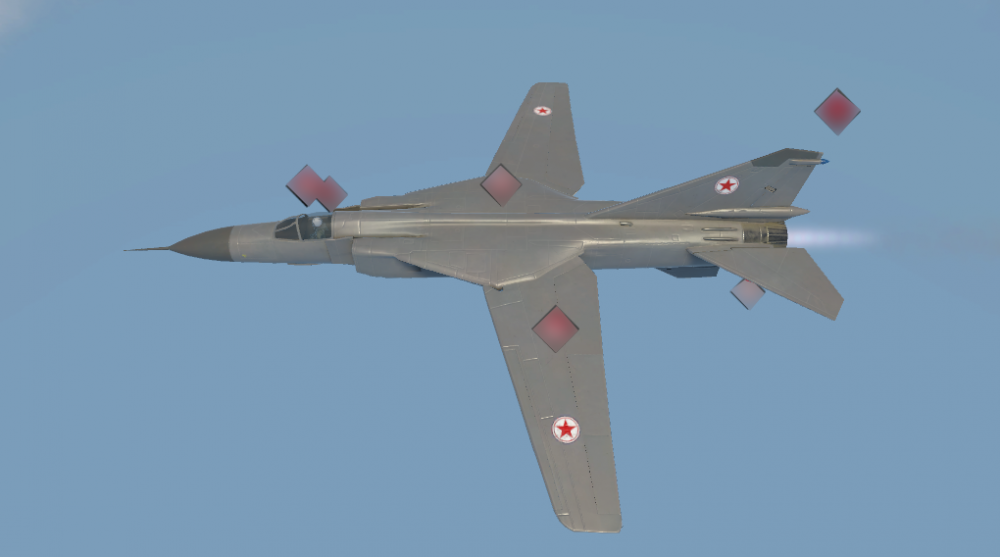
Low Poly MiG-23 DPRK Combat Plane I made using Houdini 16. I made the High Poly, Low Poly, and UVs using Houdini 16. I baked material ID and high to low normal map using the Games Baker ROP. Additional Normal details like the panel lines were in Substance Painter. It was exported from Houdini to Unity. Let me know what you think. Render is from Substance Painter. Currently there is no glass shader for Substance Painter, that is assigned in Unity. Thanks. Waiting on screen shots in Unity. Will post as soon as I get them. *Edit - Screenshots from Unity. I was required to block out the UI elements. You can see the glass shader applied with the pilot inside. *Edit - Low Poly Hydra 70mm Rocket (AH-64 Apache Ammunition) and M789 HEDP Round (AH-64 Apache Ammunition)


- 6 replies
-
- 1
-

-
- houdini
- substance painter
- (and 2 more)
-
I was able to make it work. I appreciate the help with the file. Thanks! Glen
-
Thank you Michael for the file. This really helps! It opened with some errors, not sure if it is suppose to be like that. I included a screen shot. I need to learn more about constraints and rigging in Houdini. Thanks! Glen
-
I have a basic rig that I made using Houdini 16. I have an IK system setup for the clavicle and an IK system for the arm. What I am getting stuck on is having the clavicle follow the arm as it translates in X,Y or Z. Is there a way to get the clavicle to follow the arm? Has anyone had this issue? I have tried connecting the translations of the Left Arm Goal to the translations of the Clavicle IK Goal. I lose the ability to control the clavicle separately, so that didn't work. Thanks, Glen
-
Thanks! I look forward to the new video. A soon as I get a chance I am going to try the clump curves tool. I liked the video since it went through the entire process and nothing seemed to be edited out, ramblings and all. Glen
-
Wanted to start learning more about the Hair and Grooming tools inside Houdini 15 this week. I really like the controls that Houdini has when painting density, frizz, clumping and width maps. I learned a lot from @abvfx and his vimeo videos https://abvfx.wordpress.com/. A problem that I have yet to solve is creating different size clumping on the head hair. I want to have smaller clumps on the side and back of the hair. Then have larger clumps for the top of the hair. I tried painting different clumping density values to vary the clumping. There is probably a way in the Clump Tab within the Fur Node that I am missing. The head hair, beard and eyebrows are separate Fur Nodes which gave me better control over the hair. I am not sure how much of a performance hit this will give me when I animate the character. The model came from one of our character artists, Aaron Gutierrez.
-
Great stuff Andrew! I learned a lot from this thread and your Vimeo video on hair. Are you going to be making any newer videos using the H15.5 hair tools? Glen