Leaderboard


Popular Content
Showing content with the highest reputation since 04/19/2026 in all areas
-
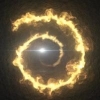
Simple way to define magnetic side initially, more fun is to find out side on fly by availability, distance etc. magnet_chain_v01.hipnc

 4 points
 -
Ask chat... I didn't get an exact solution out of ChatGPT, but I did ask it to write Houdini python code to generate a scene. Perhaps there is something in here you could lift? ap_spiral_to_magnetic_line_051526.hiplc
 1 point
 -
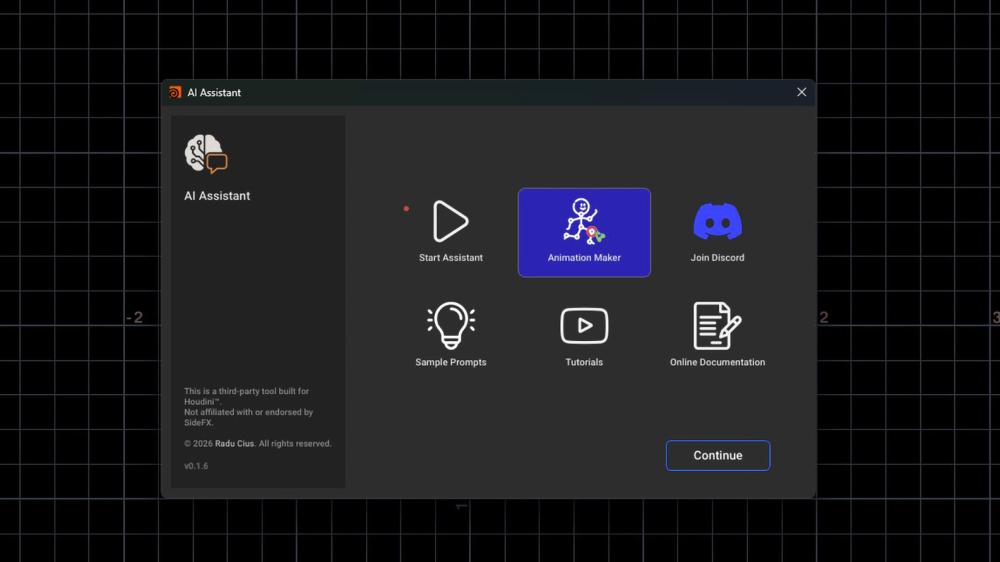
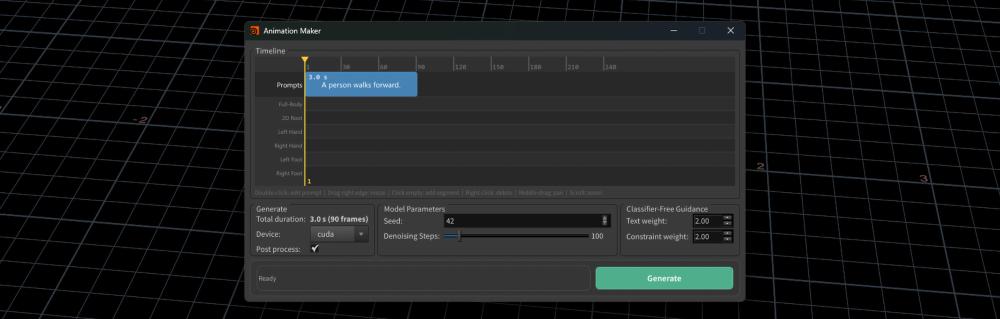
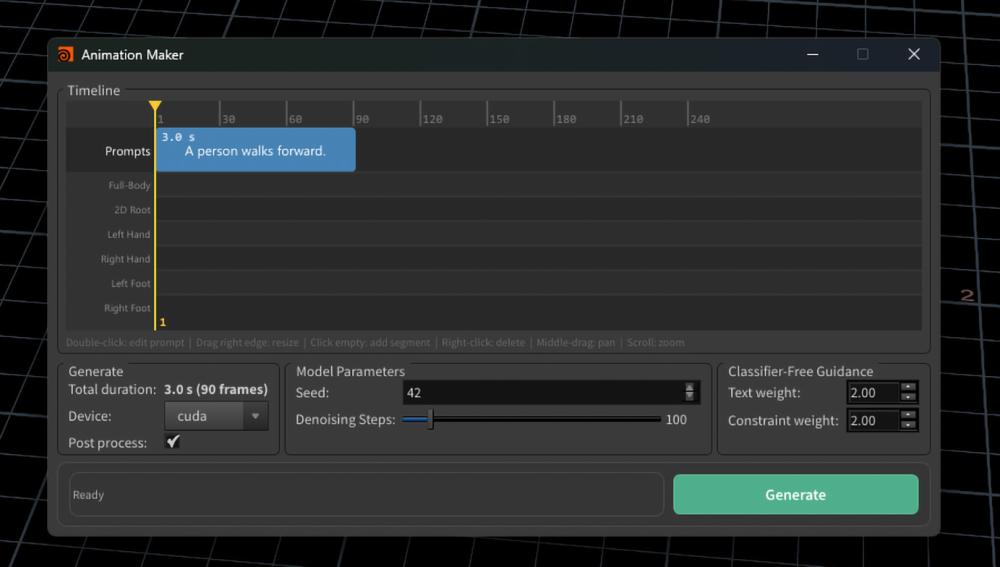
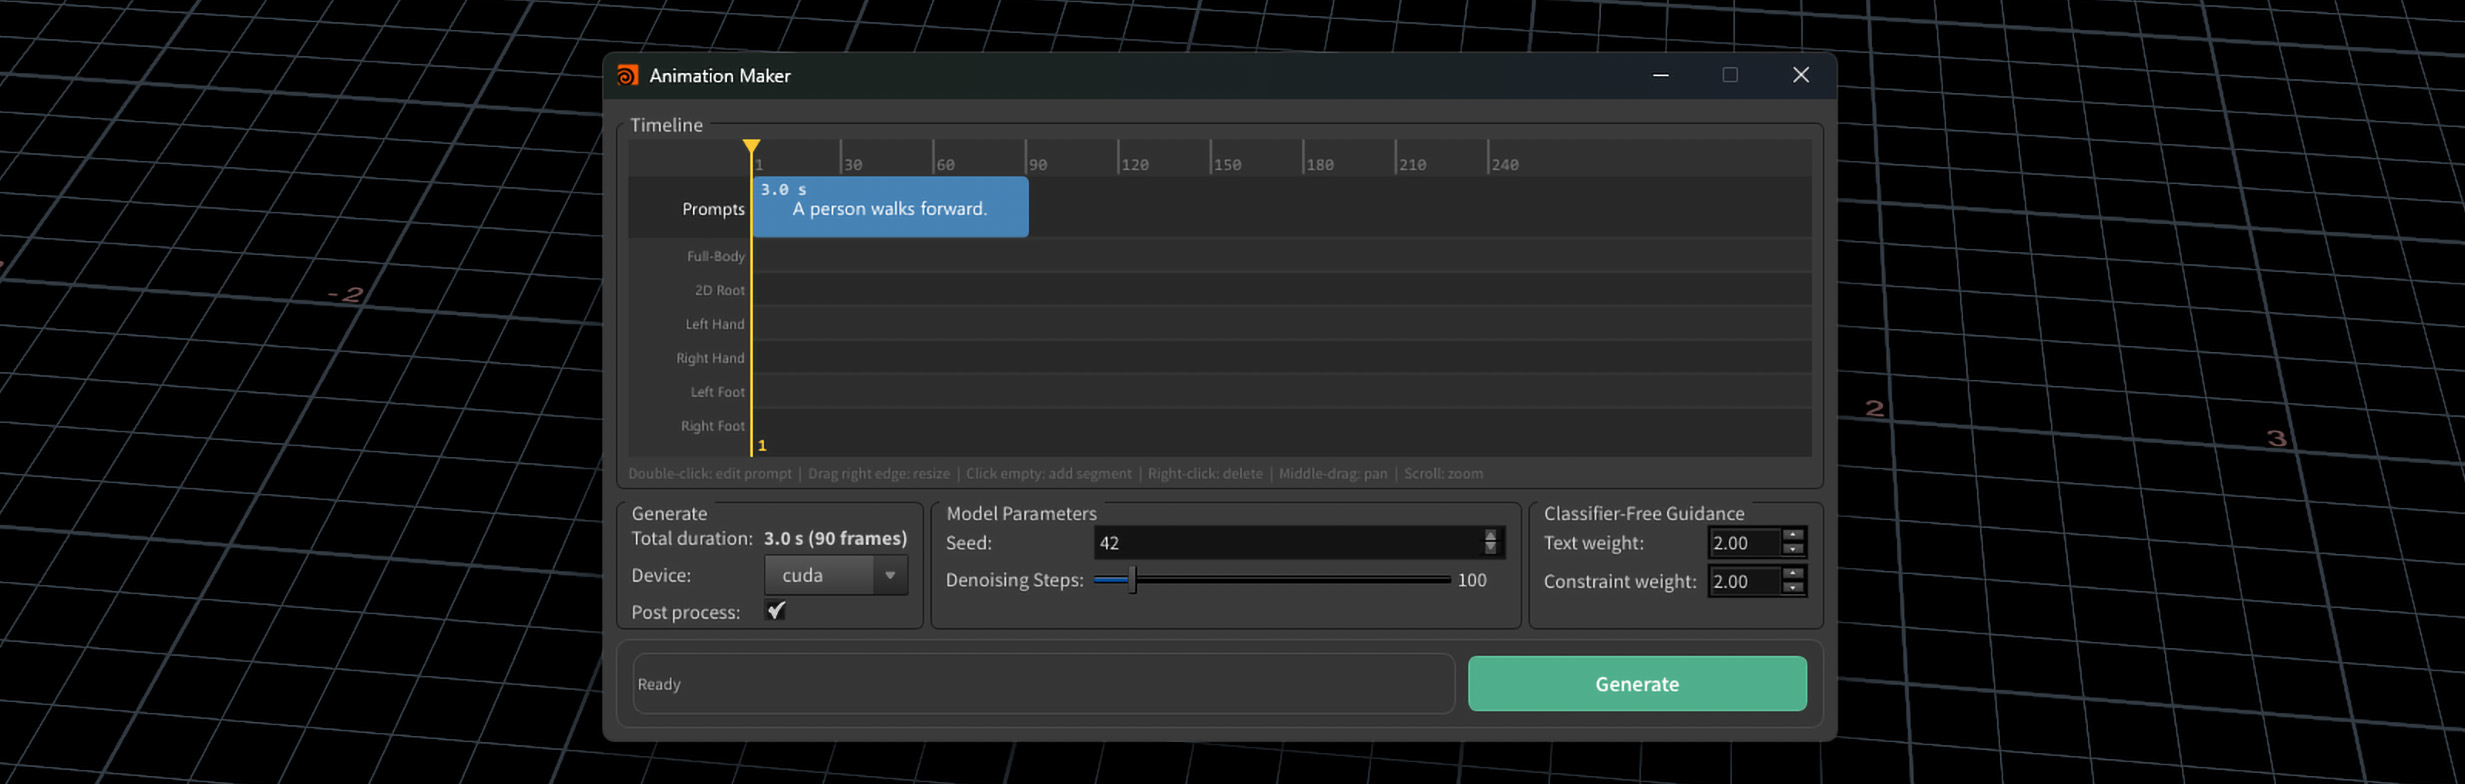
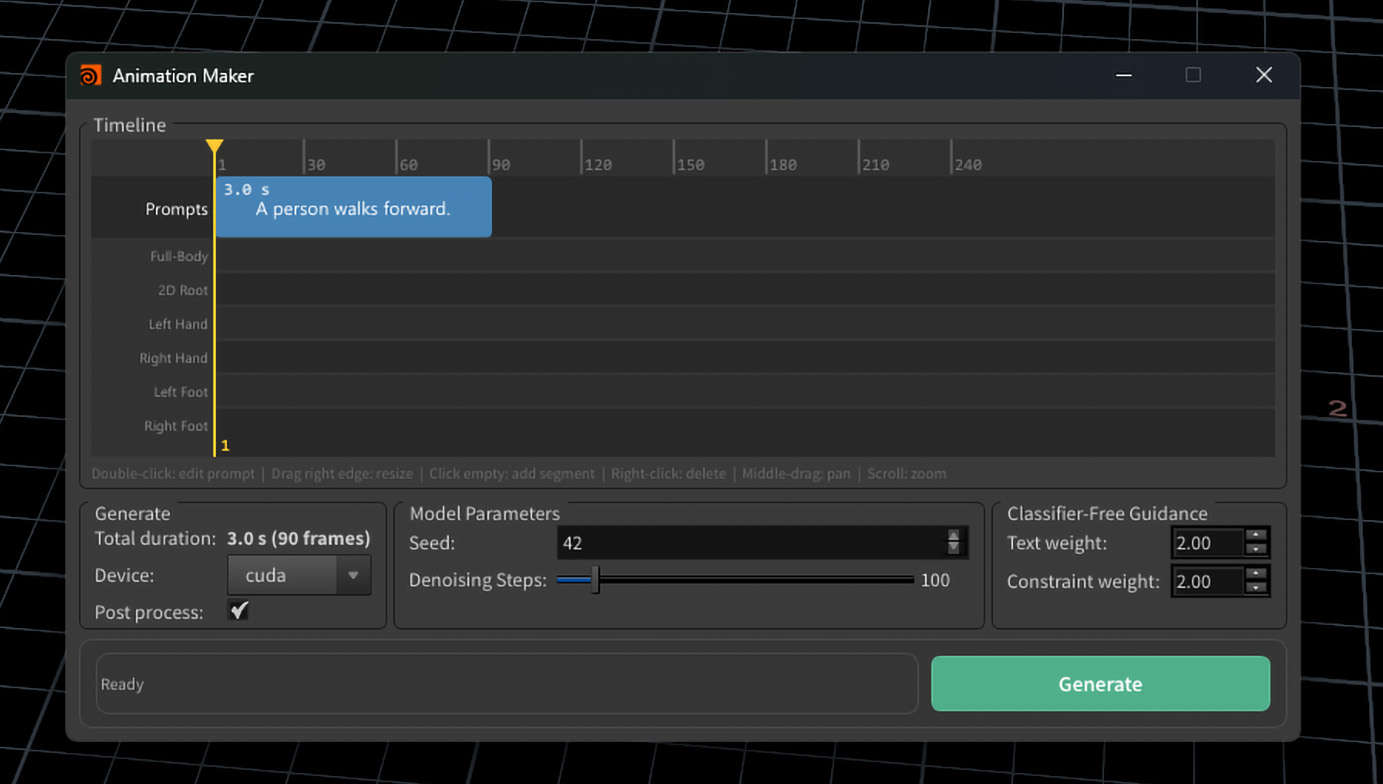
Hi everyone, I wanted to share a new feature now available in Houdini AI Assistant: Animation Maker. It brings text-to-character motion generation directly inside Houdini, using Kimodo for motion generation and KineFX for importing, retargeting, and continuing the animation workflow inside Houdini. Demo: https://youtu.be/dqLJe_3Qlic?si=TEZFXFNnDwSD1ndD The integration is currently available in the Houdini AI Assistant build on Gumroad. Houdini AI Assistant: https://rart.gumroad.com/l/HoudiniAIAssistant Current workflow: Prompt → Generate Motion → Adjust Character Position → Regenerate The current build supports: - Text-to-character motion generation - Multi-prompt timeline - 2D root waypoint controls - Full-body keyframe guides - Hand and foot guide tracks - KineFX retargeting workflow The idea is not just to generate a motion clip externally, but to make the result editable and usable inside Houdini. The generated motion can be imported as BVH, retargeted through KineFX, adjusted, and reused as part of a Houdini character workflow. At the moment this is still an early Windows beta and focused on humanoid motion, since Kimodo is trained around human skeleton animation. APEX support is something I’m also looking into. I’m currently testing different workflows around: Timeline-based prompt segments Motion transitions between prompts 2D path control Full-body constraints Hand / foot end-effector guides BVH import and retargeting reliability I’d be very interested to hear thoughts from Houdini users working with KineFX, APEX, retargeting, or character animation workflows. Houdini AI Assistant: https://rart.gumroad.com/l/HoudiniAIAssistant Would this kind of prompt-based motion generation be useful in your Houdini pipeline? And what would be the most important control features for production use? Thanks, Radu

 1 point
 -
Getting a zoom blur or spin blur in a COP network means writing the same wrangle: work out the aspect-corrected @P coordinate space, build the radial sampling loop, use volumesamplep so alpha doesn’t drop. It’s 30 lines of boilerplate for a basic result. Zoom / Radial Blur COP is that node. Connect an image, pick a mode, done. Blur modes: Zoom Blur (radial scale streaks from center) or Radial Blur (spin/arc smear at constant radius) Center control: Screen Space (−1..1, 0 = image center) or Pixels (absolute coordinates, Y=0 at bottom-left) Samples: 1–256, slider with strict minimum — raise for finals, lower for layout speed Both modes share the same center controls. Switching modes hides the irrelevant parameter (Blur Pixels vs. Blur Angle). Alpha is preserved throughout via volumesamplep. docs and download: https://kleer001.github.io/funkworks/zoom_blur_cop [kleer001.github.io] Houdini 20.5+, any edition. FX users: a build script is included to compile the HDA clean under your own license. More free tools at FunkWorks Home [kleer001.github.io].
 1 point
 -
Damn that's beautiful, thank you so much Paul. Was still working on a few other methods but wasn't really able to figure it out still. Definitely going to study this setup :) Thanks again for taking the time1 point
-
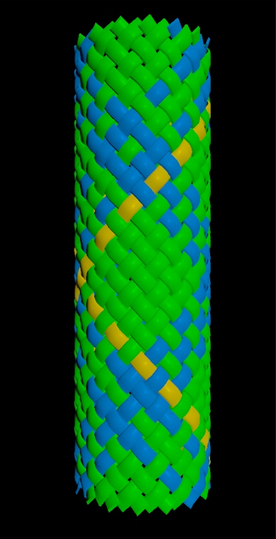
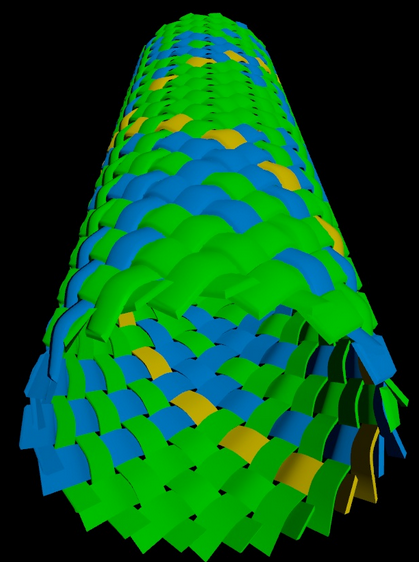
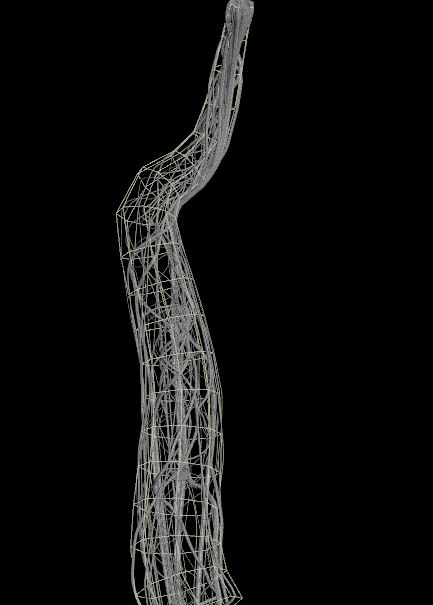
Definitely there're many ways, more or less procedural or mathematically correct. I tried first a more simple and flexible way. climbing_rope_v01.hipnc
 1 point
 -
Fun. Eharmonicminor.mp4 vector.mp4 float.mp41 point
-
Nowadays you would rather use the group expand node, though: https://www.sidefx.com/docs/houdini/nodes/sop/groupexpand.html group_expand.hip1 point
-
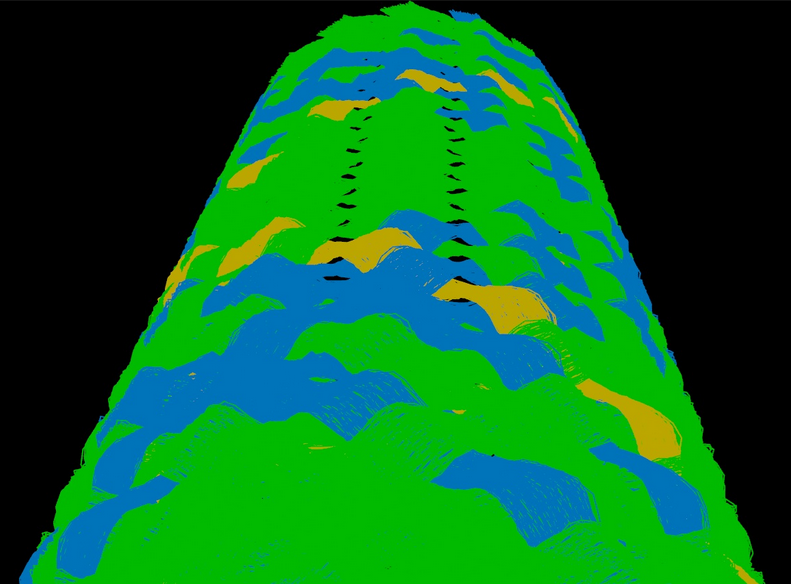
May be you can compute a vector field with a direction along the tube and some noises to create point trails procedural_roots_000.hiplc
 1 point
 -
Thank you again for reaching out Tesan, in the end the solution, AS EXPECTED, was terribly straightforward: a- correctly spelling in the blast node: @id=`detail("../metadata","iteration",0)` (i was missing the back ticks, stupid me, so the blast node wasn't reading it properly); b- adding a second block begin (if you lay down a for each number preset, you'll get it right away) and set it to fetch input and make it stream down to block end of your loop, and then attach the blast node from a-, so that it keeps the correspondent piece/iteration only, so now you can reference it to whatever you want to do in your "main" stream of the loop. I'm just writing it down so that anybody in the future will solve the problem, still, thank you for you effort!!!! Best wishes!
.thumb.png.973f3aaa54d4e026d7930f8c2644eacf.png)
.thumb.png.2a5c825d3a8fb630481d93e5e16ef0b5.png) 1 point
1 point -
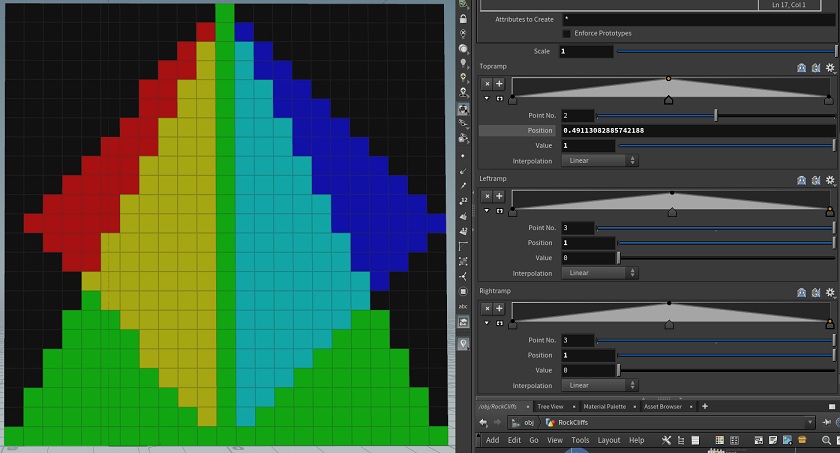
Hi all, Im looking to control the colors on a grid ( YZPlane) in VEX to create a mask (will be used to create a group of the un-masked area), My approach is to use relpointbbox for the position and 3 chrand's for each side profile, Im looking to see if someone has done something similar. My current solution (and for those interested) is fairly simple but gives good control. vector bbox = relpointbbox(0,@P); float Right = chramp('RightRamp',bbox.y); float Left = chramp('LeftRamp',bbox.y); float Top = chramp('TopRamp',bbox.z); //Init to 0 v@Cd = 0; //Top Ramp if(bbox.y<Top ) @Cd.g=1; //Left Ramp if(bbox.z<Left/2+.5 && bbox.z>.5 ) @Cd.r=1; //Right Ramp if(bbox.z > (1-Right)/2 && bbox.z<.5 ) @Cd.b=1;
 1 point
 -
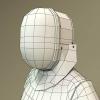
Threw something together quick, might get you started dv_smoothcurve.hipnc
 1 point
 -
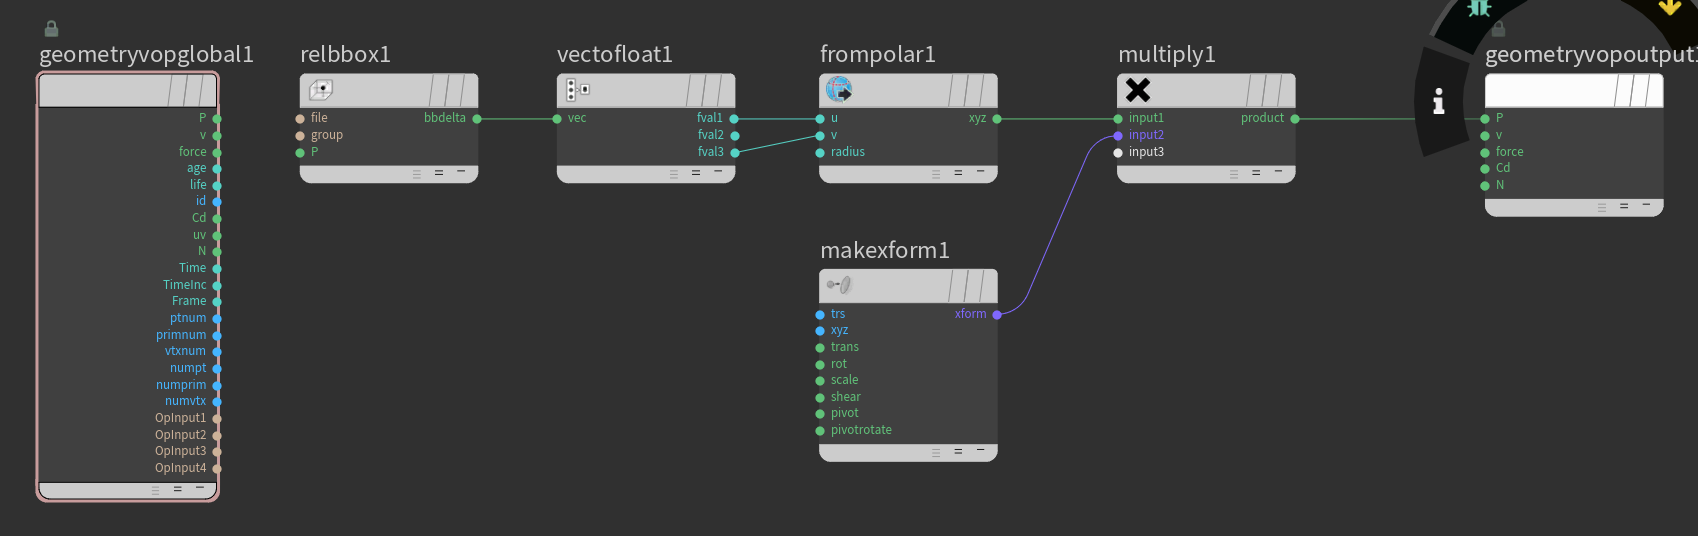
You can spherify a grid based on its bounding box using VOP's 'from polar'-node. spherify_grid.hipnc
 1 point
 -
Just a detail but as is, the bend values don't reflect the actual bending proportions. (bend1 angle x1 bend2 angle x2) If you constrain the capture length to the grid size, then you get correct proportions, and most importantly you can change the grid size freely Grid_to_Sphere F.hiplc1 point
-
It's pretty much just a standard upres. In the upres sim, I multiplied the density field's divsize by 0.4 so there is even less detail loss from advection. This is quick to sim, so I could push the res a lot more. I didn't take any time to add diffusion since it's very tricky, but I boosted the low density values in post, that helps keep the very thin density. lowres divsize: 0.1 upres divsize: 0.025 upres density field divsize : 0.01 bunker_upres.mov1 point
-
Hi, another method is that this group you created is your preselect group, so lets assume to call it preselect. Now put down another group sop, set it to points, turn off the enable toggle on the first page, go to edge tab, turn it on. Turn on edge depth, and in the points group field choose your preselect group, then adjust your edge depth accordingly. I use this all the time.1 point


.png.f370e23b1df4be784d0b40251d9b7bf5.png)
.png.c7b314542ed68cf04432e6853ffe9e4e.png)