Search the Community
Showing results for tags 'maps'.
-
shaders Layering Shaders With map ? (Mantra)
quentin posted a topic in Lighting & Rendering + Solaris!
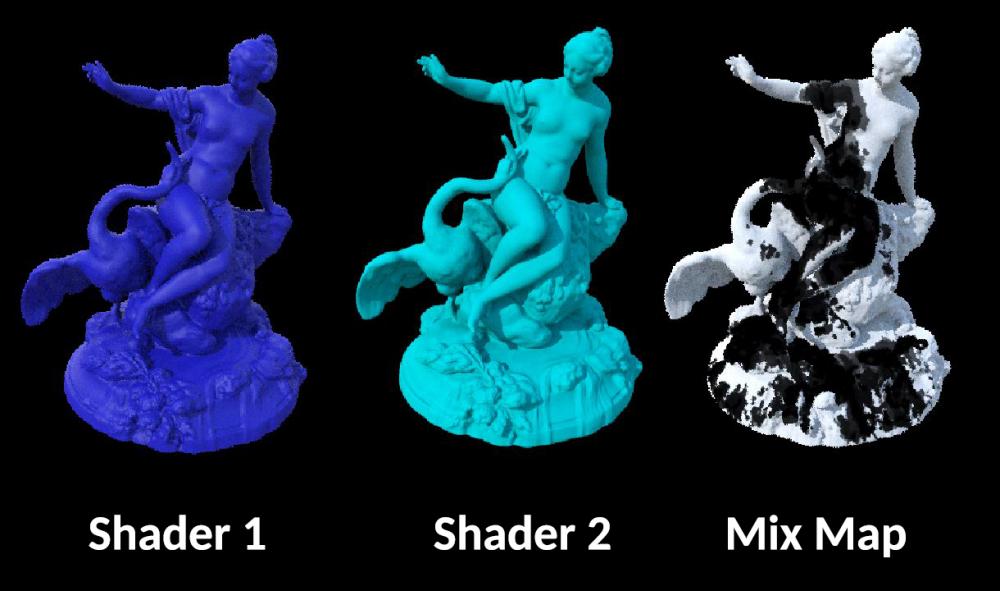
Hi everyone, I'm currently working on a material who mixes 2 shaders and I'm facing a stange issue. How to layering 2 shaders using a map in houdini ? I tried using the layermix and it works but only using a noise as alpha (pluged in alpha) But when i'm trying to use a map there is only the shader 2 who is render the map I want to use is a .pic sequence has alpha and using as mask for wetmap. Does anyone know the right way to use a map as mask for shaders ? maybe I'm not using the layermix correcltly or maybe using a texture node plugged in alpha is not the good way to do it..I don't know. There is not much information about the layermix in Houdini Help... Thans for your help ! -
Hi, Does anyone know how to create variable friction for collision geometry when using particles In houdini. In maya or realflow you can create/paint friction maps. I was wondering what the houdini workflow is to create this. Thanks in advance, R.
-
Hello all, So I'm using the gamedev-Games-Baker to bake out maps. But my tangent space normal is always rendering flat, whether I bake using the game dev tool to disk or extract a Normal image plan in a standard render using a camera . So I'm making the assumption I need another attribute or my normal are incorrect or my setup is - anyone ideas on what I'm missing or going wrong? Side notes; If I bake out the 'world normal' rather than standard or (tangent space normal) I do get a result but not with the standard normal. Any help and explanations would be great Thanks C.
-
Hey Guys! In a recent demo vid on how Houdini can be used in games, they showed how ocean fx can be used to create normal maps for fluid. at 7:46 I'm just wondering, how do I render the normal map? So far, I unwrapped my grid, and used polyframe to get my normal, tangent and bitangent. But I'm unsure on how to get the colour to reflect the correct values. From a lot of reading, it looks like I have to orient my current normal to turn it into tangent space? I've given it a guess, but it doesn't look right. My next step is then how do I bring this into COPS (what it looks like he's using) to save the normal map out? Thanks a lot! fluid_texture_02_HALP.hipnc
-
hey guys, I did this test scene with a low poly and a high poly spheres (I also did a cage but it made no difference) the most important problems are: - (i think) it looks wrong if the high poly faces are outside the low poly surface (i think it's the darker areas on the map) - I can clearly see the low poly faces check it out, here's what I get using the bake texture rop: this is the Tangent-Space Normal (Nt) (displacement have the same problem) and that's how it looks like rendered with tangent normals applied. I will alse need to bake a procedural diffuse color but I'd like to focus on those other problems first. Once again, thank you /Alvaro Bake.rar
-
- bake texture rop
- textures
- (and 5 more)
-
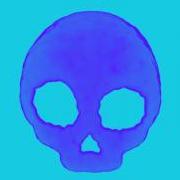
Took me a while to get this far on this project. But I managed to somewhat recreate the derez effect from Tron: Legacy.
-
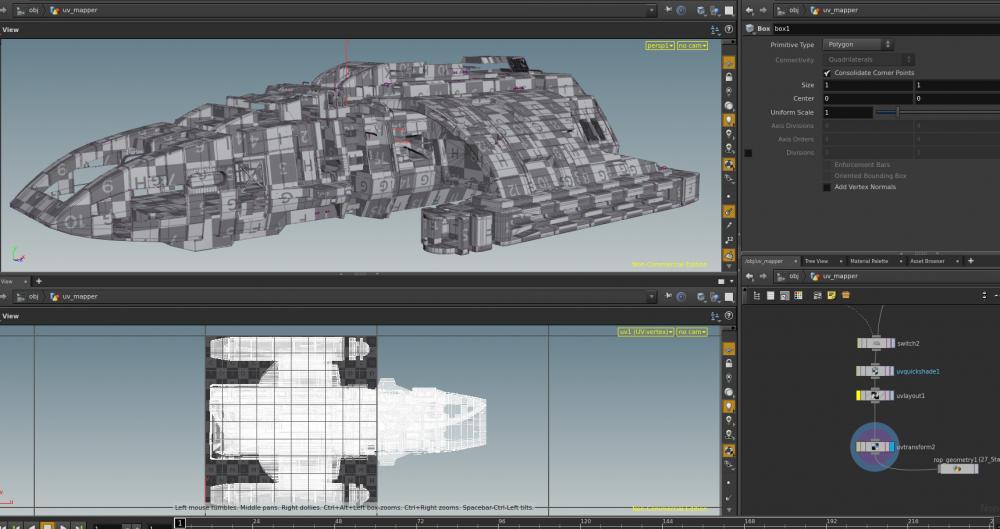
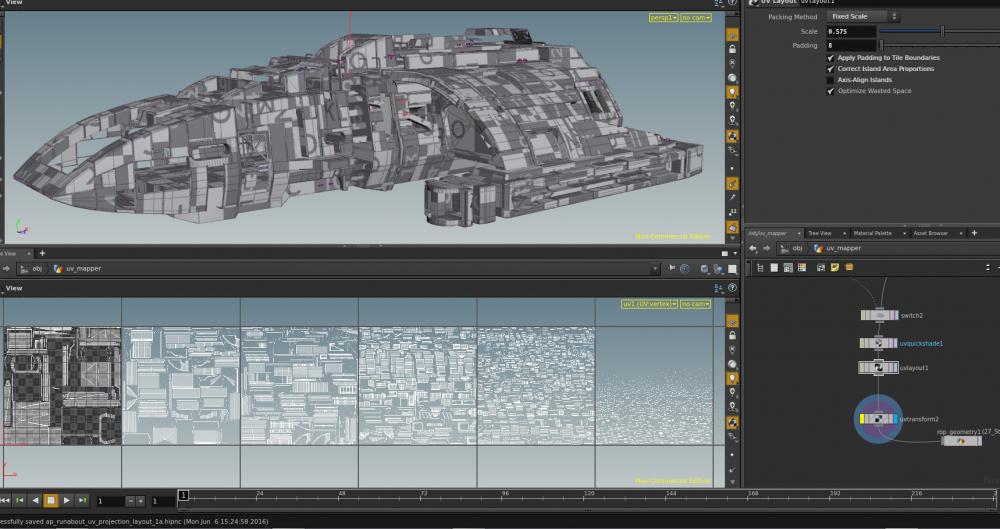
Hi All, I am trying out Mari NC to see what kind of workflow is needed to get UV models out of Houdini and into Mari. In this image I have nice a Box projection that provides a decent looking UV grid across the object. However, if you examine the UV grid you will see that there are a lot of overlapping areas which will not work with Mari. Overlapping areas mean if you paint on one face color may appear on another unintended face. So I have tried out the Houdini UV layout tool and set the scale to limit my UV layout to the maximum of 6 UDIM squares that Mari NC allows. And while this fixes overlapping faces and makes a UV set that Mari can work with it destroys the ability to select associated faces via a UV island. Also there is a ton of wasted space. It looks like the algorithm finds the largest area and populates all the large UV areas on one UDIM tile then moves on to the next UDIM tile, not considering that it could actually use 6 UDIM areas to start with. As you can see the UV faces get smaller and smaller as the UDIM count increases. This ultimately limits paint resolution in Mari when you have to paint on slivers. If the Houdini UV Layout area distribution were smarter I could increase the scale and reduce the number of sliver elements generated. Also, selecting faces in Mari is fairly primitive yet selecting UV islands is quite possible but with the islands split into so many tiny areas selecting by UV areas becomes quite tedious in Mari. I am just wondering if anyone has any tips on UV layout workflow? This probably applies to Substance Painter users as well. ap_runabout_uv_projection_layout_1a.hipnc

