Search the Community
Showing results for tags 'Map'.
-
shaders Layering Shaders With map ? (Mantra)
quentin posted a topic in Lighting & Rendering + Solaris!
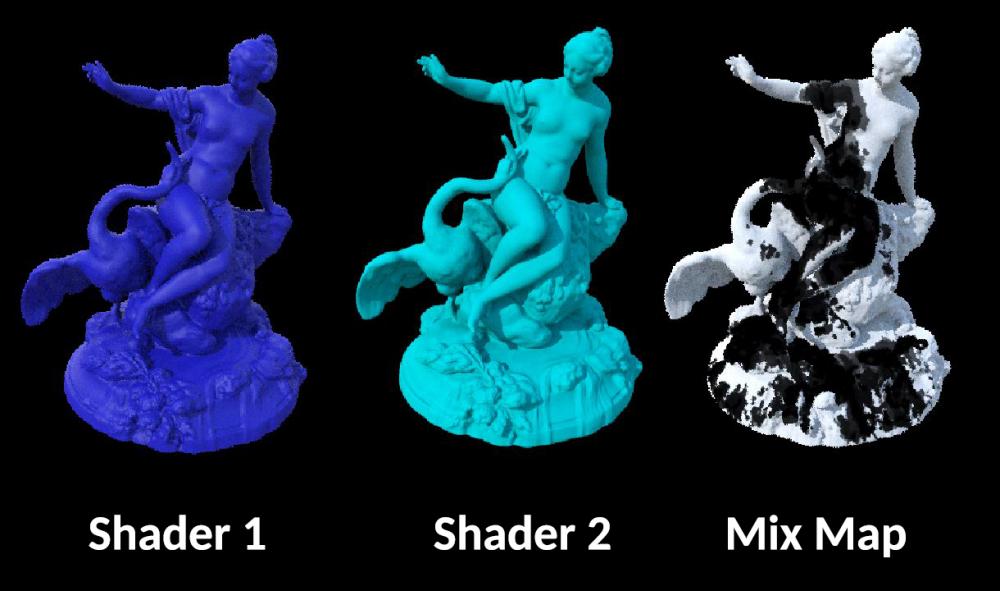
Hi everyone, I'm currently working on a material who mixes 2 shaders and I'm facing a stange issue. How to layering 2 shaders using a map in houdini ? I tried using the layermix and it works but only using a noise as alpha (pluged in alpha) But when i'm trying to use a map there is only the shader 2 who is render the map I want to use is a .pic sequence has alpha and using as mask for wetmap. Does anyone know the right way to use a map as mask for shaders ? maybe I'm not using the layermix correcltly or maybe using a texture node plugged in alpha is not the good way to do it..I don't know. There is not much information about the layermix in Houdini Help... Thans for your help ! -
Hello, I’m new to houdini, so I don’t know much. Is there a way to import particle fluid surface (water fluid displacement) into a displacement texture map? For example, oceanEvaluate node have "export to texture" tab and I can export displacement texture for FFT ocean. Is it possible to do the same for a particle surface mesh?
-
- displacement
- map
-
(and 6 more)
Tagged with:
-
Hey guys, Any idea on how can I apply an image sequence on multiple objects? I have this set of grids and a sequence of textures to apply on it but it can't be randomly. My first thought is through stylesheets (like on crowds) but i'm not sure if this is the best approach. (the original setup doesn't have a copysop though, so I can't use stamps) this is the jpg sequence i have: Scene file is a attached Thx RnD_Texture.Sequence_v100.rar
- 14 replies
-
- stylesheet
- image
- (and 4 more)
-
Hi, I want to emit fire from a geo and use a texture mapped on that geo to control the fire emission. I know there is a way to scatter particles on a geo and then use a texture mapped on that geo to control those particles scale and then use them to emit fuel, but I would like to know if there is a way to directly use a texture on a geo emitting fire to control the fuel amount so when there is a gradient in the texture, the fire really fade correctly instead of just being emited by smaller particles in the grey areas... also I don't like the idea to have to use a really dense mesh to have enough rez for the texture to show in the scattered particles when there are finer details in the texture (or maybe Houdini is so powerful that it doesn't bother to do this...) In the doc about the "attribute from map" node, we can read this: http://www.sidefx.com/docs/houdini/nodes/sop/attribfrommap.html You can use this node to create density, fuel, and temperature data to drive a fluid simulation. Using the Fluid Source operator, this data can become a set of volumes to be used as a source for a fluid simulation. So by "fuel data" do they mean scattered particles as emiter? Or is there a way to use that node to directly control the fuel by a texture? tanks in advance for any hint folks!
-
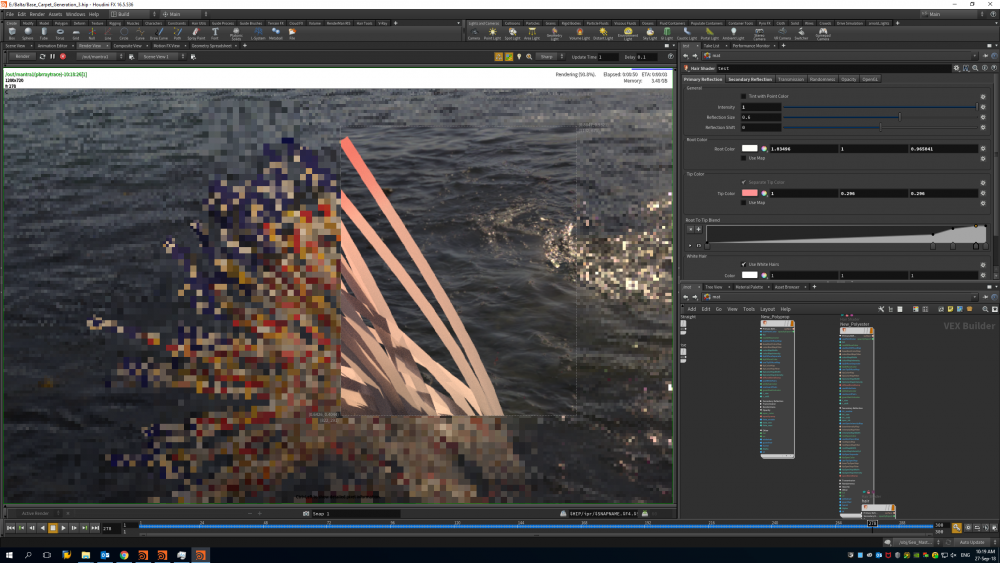
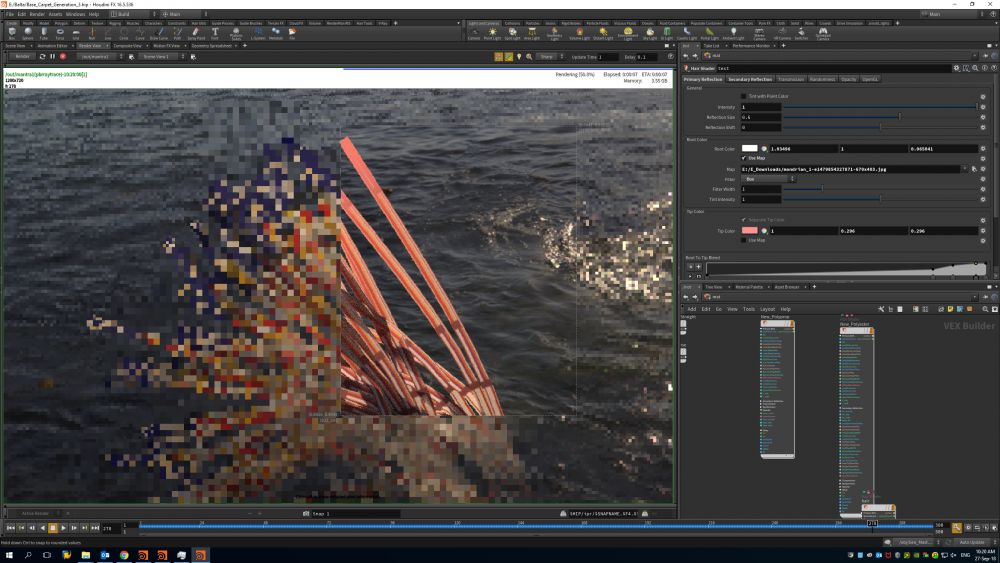
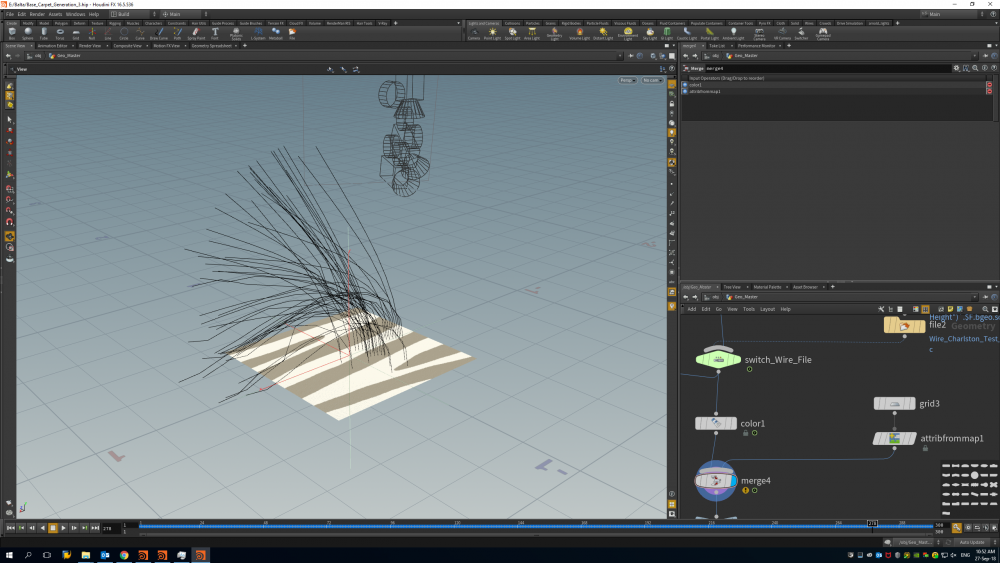
I've generated a bunch of wires which I then applied a wiresim to. Now after this I want to change the colors of the primitives through a texture map. I'd like to do this after the simulation so I can change the texture without having to run the simulation again. Usually when applying hair material to hair you can add a texture map to the root color. This will then allow you to color in the hair based on anything. This doesnt seem to work with my generated wires though. changing the root and tip color does result in a gradient over the strand like image 1. But applying a map projects the entire image per strand. Is there any way to adjust the colors to what I want? Edit for slightly more informaion: So it would be nice to have the strands inherit the color of a texture somehow.
-
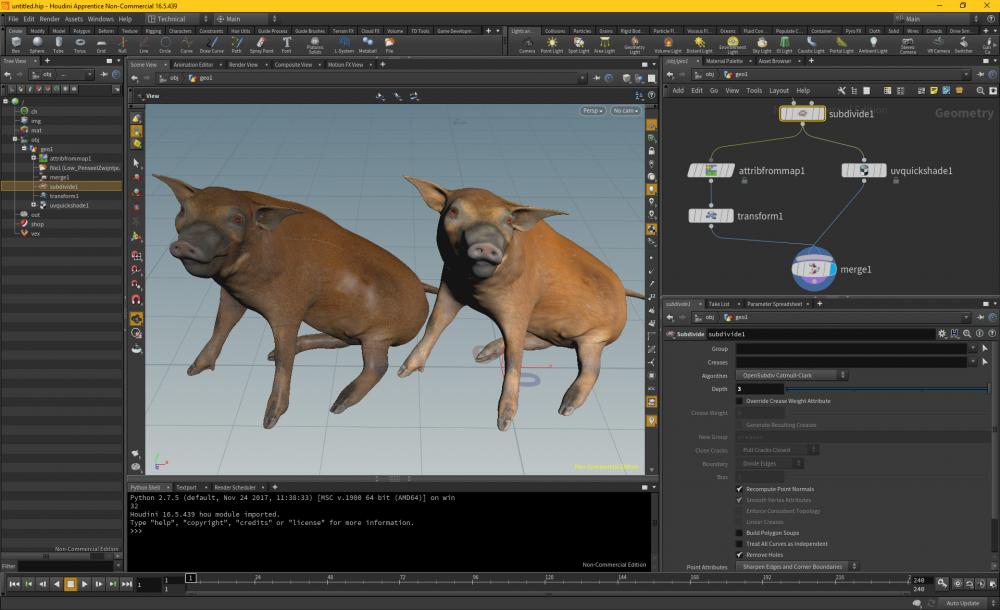
Hi, Hope someone can help: Screenshot Left: using "attrib from map", the color is too dark. Screenshot Right: using "UVquickshade", color is ok. How can I get the result on the right using attrib from Map? Thanks in advance for info! Mark
-
Hi guys, I've been trying to layer 2 normal maps inside one shader and I can't quite figure out what is the right way of blending them. I tried mixing them, adding them, multiplying and subtracting the difference but I can't get them to look correct. As a reference I combined the 2 normal maps in Photoshop by overlaying the red and green channels and multiplying the blue one and I still couldn't get it to match in Mantra. In my file you can see that I have the displacement texture nodes and I'm plugging them into the baseN, and then you can compare it with the displacement texture that is already loading the layered normal from Photoshop. The only way I found of doing this in Houdini is going inside the displacement texture node and doing the same I did with Photoshop combining the RGB channels right before they go into the Displacement node and the normals are calculated. The problem is that it's not a very elegant solution, and I also have the problem that I can't do this with a bump and a normal, so I'm trying to figure out how I can layer the normals themselves, not the textures with the color data. How can I blend 2 normal maps together, or 1 normal map and a bump map? Is there any way of doing this manipulating the normals or will I always have to resort to blending the RGB channels and then getting the value of the normals? Here are the renders showing the difference between the layered normals in Photoshop and the one where I add the normals together: Here is the file with the textures. layerNormalMaps.zip Cheers and happy new year!
-
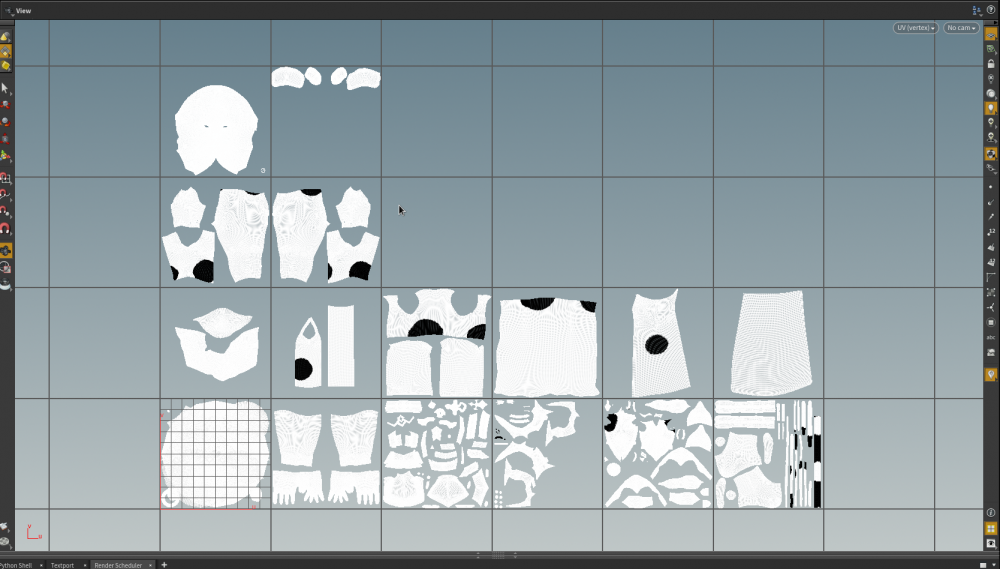
make color to model and render uv map (sequence)
shinsso posted a topic in General Houdini Questions
hi guys I'm doing burning effect so I need a sequence alpha map. I made a procedurally burning area and alpha. So I could get alpha area on uv. Then, I wanna render the sequence uv map like I see on the uv viewport because wanna edit this uv texture in nuke. How can I render this uv map? plus, it's UDIM. -
hey guys, I did this test scene with a low poly and a high poly spheres (I also did a cage but it made no difference) the most important problems are: - (i think) it looks wrong if the high poly faces are outside the low poly surface (i think it's the darker areas on the map) - I can clearly see the low poly faces check it out, here's what I get using the bake texture rop: this is the Tangent-Space Normal (Nt) (displacement have the same problem) and that's how it looks like rendered with tangent normals applied. I will alse need to bake a procedural diffuse color but I'd like to focus on those other problems first. Once again, thank you /Alvaro Bake.rar
-
- bake texture rop
- textures
- (and 5 more)
-
Hello,I'm attempting to create the slitscan/timeshift effect. I'm creating a vector array in a for loop, each loop has an attrib from map and a wrangle that appends Cd to a vector array. It works when the attrib from map is always reading from the same file. When I change the attrib from map file read expression to anything that has to do with $F or the meta nodes iteration Houdini crashes. I have a test scene that has documentation and even nodes setup to create test frames to work with.If it is a matter of the way that multiple files cannot be read at once please let me know. If someone knows of a better way to read from multiple files at once and/or achieve this effect please let me know. I'm aware that after effects has this effect and uses gradients to determine which frame to look up color from. While that method is great, I'd like to be able to write the gradients/lookups in vex to achieve results. Any help greatly appreciated. -T concept_025_slitScan_v001.hiplc
-
Helloı everybody... I was working on one project so i have an animated object and it is colorful like black, red, orange and yellow. I need that object's color map because i must give emission to that animated object and black parts must stay black and color parts must be emissional u know what i am saying.... If i can create a sequenced map, i can give that map to emission of course but problem is how i can create a sequence color map? Anybody has an idea? So, i tried few methods liek disp map or something like that but that gives me black and white, or just one color map. I need to export whole colors! Thanx for help. Peace
-
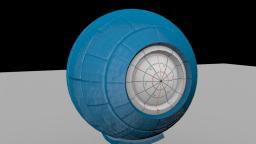
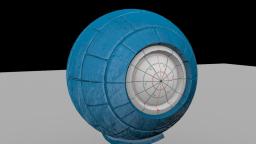
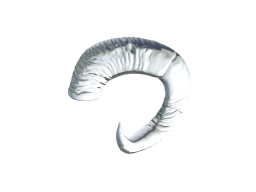
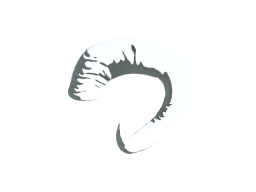
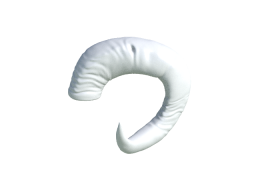
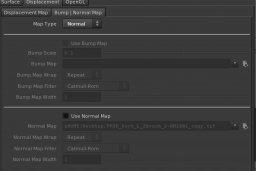
I don't know why, but I've never successfully been able to import a normal map into houdini from zbrush or mudbox. I've had this issue for a year now, and I always just do bump instead. It works, but I'd rather have a tangent space normal map. Both tangent space and object space appear to screw up the lighting in Houdini renders. I'm using the mantra surface shader, default with houdini 13. Anyone know how to get this to work without the harsh edges on the shadows? Image 1 shows how the object looks with a normal map plugged in Image 2 shows how the object looks with "normal" selected from the drop down menu without the map being checked on. Image 3 shows how it looks without the normal option being selected from the drop down menu, just regular obj, no maps. Image 4 shows what I mean by "drop down menu" This is not the problem with the obj or the maps. They work fine in maya. Something weird is happening in Houdini. Thanks!!!
- 1 reply
-
- normal map
- normal
- (and 4 more)
-
Over the course of my graduation project I looked into how a procedural system could be established that would generate a unique deathmatch map that would require as little need of user input as possible. I researched the structural elements of classic deathmatch maps and applied these to construct organic environments. The procedure goes through several steps to establish rooms and paths. Once all rooms and paths have been established a volumetric approach is used to create the mesh. The uv mapping and and polygonal optimization are also completely automized allowing the user to generate a unique map by only pressing a button. Next to having a tool that generates maps without the need for user input, several features for user control were implemented, this does require some knowledge of how Houdini works. The user can manually adjust paths (adding removing etc.) and sculpt additional cover objects. Once exported the map can be imported directly into UDK and be played against bots.
- 1 reply
-
- 2
-

-
- Procedural
- Death
-
(and 4 more)
Tagged with:
-
Hi! I'm trying to speed up a fur rendering. For the most parts of the object 5x5 pixel samples will work fine, but at the edges of the object, where the fur becomes thinner, 9x9 samples are needed. My idea is to use an greyscale image as multiplier for the pixel sampling. The map could be created rendering ultra low res alpha channels - contract and smooth and invert the image, so that there is black where the inner object part is and grey to white where the outline or rim of the object is. Black = 5x5 samples - grey 6x6 - 8x8 samples - white 9x9 samples. That's the plan. I'm pretty new to houdini and do not know how to get values from an image nor if or how houdini can handle the grey values for every render tile due it needs to calculate the sum of digits for every tile to get only one value as sampling multiplier per tile. Even after googeling for hours i did not found an howto use image maps as values/multipliers. 5x5 samples ~6 minutes rendertime per frame 9x9 samples ~21 minutes rendertime per frame Thats why i would like to get this kinda adaptive sampling. Or is there another solution for my problem? Thanks.

