All Activity
- Past hour
-
Also the reason I have chosen to separate the ACTOR and the rbd sim rather then retiming them together is because im rendering outside of houdini and do not want to have to reimport ACTOR and reconnect all properties.
-
I think this is a pretty specific use case but may encounter again when dealing with time remapping of simulations. I have a sim that has been retimed a certain way to match with the the Alembic called (ACTOR_SLOWED) essentially creating a cohesive bullettime effect. The issue is that because the sim and the Actor Alembic have been retimed independently, The actor eventually clips through some of the debris later in the sim. I was wondering if there was a way to just push the SIM PTS that are clipping through ACTOR ALEMBIC out or around or even do another collision sim check to get them to react properly without having to change the entire sim. Initial ideas are to do some sort of POPVOP adjustment or using a custom solver to sim the points again with the retime collider (ALEMBIC ACTOR) but don't really know how to go about that. Any help is appreciated thanks. Wall Break.hiplc
- Today
-

Pop Advect By Volume Problems
tamagochy replied to GlennimusPrime's topic in General Houdini Questions
You can detect by volume sample is particles inside volume and advect them -
 pn2648 joined the community
 -
may be temperature channel act as emissive you can check
-

VAT Dynamic Remeshing appears corrupted in Unreal 5.2
pandapin223 replied to vamuse's topic in Games
this fx is made of pop or flip in houdini ? cuz dynamic remeshing made from pop dose not work properly in UE. -
Labs VAT > Advance > (Allow Exporting Real-Time Data JSON File (Legacy) ON and Support Real-Time Instancing on) Mkaing this Option ON Houdini Will Export data.json file open That and copy bound min max xyz values to ue material instance. this should work properly with niagara.
-
 guonan100 joined the community
 - Yesterday
-
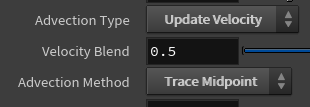
With Pop Advect By Volume inside a POPnet, when particles reach the edge of the volume / the volume bounds, they lose all velocity and just stop. I recall seeing a video somewhere of someone who builds a better Pop Advect By Volume node, by diving inside and setting the particle velocity to continue, rather than just hitting zero. Does anyone know the video I'm talking about? I cannot find it anywhere. Or does anyone have any ideas on how to implement this technique?
-

Need Help Post Sim Ripple Tutorial
adamknauer1 replied to adamknauer1's topic in General Houdini Questions
@Shieh3YES! That's the tutorial. Thank you so much -
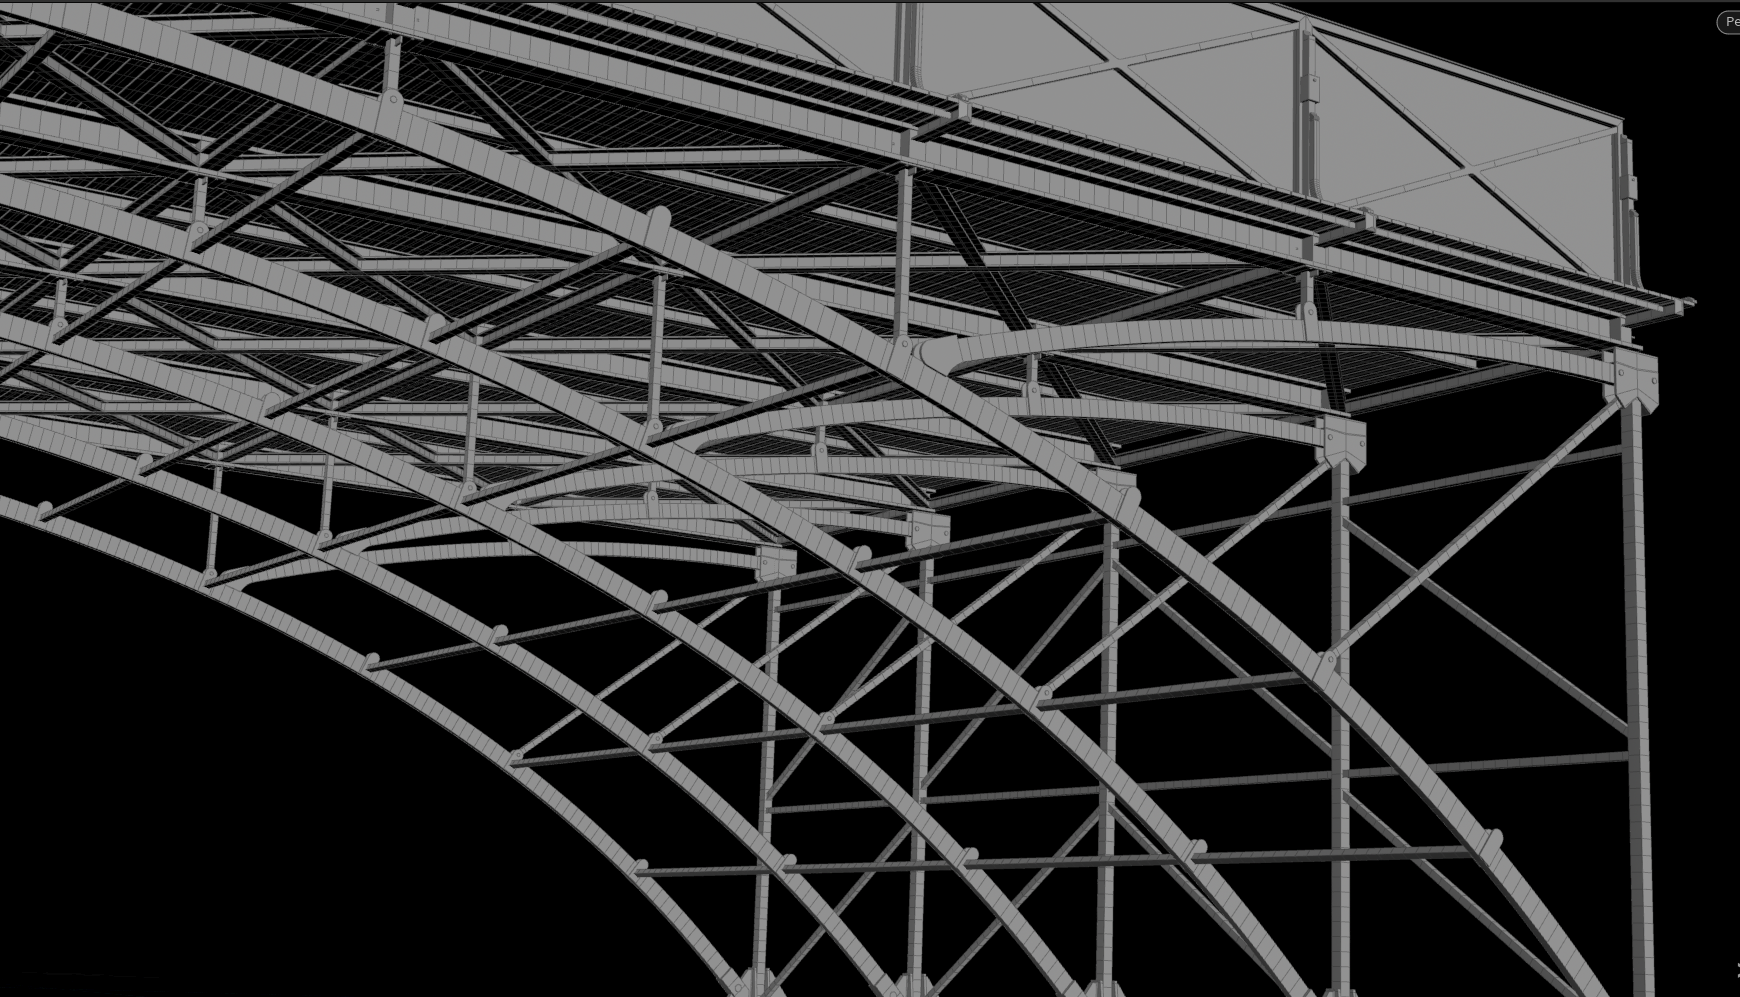
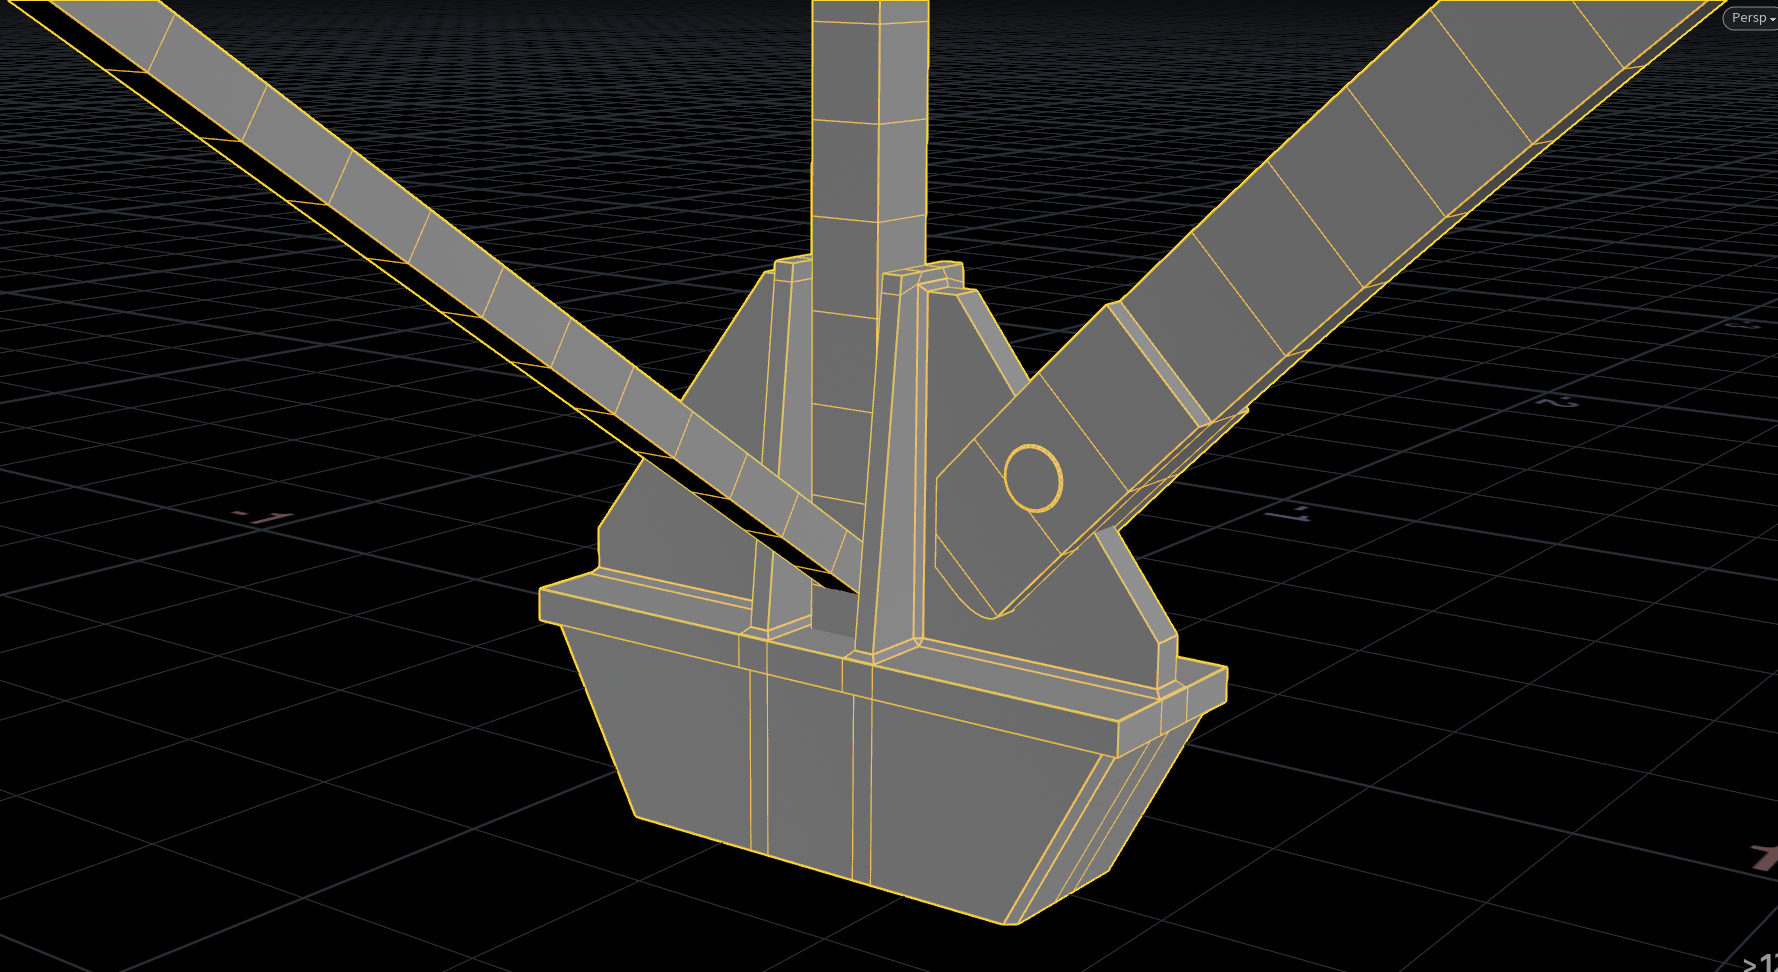
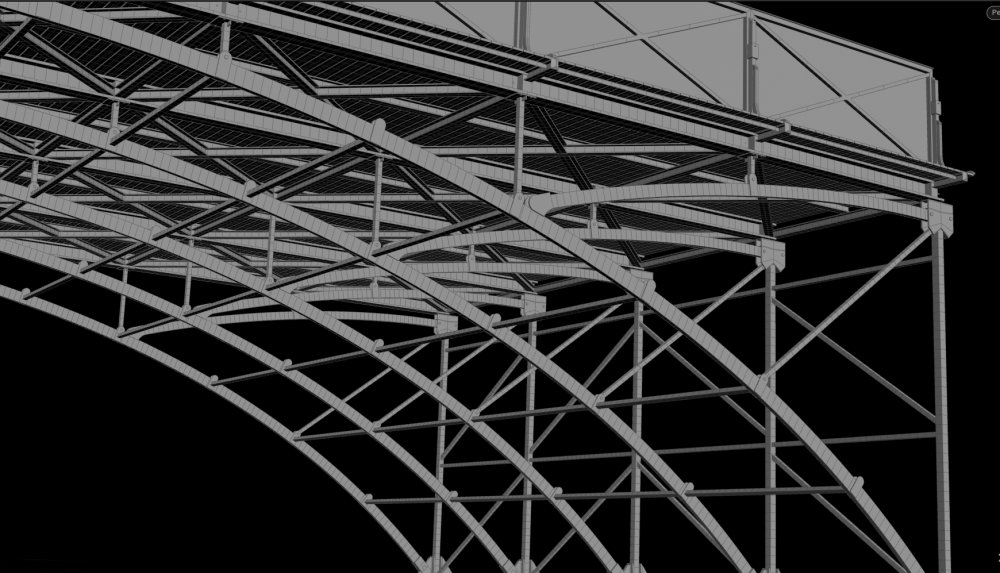
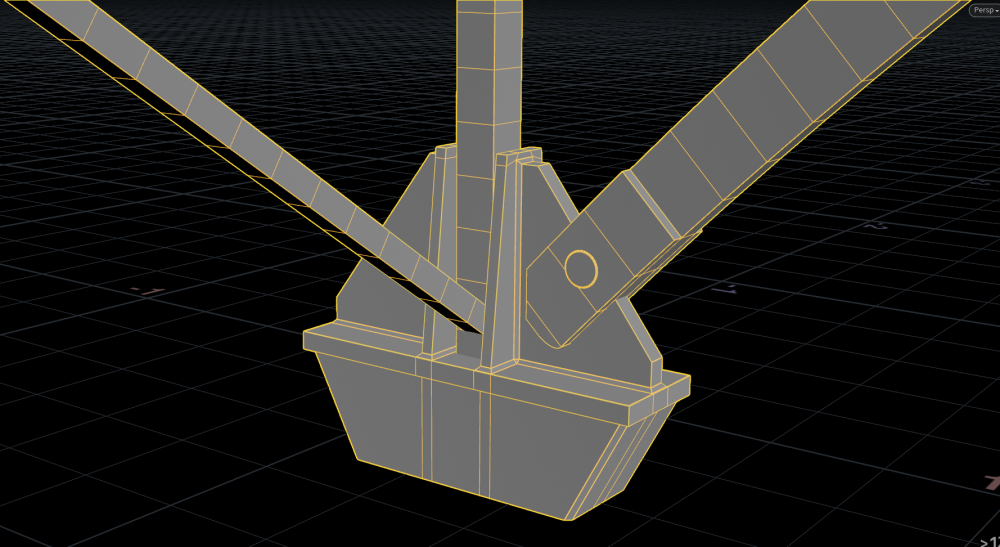
 For the archs and the structure yes, but the complex block is a mix of polyextrudes and polybevel...
 -
 Did you model these procedurally? If so, there are probably ways of assigning UVs while modeling and not after.
 -
 Siyun joined the community
 -
Why are you necroing 10-year old posts?
-
Many objects are procedural like these (lines & curves here): But others parts are more complex like that: This is why I'm trying to manage better UVs than LabsAutoUV node...
-
 Data_Man joined the community
 -
It's usually best to create UVs on the fly and not just at the end. For this, you can use the sweep node for pretty much any building part and enable its UV outputs. Additionally other output attributes such as primrow and ptcol can be useful for selecting patterns next, ie. i@primcol%3==1
- Last week
-
 muhammadibrahim9412 joined the community
 -
 I was testing an agent for ragdoll and noticed when I reload the agent definition cache (load from disk and attributes on) it locks up houdini trying to recalculate something in the crowdsolver. Is this a known thing?
 -
megm changed their profile photo
-
 This!! And in the end it depends on how you model it and what you mean when you say high level details, which details??? share an example file, maybe you can create a file of 4 examples with different details, in which you have these problems. And believe me, you will be answered!!
 -
Hello, I'm currently modeling some large architecture stuff (like bridge and buidlings with high level details) with Houdini. And of course, I'm using procedural modeling to the maximum I can. But now come the UV part and it's not my main skill at all... So, what's the best way to do that?? Using nodes like "uvtexture", "labsautouv", "uvunwrap" and manage the result inside another software like Adobe Painter, RizomUV or anything else? Or manage everything "at hand" with custom seams, uvlayout and Copernicus module ?? If you can give me some good advices about this subject, it will be very (very!) cool! Thanks a lot in advance!
-
Why?
-
.thumb.jpg.7736d1130d41f5a8d26c52af98e650ed.jpg) arevcuk joined the community
arevcuk joined the community -
 Nurbek joined the community
 -
 pip joined the community
 -

python Toggle buttons visibility
shrifazmy replied to shrifazmy's topic in General Houdini Questions
Thank you That exactly what am was looking for -
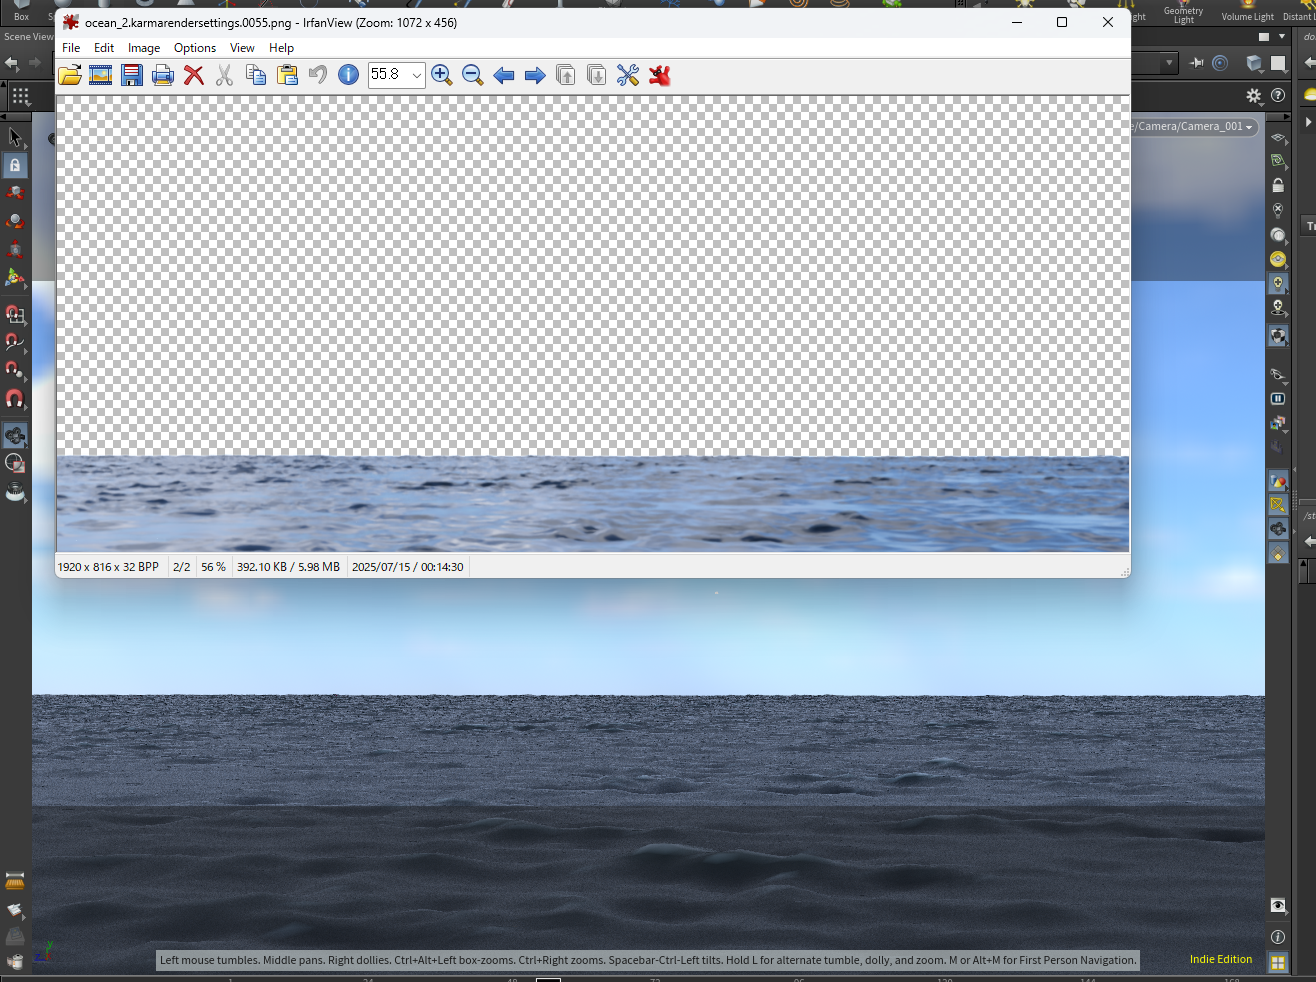
 Hello, I'm very new to Houdini and still trying to get familiar with the UI and workflow. I've finally managed to get to the rendering stage, but the result looks much rougher and lower quality than what I see in the viewport preview… I'm not sure what I'm doing wrong. I've attached the scene file for reference. Thank you. houdini question.zip
-

Need help for Toggle "Remove BackFace" Parameter
Fenolis replied to Lampay's topic in Tools (HDA's etc.)
Check the docs, they're factually correct, unlike ChatGPT: https://www.sidefx.com/docs/houdini/hom/hou/GeometryViewportDisplaySet.html def TintBackface(): node = hou.pwd() bTintBackface = node.parm("tintbackface").evalAsInt() # Get a reference to the geometry viewer pane = hou.ui.curDesktop().paneTabOfType(hou.paneTabType.SceneViewer) # Get the display settings settings = pane.curViewport().settings() # Get the GeometryViewportDisplaySet for objects dispset = settings.displaySet(hou.displaySetType.DisplayModel) dispset.showPrimBackfaces(bTintBackface) -
Chatbot??
-
Hi everyone, I am running a very quick (takes about 2 minutes to complete) pipeline related survey with some amazing rewards from our sponsors. The survey ends on 11th August, don't miss the chance to steer the future of open-source pipeline tools and win one of the awesome rewards! Details and survey link here: https://tik-manager.com/pipeline-survey/
-
Hi, to see how it works in attached file create a new button visibility node from tab -> Digital Assets toggle_button_visibility.hipnc
-
Hey I have two buttons in hda's UI one to 'Start paint' and the other 'Done paint' I want each one to toggle the other visibility so they are not shown together, I been digging around with no success can someone point me for a good tip please thank you
-
 I also don't like to export directly from SOPs. I tend to do all of my work in SOPCreate nodes so that I can see how my geo is being translated into USD before I cache. You should be able to specify the primitive path on the Geo Clip Sequence node. I don't have a hip file on hand but I have made a tutorial that covers a caching + referencing workflow that might be helpful. Scenes can get slow for loads of reasons, even when everything is cached. The main thing you can do to keep things as light as possible is make sure you have no time dependency badges and ideally have proxy geo for everything. If it's a big scene with lots of assets then unloading payloads can help too. Regarding the bgeo cache, you can use that directly in the Geometry Clip Sequence (as long as you're rendering in Houdini/husk). I do that for heavy fluid Sims as you're right it tends to be a smaller file size. I also cover this in the tutorial above. Alternatively for other things I'll treat the bgeo cache as a temporary cache to avoid having to recook things and then save my USD cache from there. You can of course save directly to USD instead of bgeo. Just use a USD Export in sops or USD ROP or File Cache in LOPs. Note that you should only need the Geometry Clip Sequence if you're caching really heavy geo to per frame USD or bgeo files. For most things you can save to a single USD file which is much easier to work with.