Search the Community
Showing results for tags 'mesh'.
-
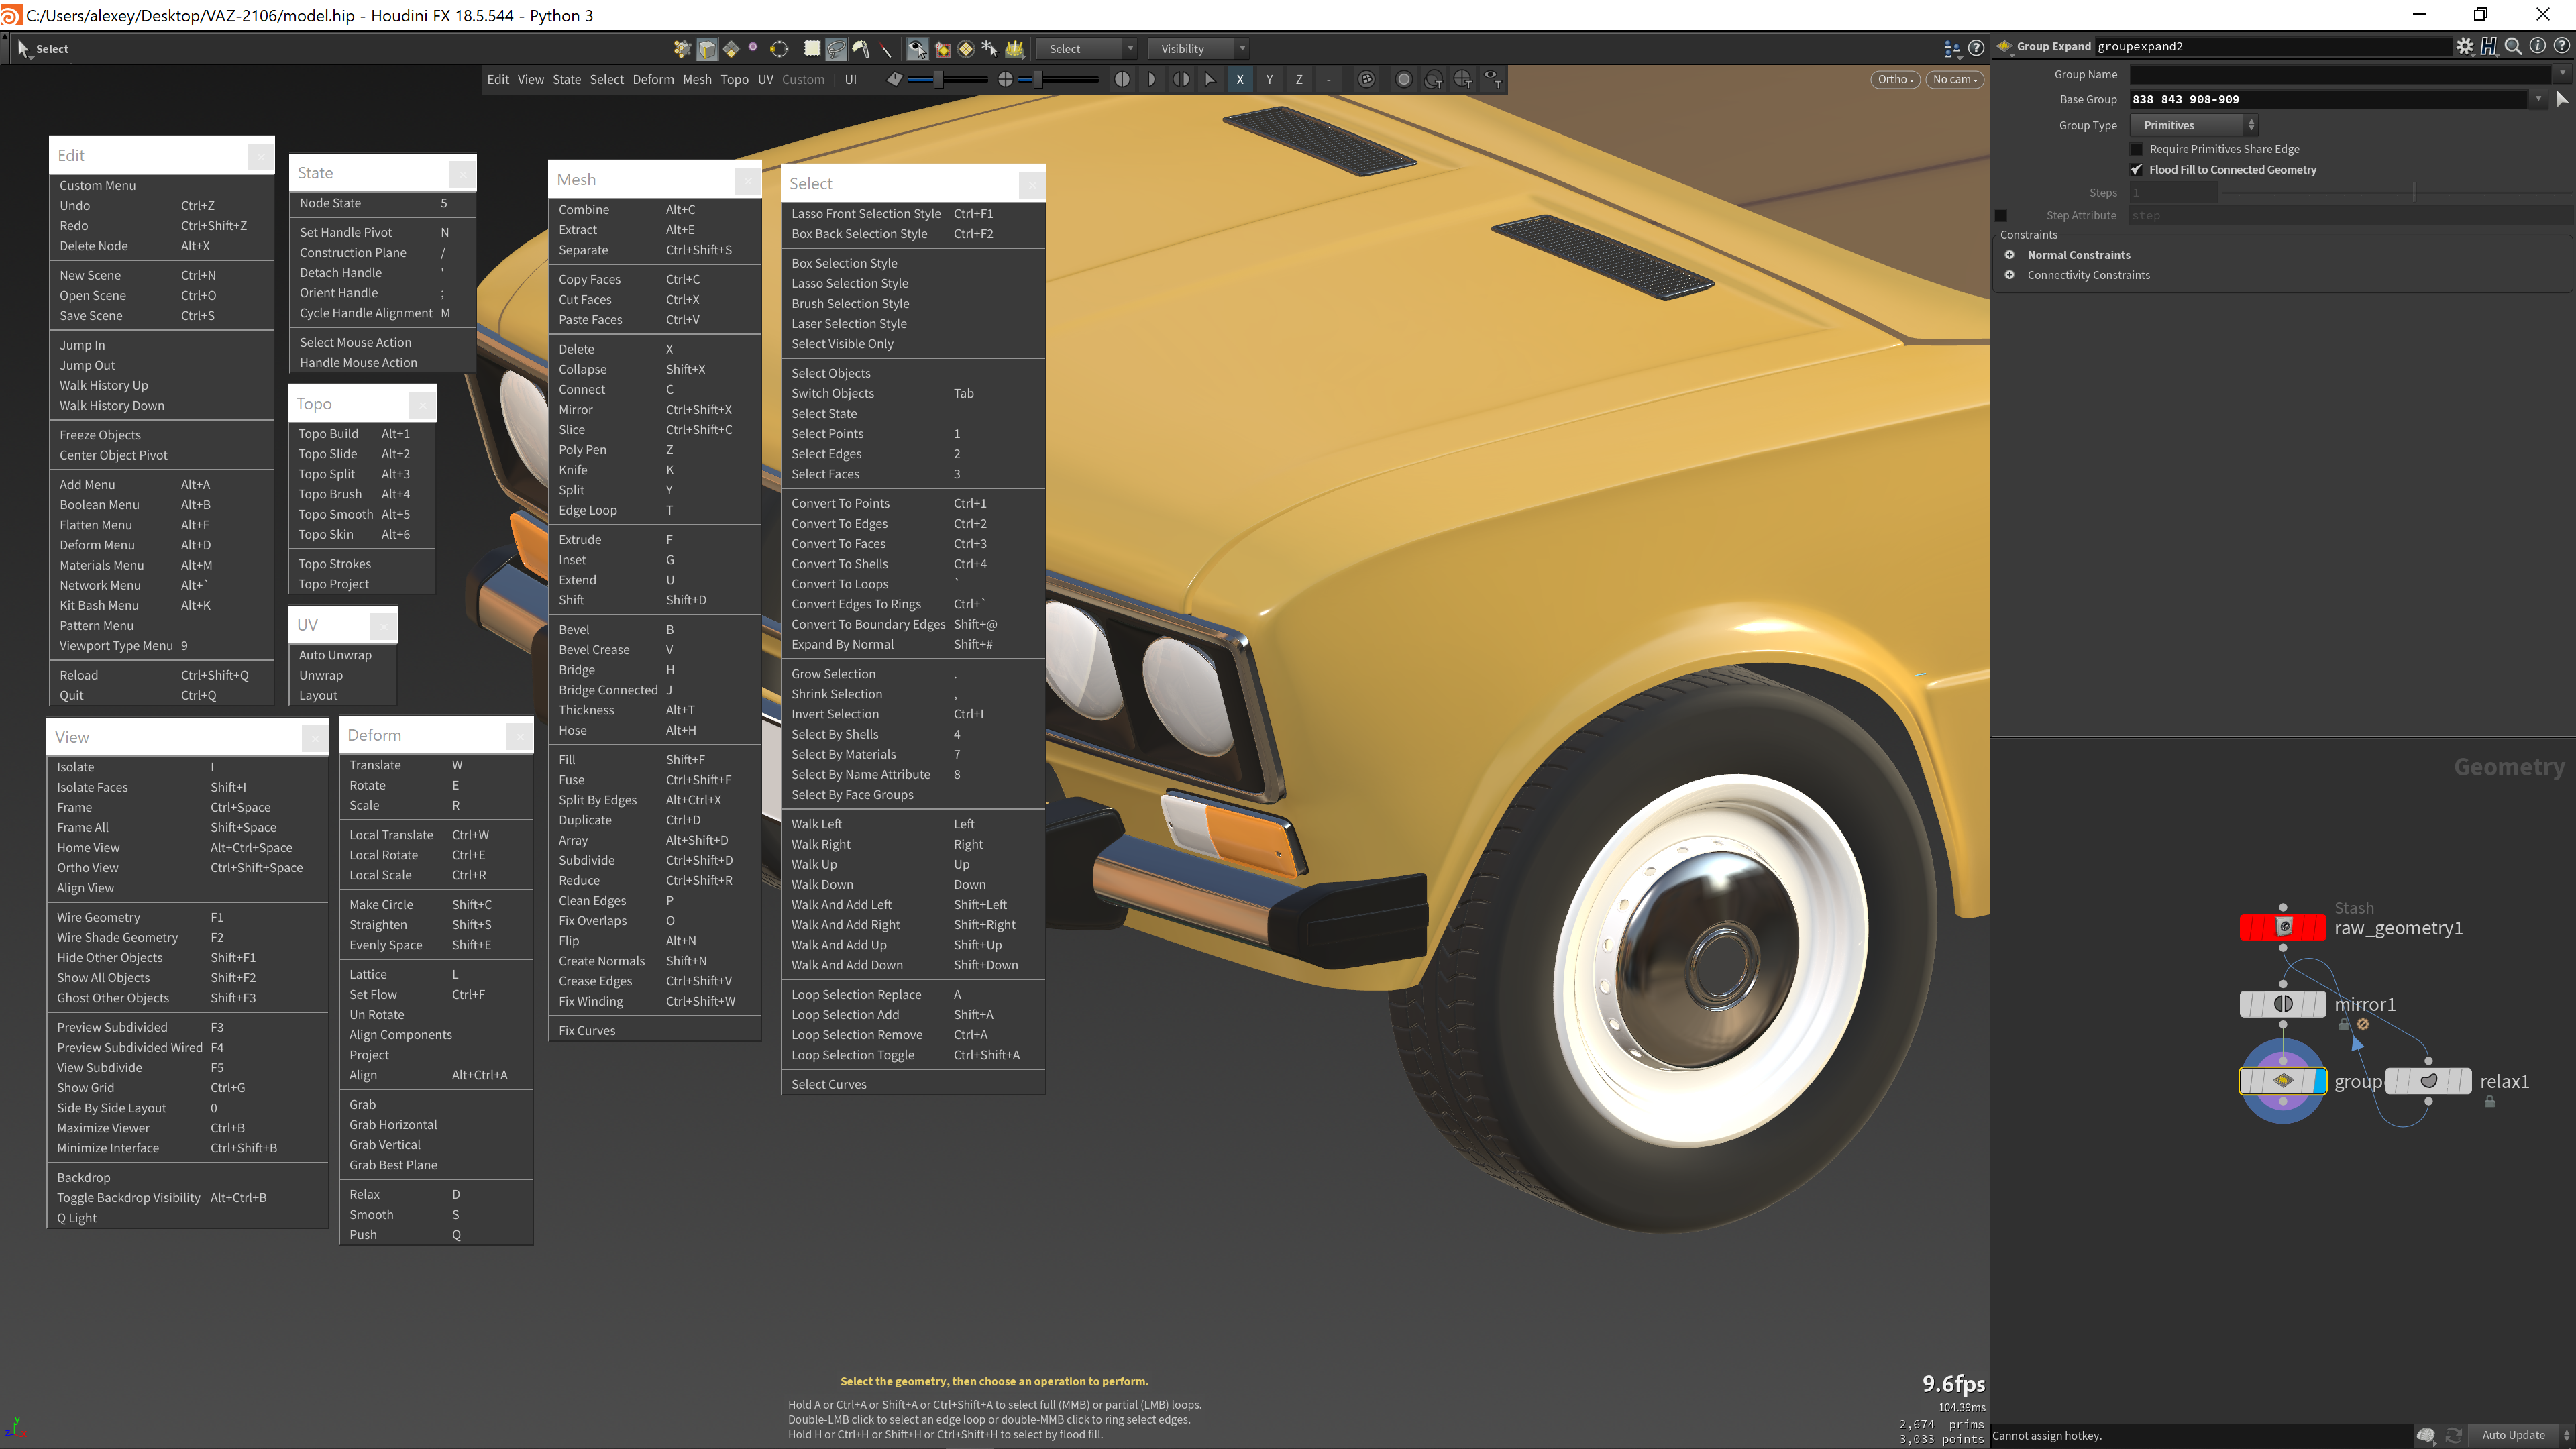
I am excited to present the latest version of my modeling addon for Houdini. The core and tools have been practically rewritten from scratch, with the main focus on moving away from a separate, foreign UI and fully utilizing Houdini’s native features for tool interaction. Modeler now operates based on Houdini's radial menus, hotkeys, and shelf tools. Release video
-
Grab Modeler 2025 at 40% off — the exclusive way to model directly in Houdini 21 https://alexeyvanzhula.gumroad.com/l/jaoest/86yivk9
-
-

flip Need help with improving this flip simulation.
1Necro1 posted a topic in General Houdini Questions
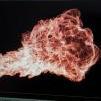
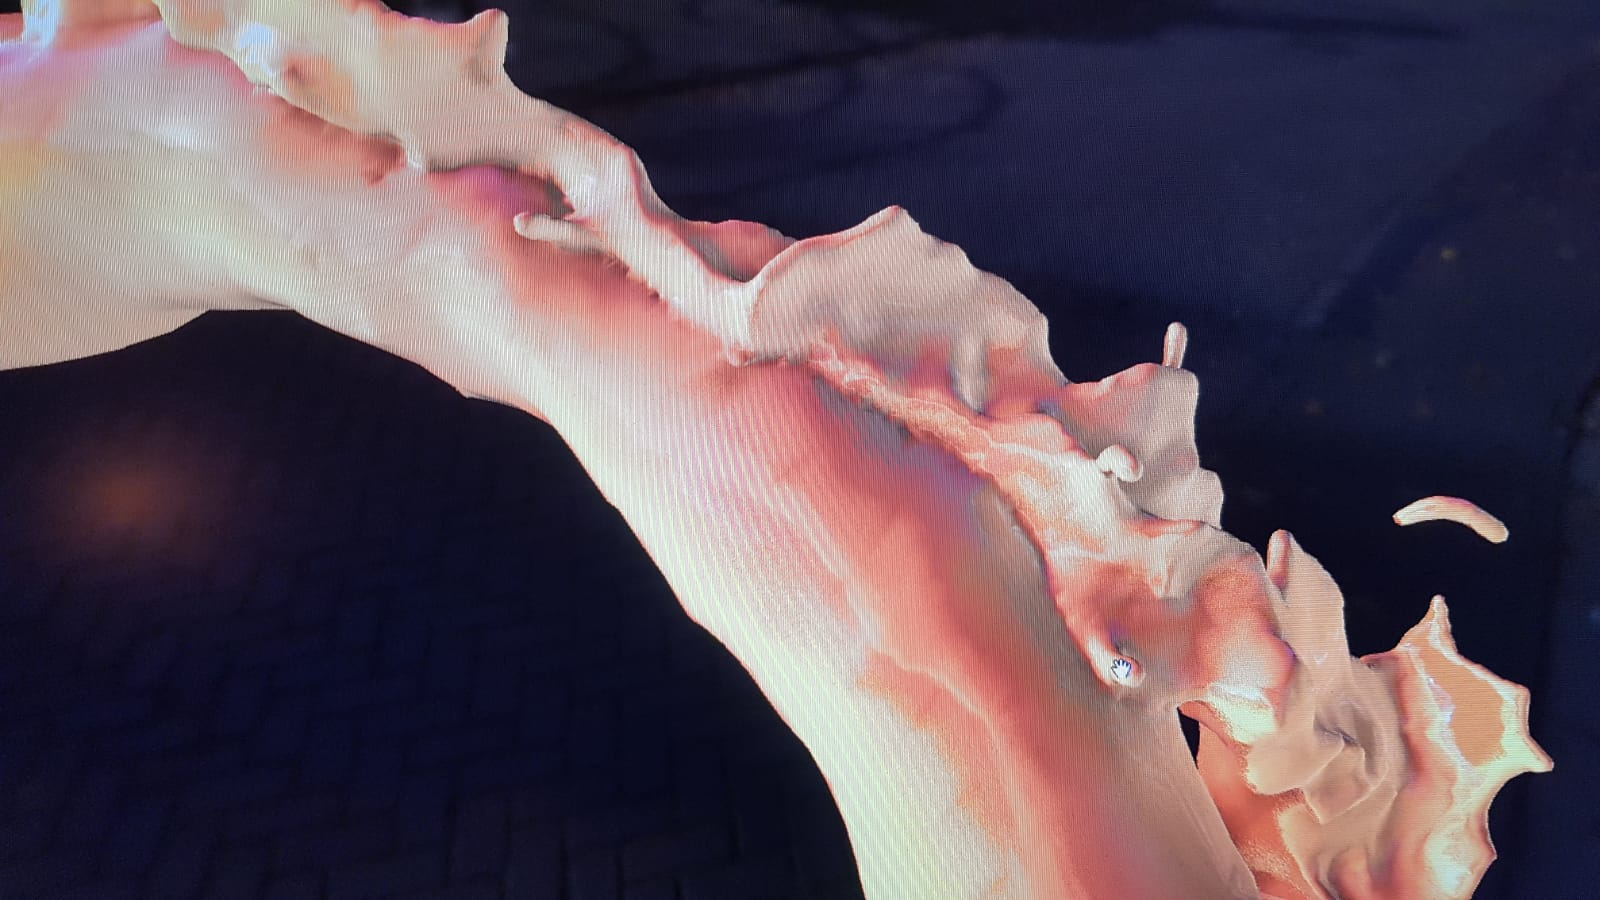
This is the simulation I'm currently working on, where the character interacts with a flip object as if entering it. The larger middle section represents the character's head, and the other two sections are the hands. Unfortunately, due to an NDA, I can't provide the flipbook with the character included. However, I'm encountering some challenges due to the animation's nature. I've tried increasing the character's velocities and believe I've made some progress. My main issue right now is the hole tearing in the mesh (see second image). Can you tell me why the mesh is tearing and what's causing the square artifacts in the middle (third image)? Besides this, any feedback on the overall flip simulation, including creative suggestions, would be greatly appreciated! flip_test_v01.mp4.thumb.png.4b89f96d71fcad477968d81350bb23b9.png)
.thumb.png.b771286e3f5dda153c5024c36f32613e.png)
-
-
-
https://alexeyvanzhula.gumroad.com/l/modeler2023/black_friday
-
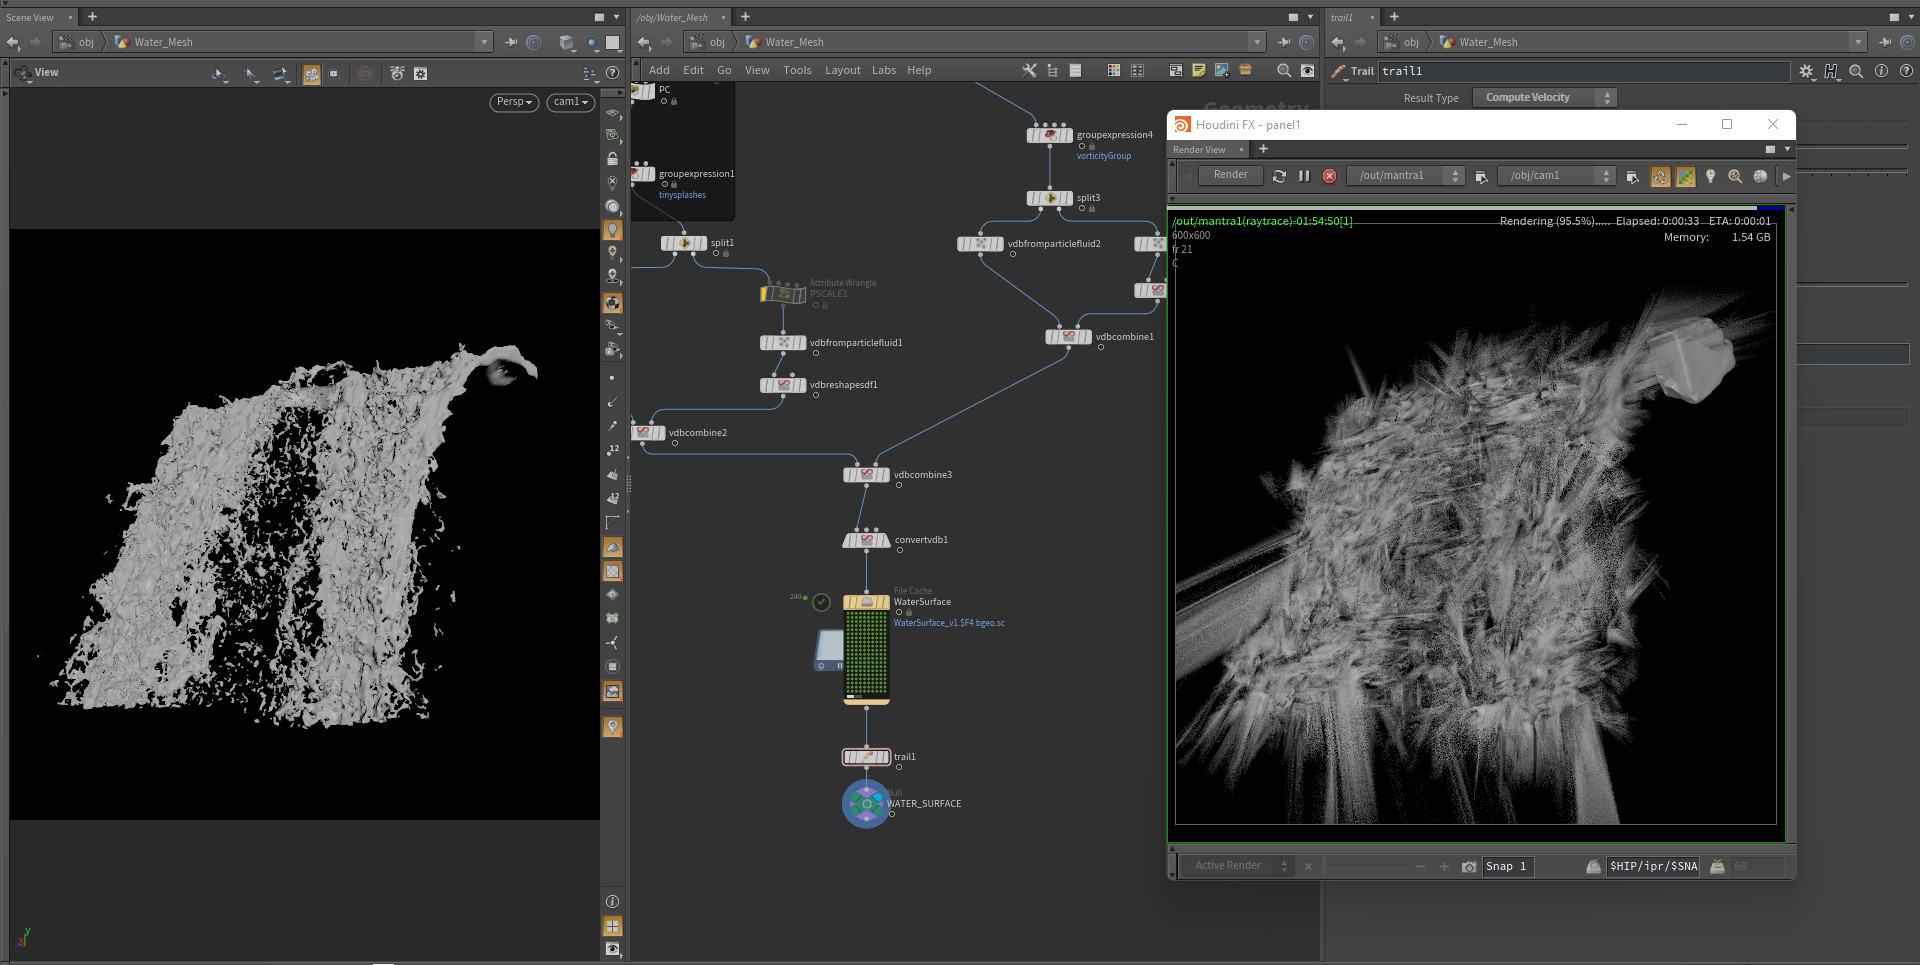
I always have problems with motion blur for water surface mesh, One time I fixed that problem but I forgot that. as you can see I used a trail SOP to produce velocity for the mesh but the trail SOP creates velocity per point and that's why the motion blur is odd. How can I create proper motion blur for water surface mesh?

-
I made a free Brush tool. It is also built into the Modeler add-on. https://alexeyvanzhula.gumroad.com/l/brush_tool_for_houdini
-
https://youtu.be/Y_SI5MMWkYs
-
Hey fluid masters, is it possible to combine 2 Particle Fluid Surface nodes? I am getting better "gloop" and tension in the meshing of 2 different sims using PFS. VDBs, not so much. Even using VDB to Particle Fluid Surface is not as good as PFS. See where it simply Boolean Unions and doesn't Mesh them together like the Particle Fluid Surface node? Cheers!

-
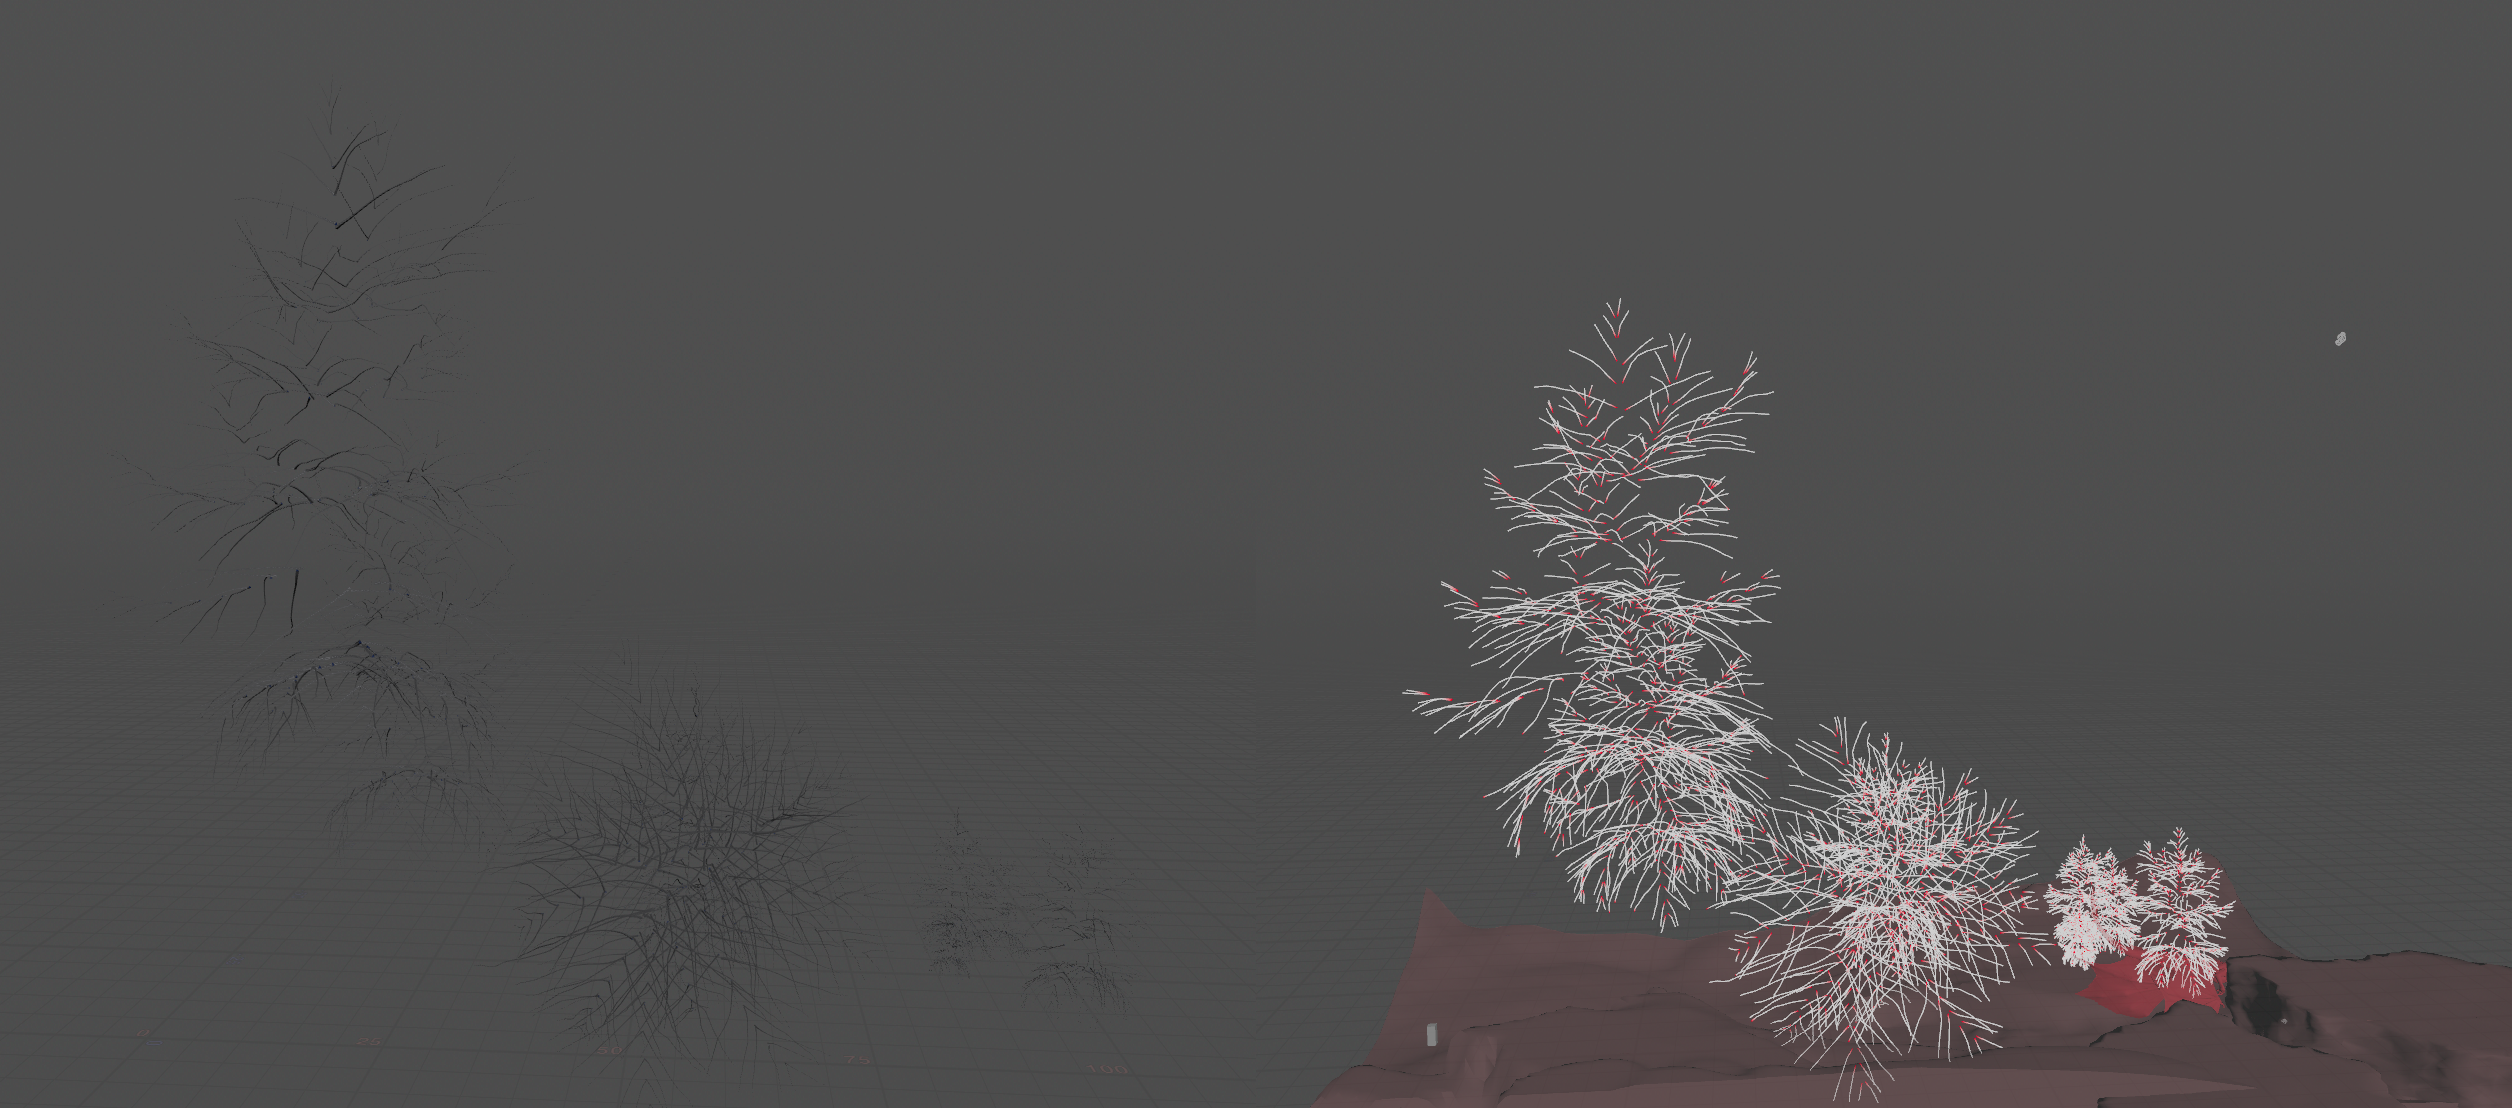
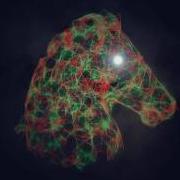 Hello, I'm breaking a tree with bunch of branches. So everything work fine with RBD and I manage to create bone for each branch then stick them to the animated rigid mesh. But when I use point deform to deform the original mesh with the bones then I get a heavily distorted result I checked multiple times with attributes and I'm pretty sure the values are matched. I google for weeks and can't get around it. This is the file. I think this amount is enough but if not I can update it right away. I hope someone can point out where did you do wrong. Thank you for reading this. ASk_PointDeform_v2.hipnc
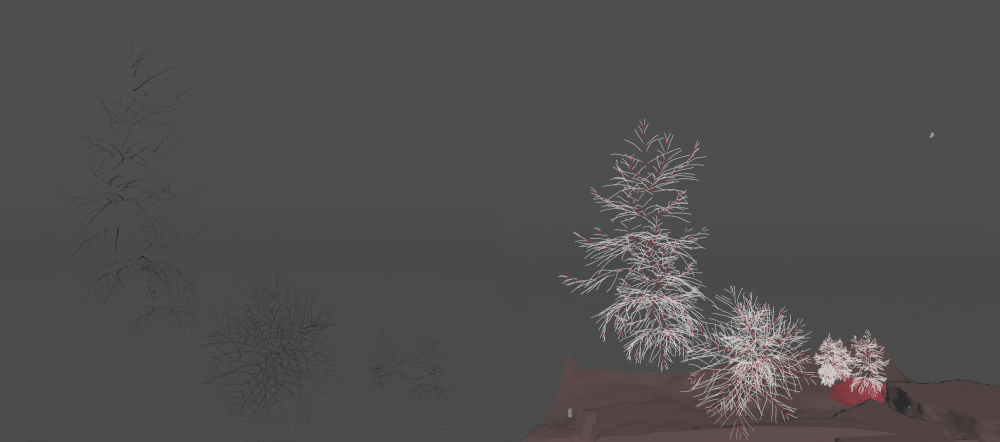
-
-
Hey All! Currently I'm almost a month in now, trying to accomplish something inside houdini as a complete newbie. I was hoping there would be someone out here that has the knowledge to help me out a bit. Every tip is a helpful one for me at this stage entering the amazing world of houdini! So this is what I'm trying to accomplish. I'm trying to simulate a logo inside a big bath full of chocolate that slowly sinks down and drowns in the thick, viscous fluid. I got everything set up with an ocean source, narrow band particle sim and got everything cached. It looks pretty fine, until I continue to the meshing part. I've already spent quite some time trying to get to know the particle meshing tools inside of houdini, and for this case the best one turns out to be the workflow using the VDB toolset (since It gives me the most flicker free results). It get's pretty smooth as well, and I can give it a final smooth using a normals node, followed by a attribute blur that blurs out the point normals. Now comes the part where I'm getting stuck: I'd like to export this to another 3D application. In this case Cinema 4D. But unfortunately, I can't seem to figure out a way to transfer over these smoothed normals to an alembic file. What could I do to render out the pretty result in cinema, like I'm getting in houdini? Thanks a bunch in advance guys! I already learned A LOT from all the crazy talented people on this forum, so thanks a ton for that already. Stay safe,
-
LAST CHANCE TO BUY MODELER FOR HOUDINI AT A DISCOUNT BEFORE THE NEW V2022 RELEASE. THE UPGRADE TO V2022 WILL BE FREE IF YOU BUY AT A DISCOUNT NOW. THE DISCOUNT IS VALID FOR A COUPLE OF DAYS: https://alexeyvanzhula.gumroad.com/l/mdNet/Discount
-
BLACK FRIDAY DISCOUNTS: https://alexeyvanzhula.gumroad.com/l/mdNet/BLACK_friday https://alexeyvanzhula.gumroad.com/l/iWQyT/black_friday https://alexeyvanzhula.gumroad.com/l/nuBwF/black_friday
-
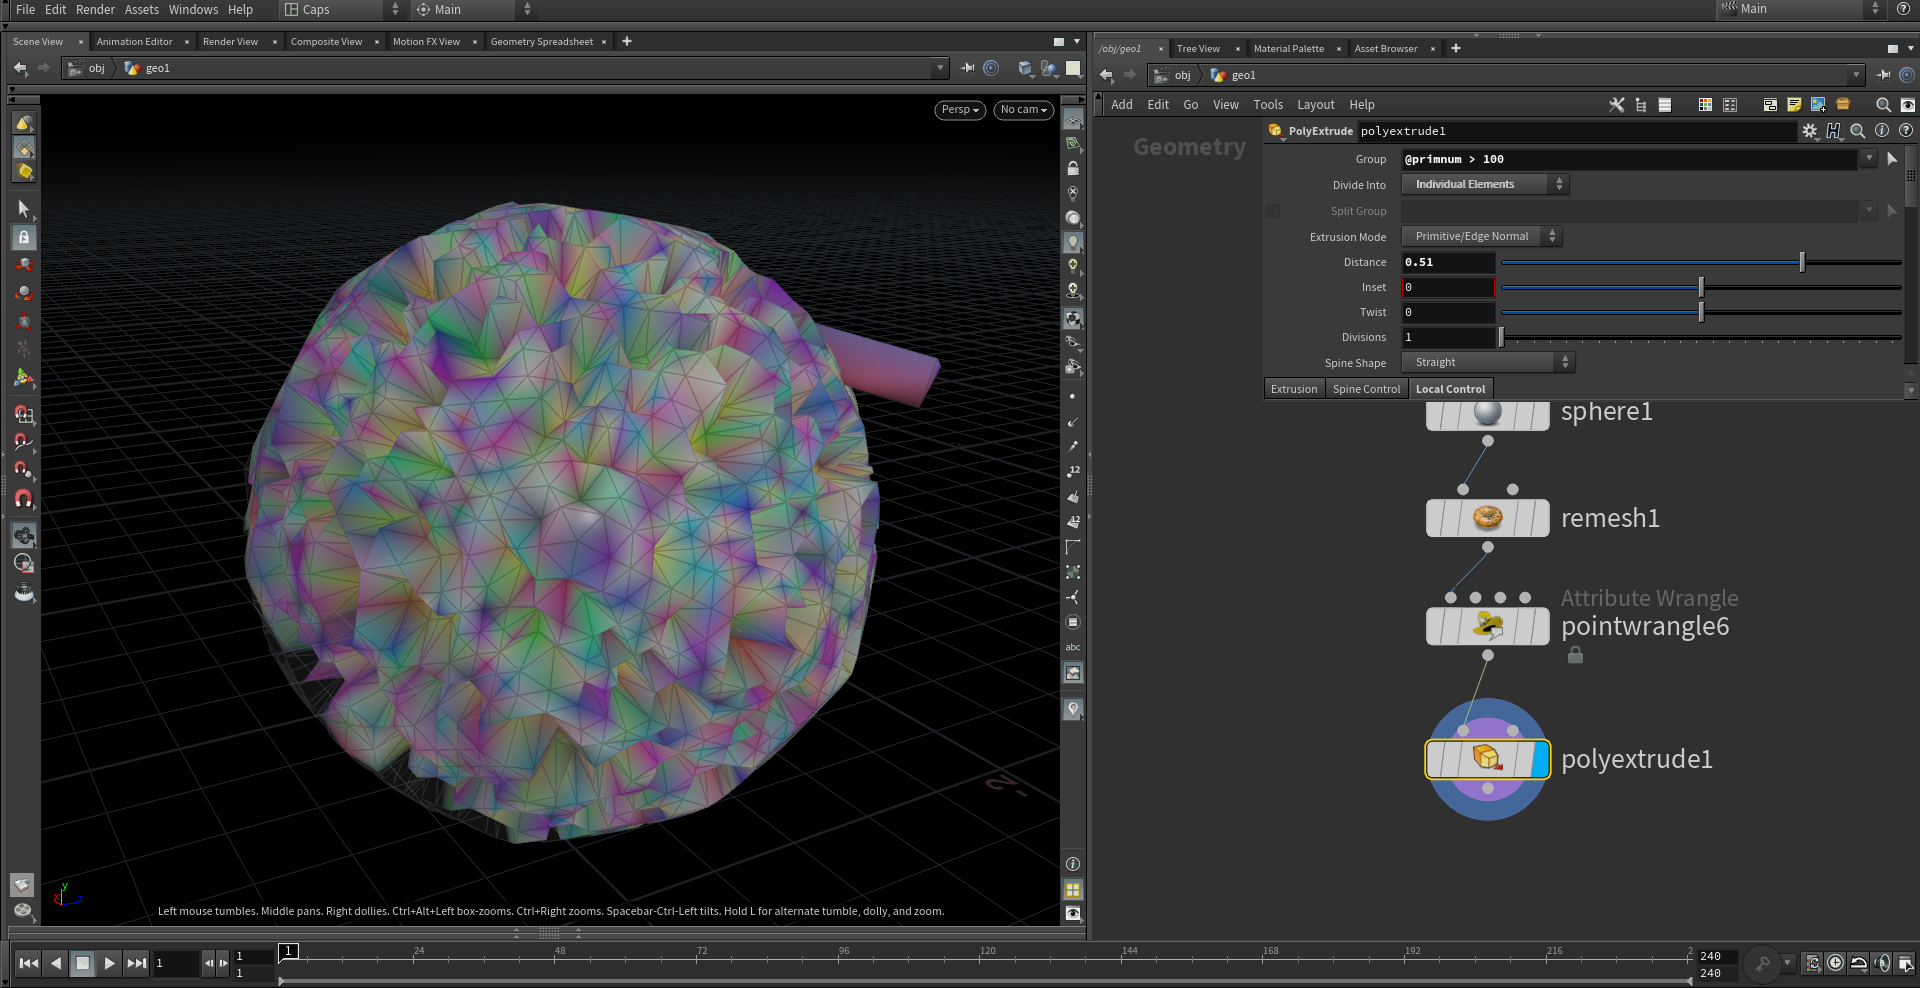
Hello, I am trying to extrude faces of a mesh depending on it's prim number, I tried to do it in the "Group" parameter, but it's not working. Any help is appreciated!

-
Z allows you to simultaneously edit geometry in Houdini and ZBrush. The toolkit is designed for modeling and animation artists and divided into four parts: 1. Data exchange between programs without using files. The function may be of interest not only to Houdini users but also to ZBrush users who want to improve their workflow by an order of magnitude 2. Blend Shapes creation in Houdini and ZBrush. Tools optimized for high-poly animated geometry 3. Converting FiberMesh to Houdini Curves 4. Built-in remeshing with ZRemesher. Provides a convenient way for partial remeshing and clean mesh with smart relaxing Product link: https://alexeyvanzhula.gumroad.com/l/nuBwF Lightweight version: https://alexeyvanzhula.gumroad.com/l/RaNuJ
-
Soft Boolean technology, which was previously part of Modeler for Houdini addon, is now available as a separate product. Soft Boolean tools allow you to stitch polygonal meshes with boolean operations and adding accurate fillets to the resulting geometry. Houdini node can be used with the classical procedural way as well as with the help of special shelf tools. Also, the node can be used in other programs using Houdini Engine. The package contains a plugin for Houdini and some scripts for Maya. Release video: https://vimeo.com/592734907 Product link: https://alexeyvanzhula.gumroad.com/l/iWQyT
-
Modeler 2021 for Houdini Released! Release notes: https://www.dropbox.com/.../Modeler-2021-Release-Notes... Product Link: https://gum.co/mdNet Release video and new video tutorials will be available soon

-
Does anyone know if it is possible in H to conform one humanoid mesh to another? I'm really looking for a procedural method for aligning dimensions and orientation of a destination mesh with a base reference source mesh. I don't think I need a morph SOP, because the destination needs to retain some (or perhaps most) of its own identity, but needs to conform the general object space that the source mesh occupies. Blender offers a sort of shrink wrap function that projects vertices from source to destination, but I'm not convinced this will do what I'm after. Any ideas on this from the community? Just a point in a general direction would be a good help. I'm quite new to H, so I know there is a steep hill ahead and I've got my hiking boots on! Thanks.
-
Hey Guys, I came across a problem when simulation a vdb-mesh-transition and i was wondering what the proper workflow would be to replace my final mesh (the text in this case) with the text-mesh i was initially beginning with. I've read about point deform but this SOP didnt help me at all.. Im sure there must be a way to replace it in the right way but im just stuck like the total beginner i am.. I would appreciate any kind of help or direction very much!
-
Hi there! I have this melting setup with a POP solver, basically scattering some points onto the original mesh and then melting then and meshing back everything again using "particlefluidsurface". So I have been trying to get rid of this flickering on the mesh, I have over 500k points and I also tried increasing the samples and playing with the particle separation in the "particlefluidsurface" I also tried using "vdbfromparticles" but its more or less the same result. I want to know if there is anything I can do to help reduce the flickering? Any help on this is much appreciated Thanks in advance untitled10.mp4

.png.c088f1fbadccbaf61bb201d6d3475258.png)
.png.6a1681fc1e488fa0e9daaaaa4dc370f3.png)