Search the Community
Showing results for tags 'skin'.
-
Just testing Houdini muscles speed with mid settings Muscle pass 30 min (20 coll pass,1000 const inter) muscl remesh (min 0.007 - max 0.013) Tissue pass 3 hs ( 600 const inter,max tet size 0.039) Skin pass 30 min (300 const iter,3 substeps) sin remesh min (0.006-masx 0.01) Karma Xpu render 250 frames - 3hs Rig:5950x 64gb 4090
-
Hello all, I've been searching around for a while and I can't seem to find much on muscle simulation that doesn't already have a rig that was made in Houdini. The animation I have is from Maya, so I can bring in the cached and cleaned geo no problem. But I do need the rig to be able to attach muscles to the model to be able to move with it. It seems counter intuitive to bring in cached geo just to make a rig ontop of it, with the added problem of attaching it to the already moving skin. I might also not be looking at it properly, so it comes down to this; Does somebody have a good workflow for getting muscles to move with the cached geo in Houdini, or how to export an animated skeleton from Maya to Houdini? I'm properly confused, even documentation help would be good at this point, maybe a secret blog post somewhere
-
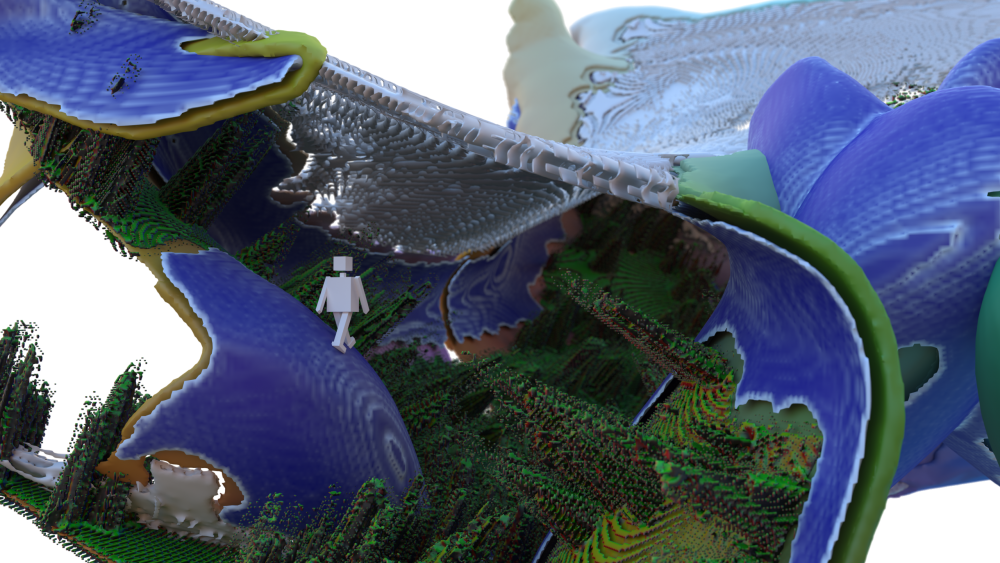
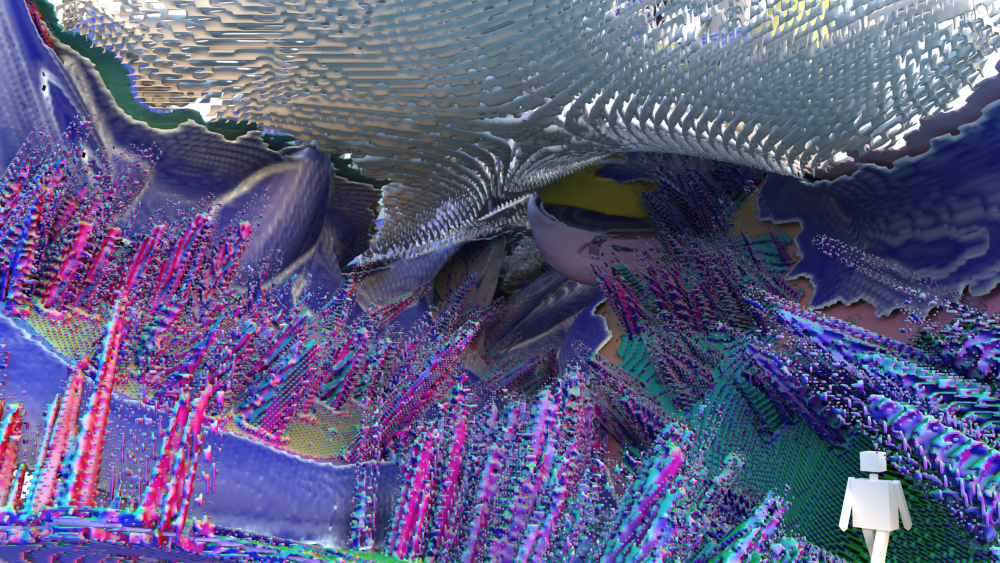
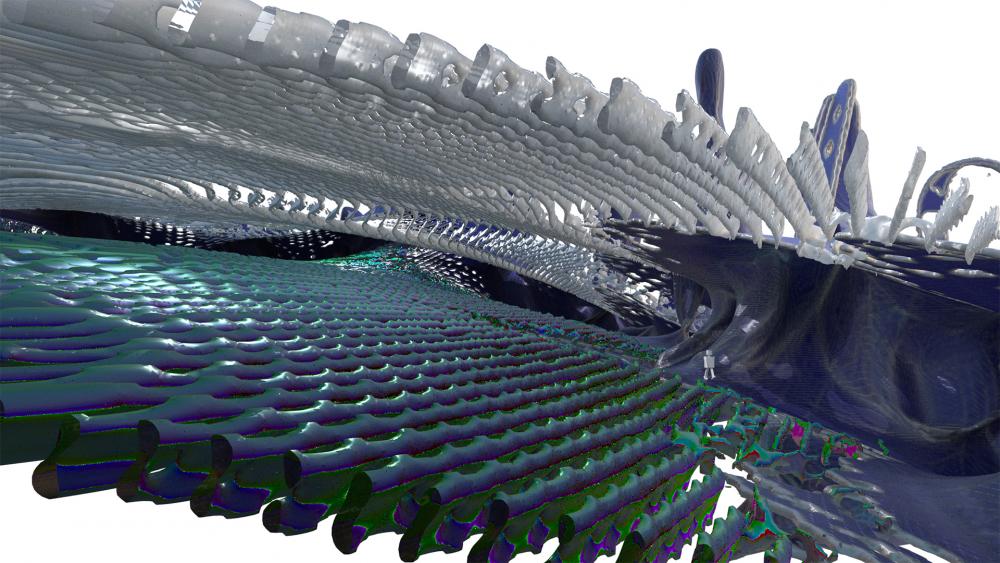
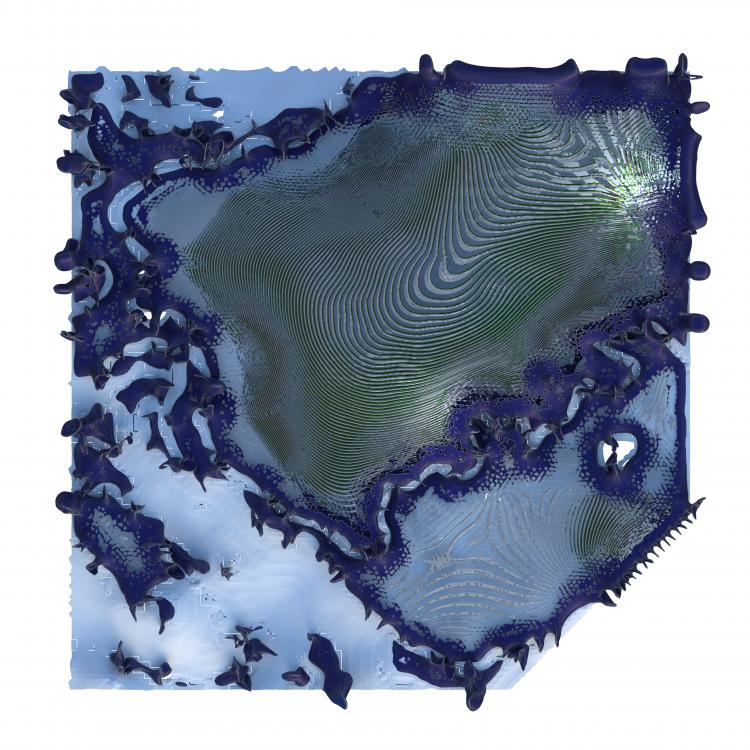
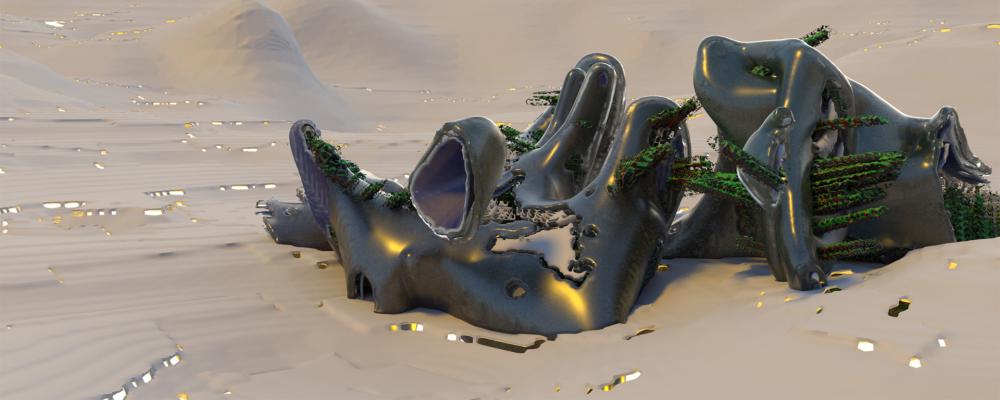
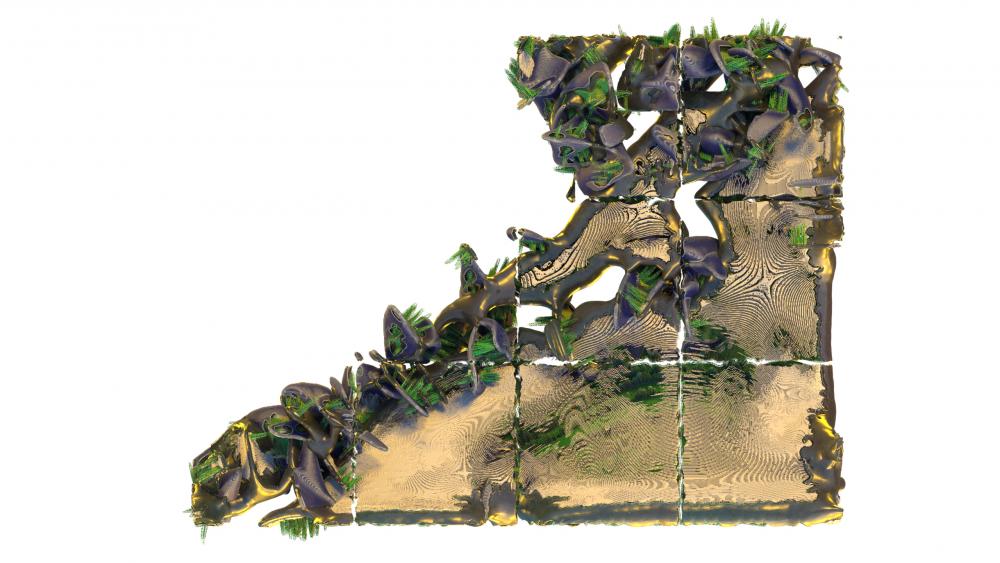
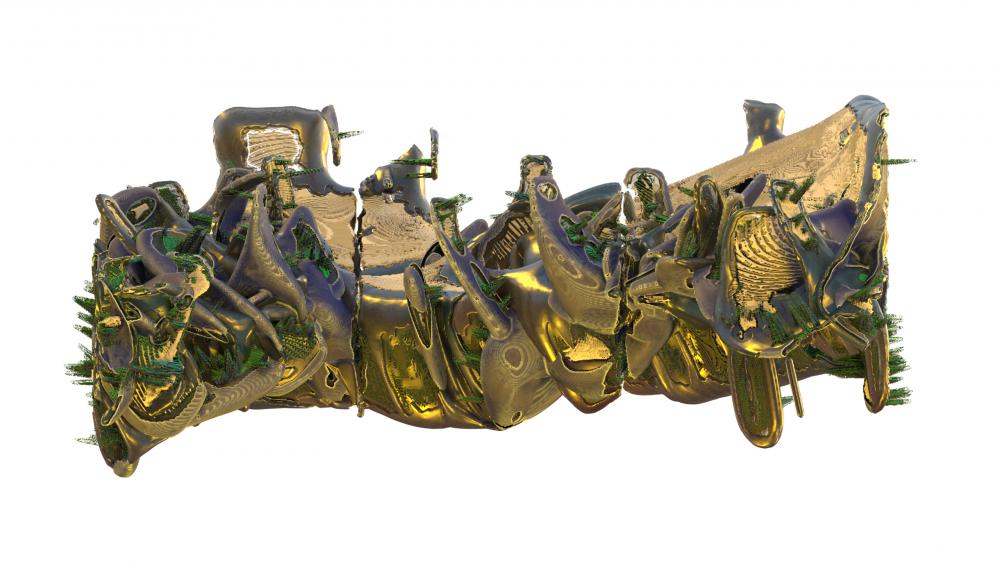
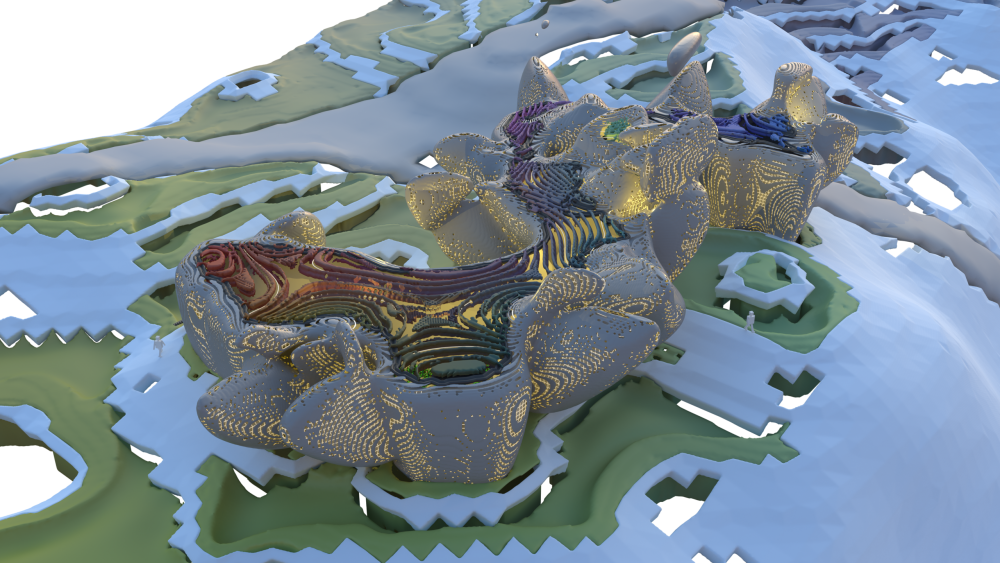
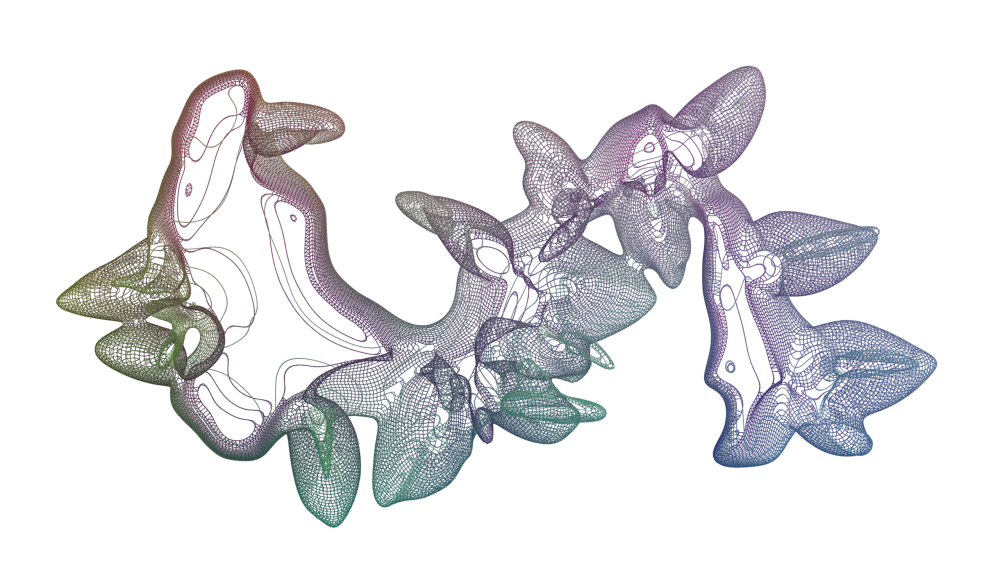
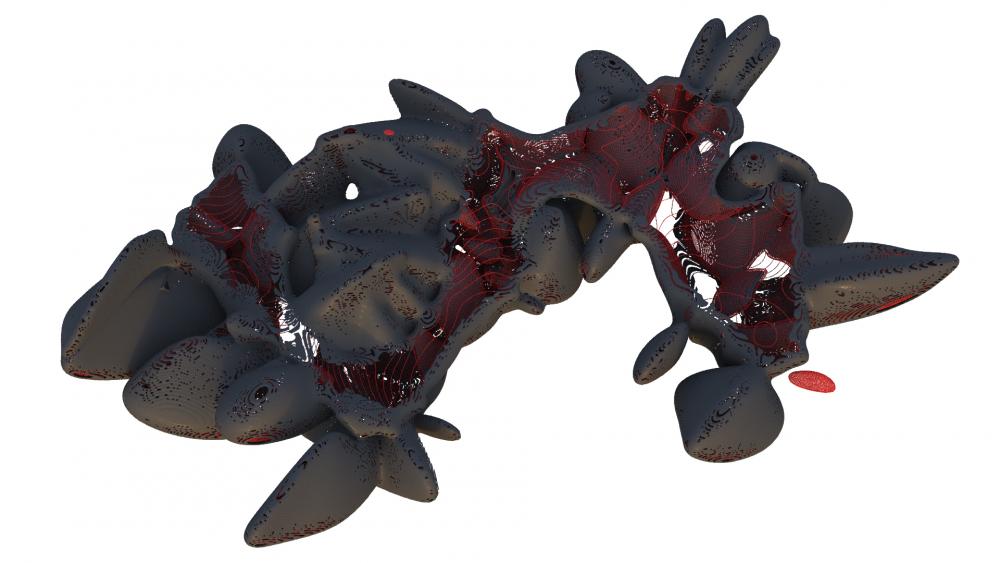
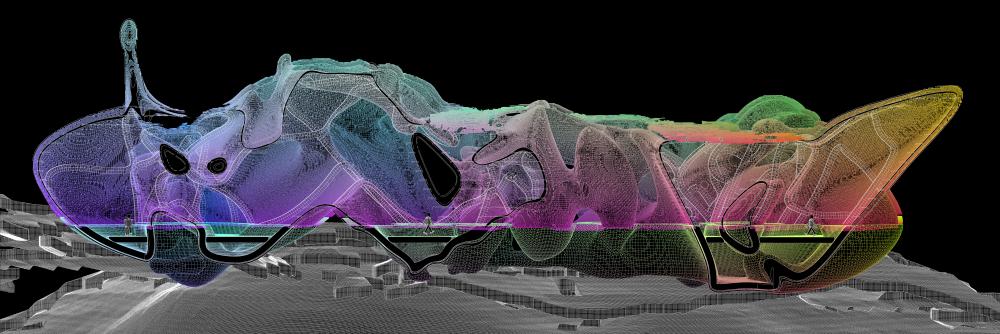
I originally made a post in in the WIP section, but have finalised a selection of images that demonstrate the extent of the project at this particular time. Hope to get some tips, speculation and direction . The work started with an idea of looking into systems of growth and the procedural simulation of that growth. The question of landscape surveillance and 'fertility' arose - can a landscape (or object) topology be evaluated for growth? In this case the landscape would be a scanned model of a terrain, converted from pointcloud to mesh data and thus reinterpreted as a topology of points and primitives with certain inherent attributes: Position (vector), Normals (vector), and curvature (scalar) predominantly. The simulation can then search for 'flatness' and eliminate areas of surface beyond a limit of acceptability. The surface is then displaced whilst maintaining ties to the remainder, this seemed to mirror a process not too dissimilar to inflation (although much more noisy and undefined), always using the retopologised mesh (and thus recalculated attributes) as a driver for the next frame of growth. Generated or grown form is evaluated through a series of spatial explorations with particular functional characteristics in mind. Much like a single-surface-landscape produces the massing for proposed architectural volumes, these volumes are then reinterpreted as single-surface forms that morph into a typology of architecture defined by certain rules. The primary purpose of the interior volume is to house the program of an architecture. The height of the form is predetermined in the procedural algorithm of massing to produce volumes within a range of heights (for example between 3 and 20 meters). The nature of the form suggests an architectural language of evaluated skin as a means of facilitating architectural space. This is then differentiated to provide for the various requirements of a space of production - for example: how can the floor surface serve as a platform for plant growth; how can the side envelope serve as a mediator of thermal comfort; etc? A. There is a desired differentiation between roof and side envelope - key factors to be considered are the issues of transparency in form for light to enter the space below and the capacity to drain rainwater or melting snow. B. An impression of uniformly distributed structural frames is suggested as a method of holding up a dressing of skin not too dissimilar to ideas of bone to muscle tissue connections. C. The form is interpreted as a skin multi-functional, multi-material character. There is a desire for a thermal envelope mixed with porous characteristics that allow for breathability within the interior environment, light, and mediation from the harsh external environment. The following images are all excerpts of a fully procedural exercise; all grown; but in various stages of development of the same system.
- 3 replies
-
- 1
-

-
- simulation
- growth
- (and 12 more)
-
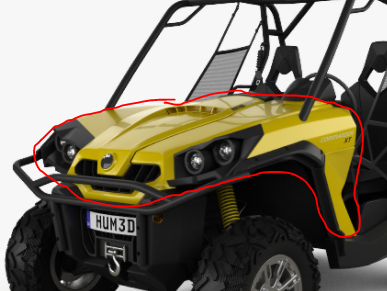
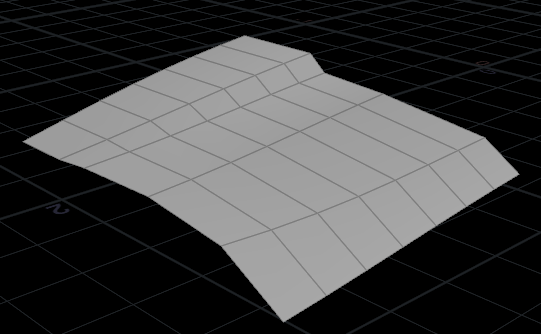
Hi, does anyone have any insight on how I would go about modeling this bit of geometry procedurally? I've attached my attempt at creating the shape but I'm unsure of how to proceed. car_hood.hiplc
-
I've been trying to come up with a way to do scales in Houdini for some time. It all began when I learned that VFX studio Animal Logic developed a proprietary tool called RepTile for the movie Walking with Dinosaurs. RepTile allows artists to both manually and procedurally groom scales. It also allows scales to be rigid and not stretch while the skin does. A paper talks about the tool but doesn't show exactly how the process is done. A video shows an initial test of RepTile. A video shows another test where the skin is colored red and the scales are colored green to show the range of stretch. A video is a behind the scenes video for the Walking with Dinosaurs. It talks about RepTile at 0:19:12. Here's what I want to know. 1. How to render a subdivision surface as a scale in render time? 2. How to generate scales on a surface, have them stay flat, and not stretch as the skin does? 3. How to use curves to influence scatter points on a surface. 4. Should I have a triangulated mesh for the scales to grow on? 5. How scales can be shaped to fill their polygonal outlines? Any thoughts would be helpful. RepTile.pdf 08_RepTile_Scale_Test_01_InitialTest.mp4 10_RepTile_Scale_Test_03_SkinStretch.mp4 fxguidetv-ep184-WalkingWithDinosaurs-Insider-embeded.mp4
-
- proceduralism
- procedural modeling
-
(and 4 more)
Tagged with:
-
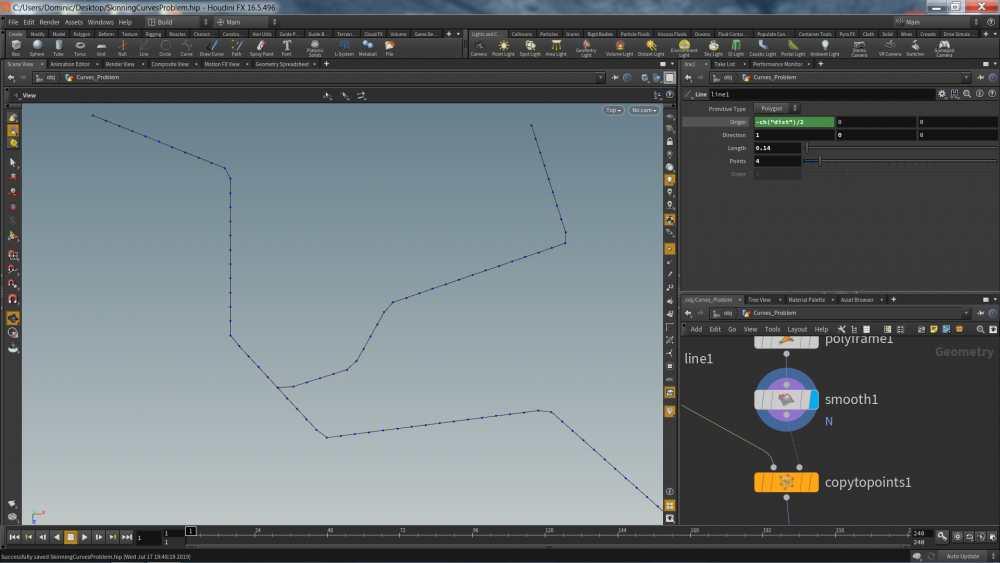
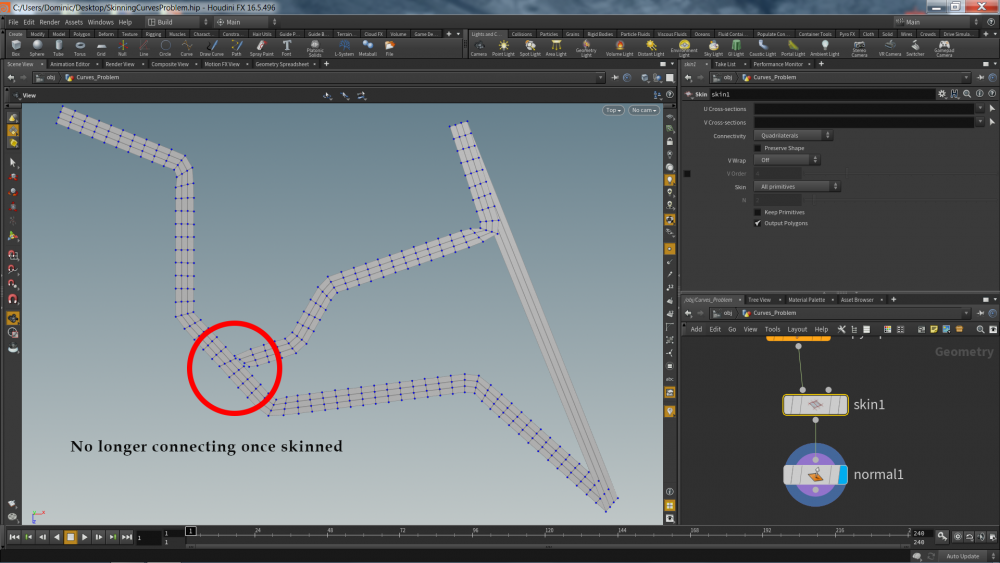
Hi all, I have a more comlex issue to solve but have essentially boiled it down to not being able to skin a curve that splits off like the T junction shown below. How would i be able to skin the curves shown whilst maintaining the flow and connection of the curve? Thank You all SkinningCurvesProblem.hip
-
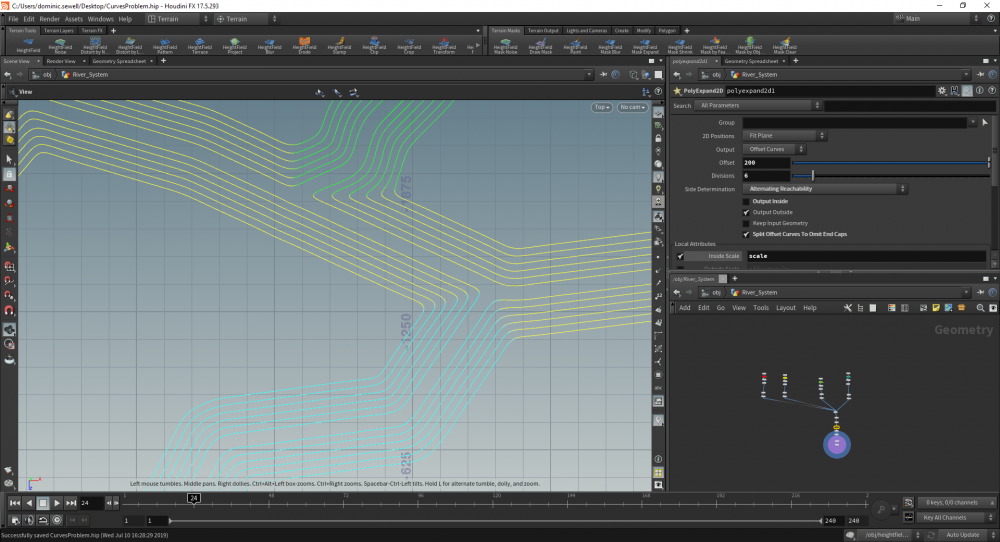
Hi all, I am currently attempting to create a network of interlocking curves that I can convert to a surface. Id like to effectively use the curves as a guide to create a nurbs surface. The problem I am facing is in areas where more than 2 curves meet any form of skinning seems to fail me. What would be the best method to create a surface between each of these curves? Thanks for your time guys! CurvesProblem.hip
-
Hello odforce Community. I experiment making rigging for game from Houdini to unreal. In the attached scene, if you tried to export it as a fbx's file to unreal, you can see skeleton move without drive the mesh, like the mesh haven't exported the weight map attribute correctly. Any idea what I'm doing wrong ? drone_t03_v001.hip
-
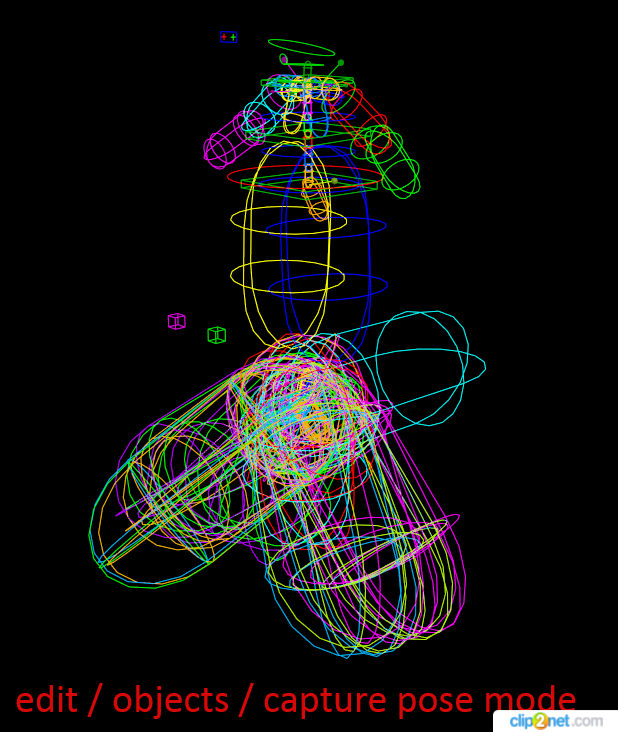
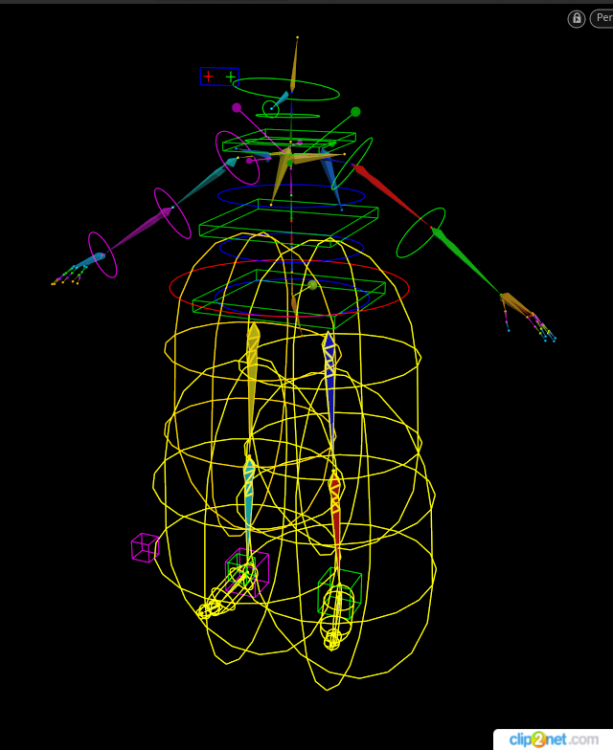
Hello everyone! I can't align my capture posesin the edit / objects / capture pose mode, the wrong location is the capture pose. The tool align capture pose does not work. All capture regions are in their places. In 2nd screenshot, I display the capture regions of some bones, along which the align capture pose tool should align the capture pose. But this is not happening. Help, what could be the problem?
-
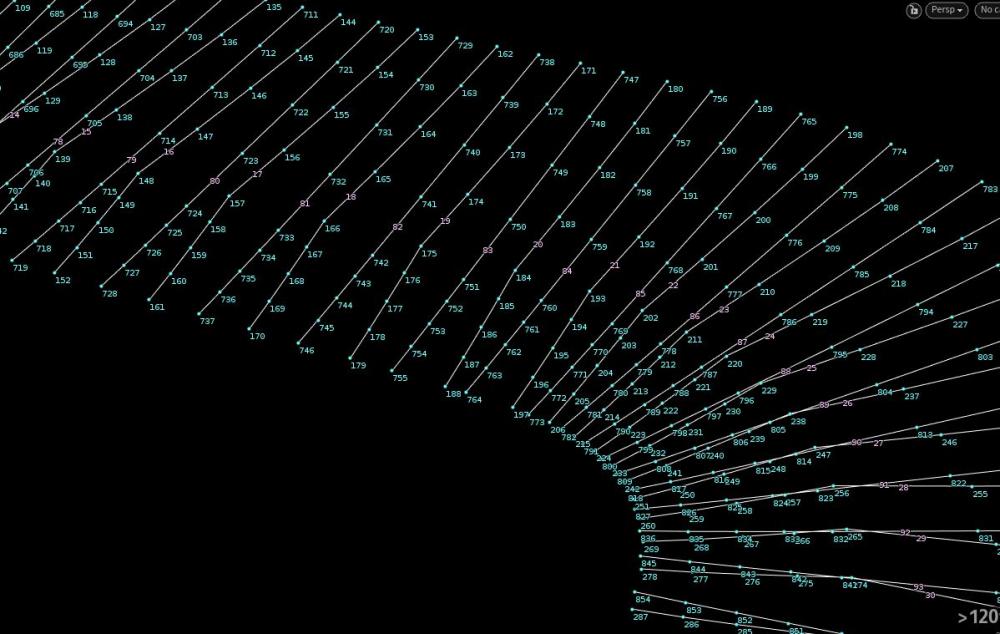
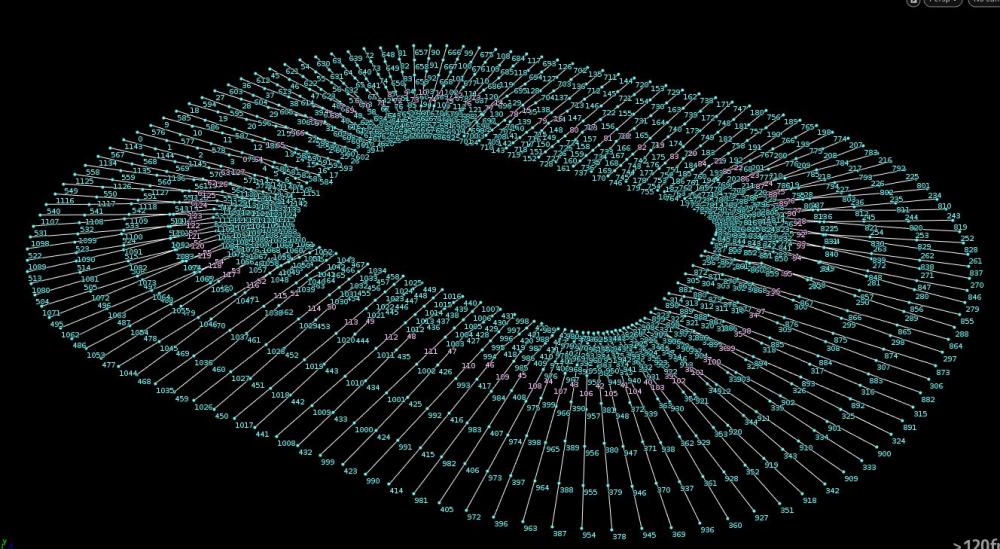
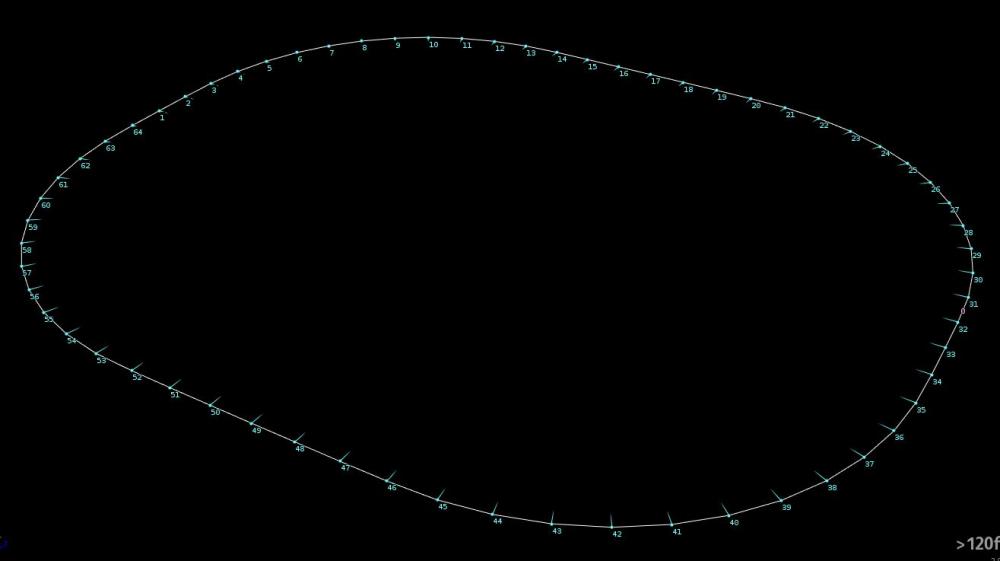
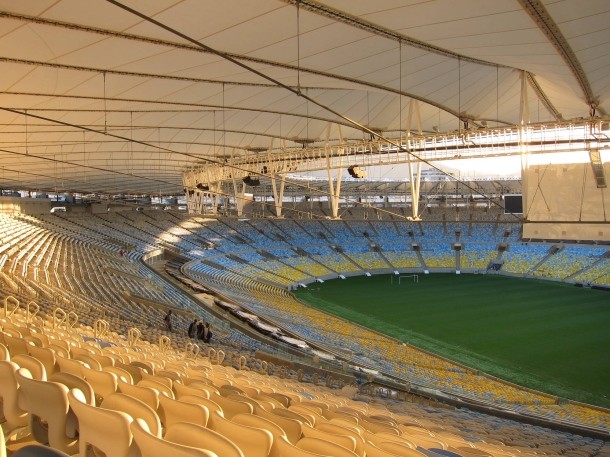
Hi folks, I face a challenge to setup my underlying curves to skin my in the correct way. The biggest issue I have is to sort all the points in the correct order - I think to do this via a helper curve should do the trick, but I can't find the solution So any help would be appreciated!!! The end result should look like a stadium roof... Thanks so much! Cheers Dominik
-
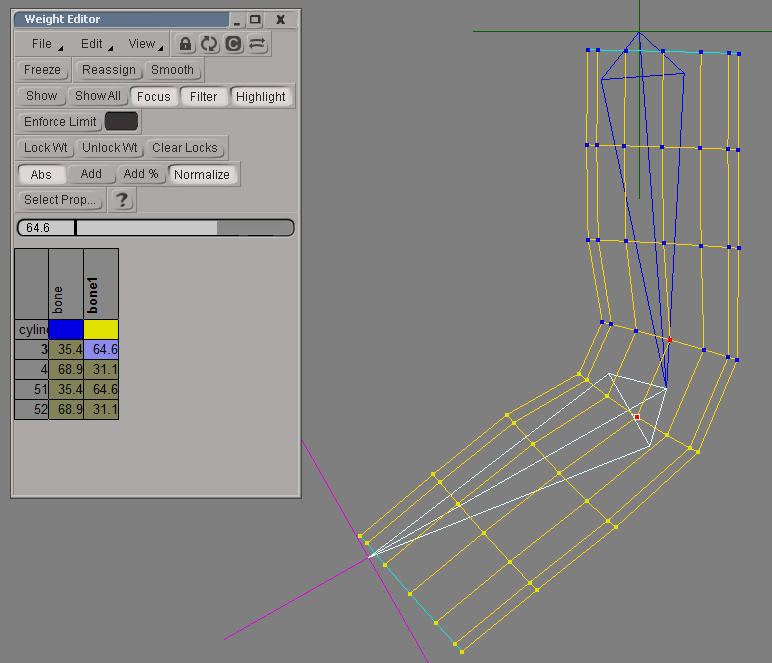
Hey folks I'm investigating something that would help in my new venture of specializing on character work and I've realized that posing tools in Zb are not quite as good for me as I was hoping. So now I have the choice to scrape another layer off Softimage usage and possibly use Houdini for posing base meshes. So far I've not been able to find in Houdini the tool equivalents in XSI I regularly use and frankly couldn't do without. The main problem I'm facing is that I can't seem to figure out how to edit point weights, per bone, manually, aka numeric input. I've attached an image from XSI's skin editor where you'll see 4 points selected in viewport and one point to be edited in the editor with the bone1 as the influencing one also activated (bone1, bold text). Houdini Geometry Spreadsheet seems to only display those values, no editing. Am I missing something?
-
Here is something I started in Houdni 13 and picked up again when H14 came out. I'm learning/exploring, so it is taking a bit of time to find a good workflow for modeling. H14 made that easier, and hopefuly it will improve some more.
-
Dear odforce community, we (WE CAN DANCE Animation Studio) are working hard on our Christmas Animation Short for 2012 - "Santa & Klaus". After several years of half baked attempts this is the first time we really committed to producing a true character animation piece. Everything is being done in Houdini except for the animation which we unfortunately had to do in Maya due to the limited amount of Houdini Rigging and Animation Artists. We are however interested in developing a full Houdini Character Animation pipeline in the future if we are sure to have enough skilled artists at our disposal (feel free to contact us). With this animation piece we are venturing in several new areas that we haven't done before like skin shading and fur as well as the overall sheer amount of work that has to be done to finish something like this. I would like to use this thread for three things. First to show you regular updates on our progress. Second to get some feedback (which however might not be implemented as our deadline is rather tight but is definitely appreciated and discussed). And third to get technical help if we might get stuck in an area we aren't very experienced in yet. I will try to post updates and pictures as regularly as possible. Posts in this thread might be a little bit on the technical side while the artier (is this a word?) side can be seen at http://santa-und-klaus.tumblr.com We hope you find this thread interesting and entertaining. Best regards, WE CAN DANCE Animation Studio

