Search the Community
Showing results for tags 'curves'.
-
Is there a way to control the flow of scatter points using curves?
-
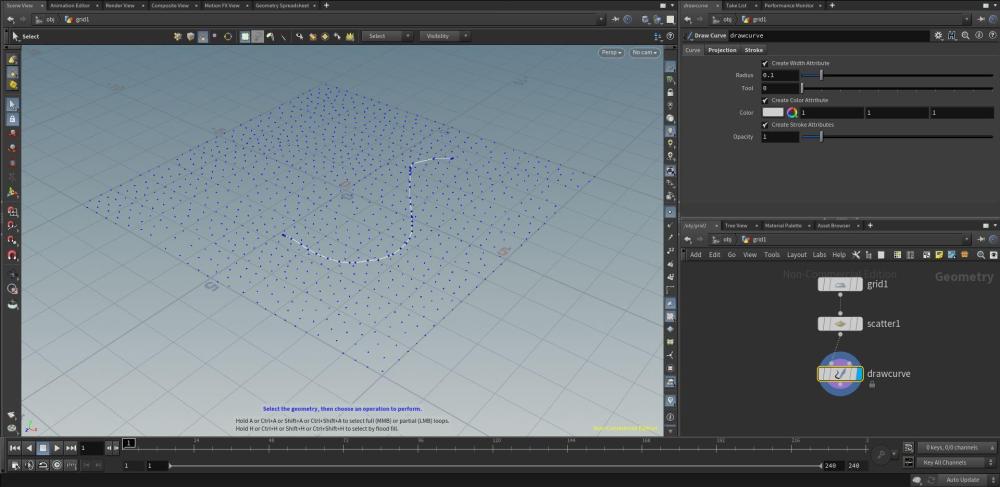
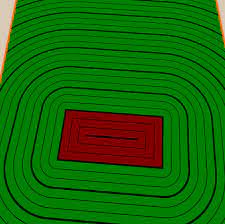
Hello, I'm trying to create a signed distance with curves or a vector file. But I'm having trouble figuring out how to go from one shape to another... Essentially I'm trying to be able to blend from a complicated shape (in the center) to a simple rectangle on the exterior. attached is a simple scene file of what I've attempted so far. Thanks, blendTest01_v001.hiplc
-
http://www.patreon.com/posts/31506335 Carves out polygons using a point attribute with the ability to define the carve values per primitive using primitive attributes. Pure VEX implementation, 10x faster than the default Carve SOP (compiled). It preserves all available attributes. It supports both open and closed polygons.
- 16 replies
-
- 3
-

-
- procedural
- fx
- (and 9 more)
-
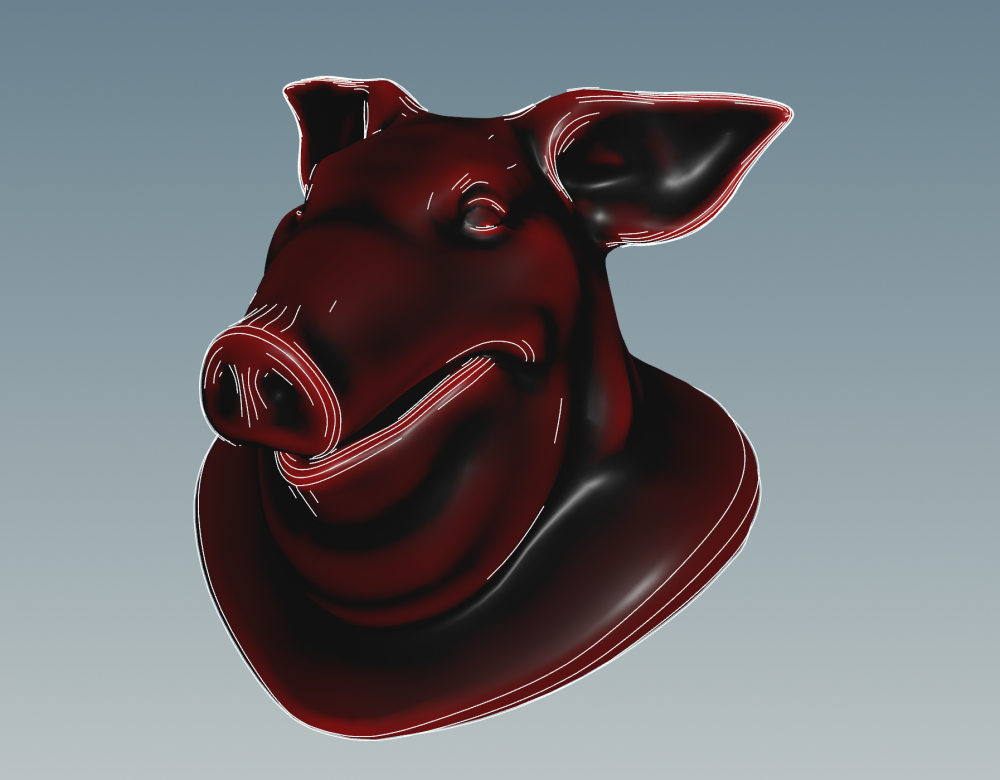
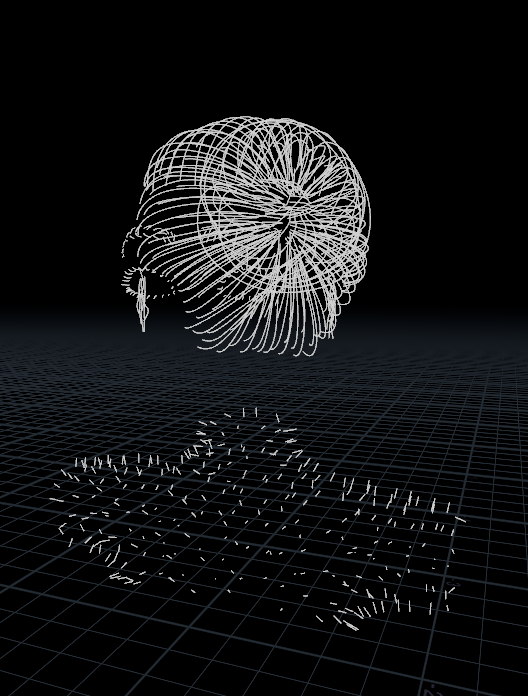
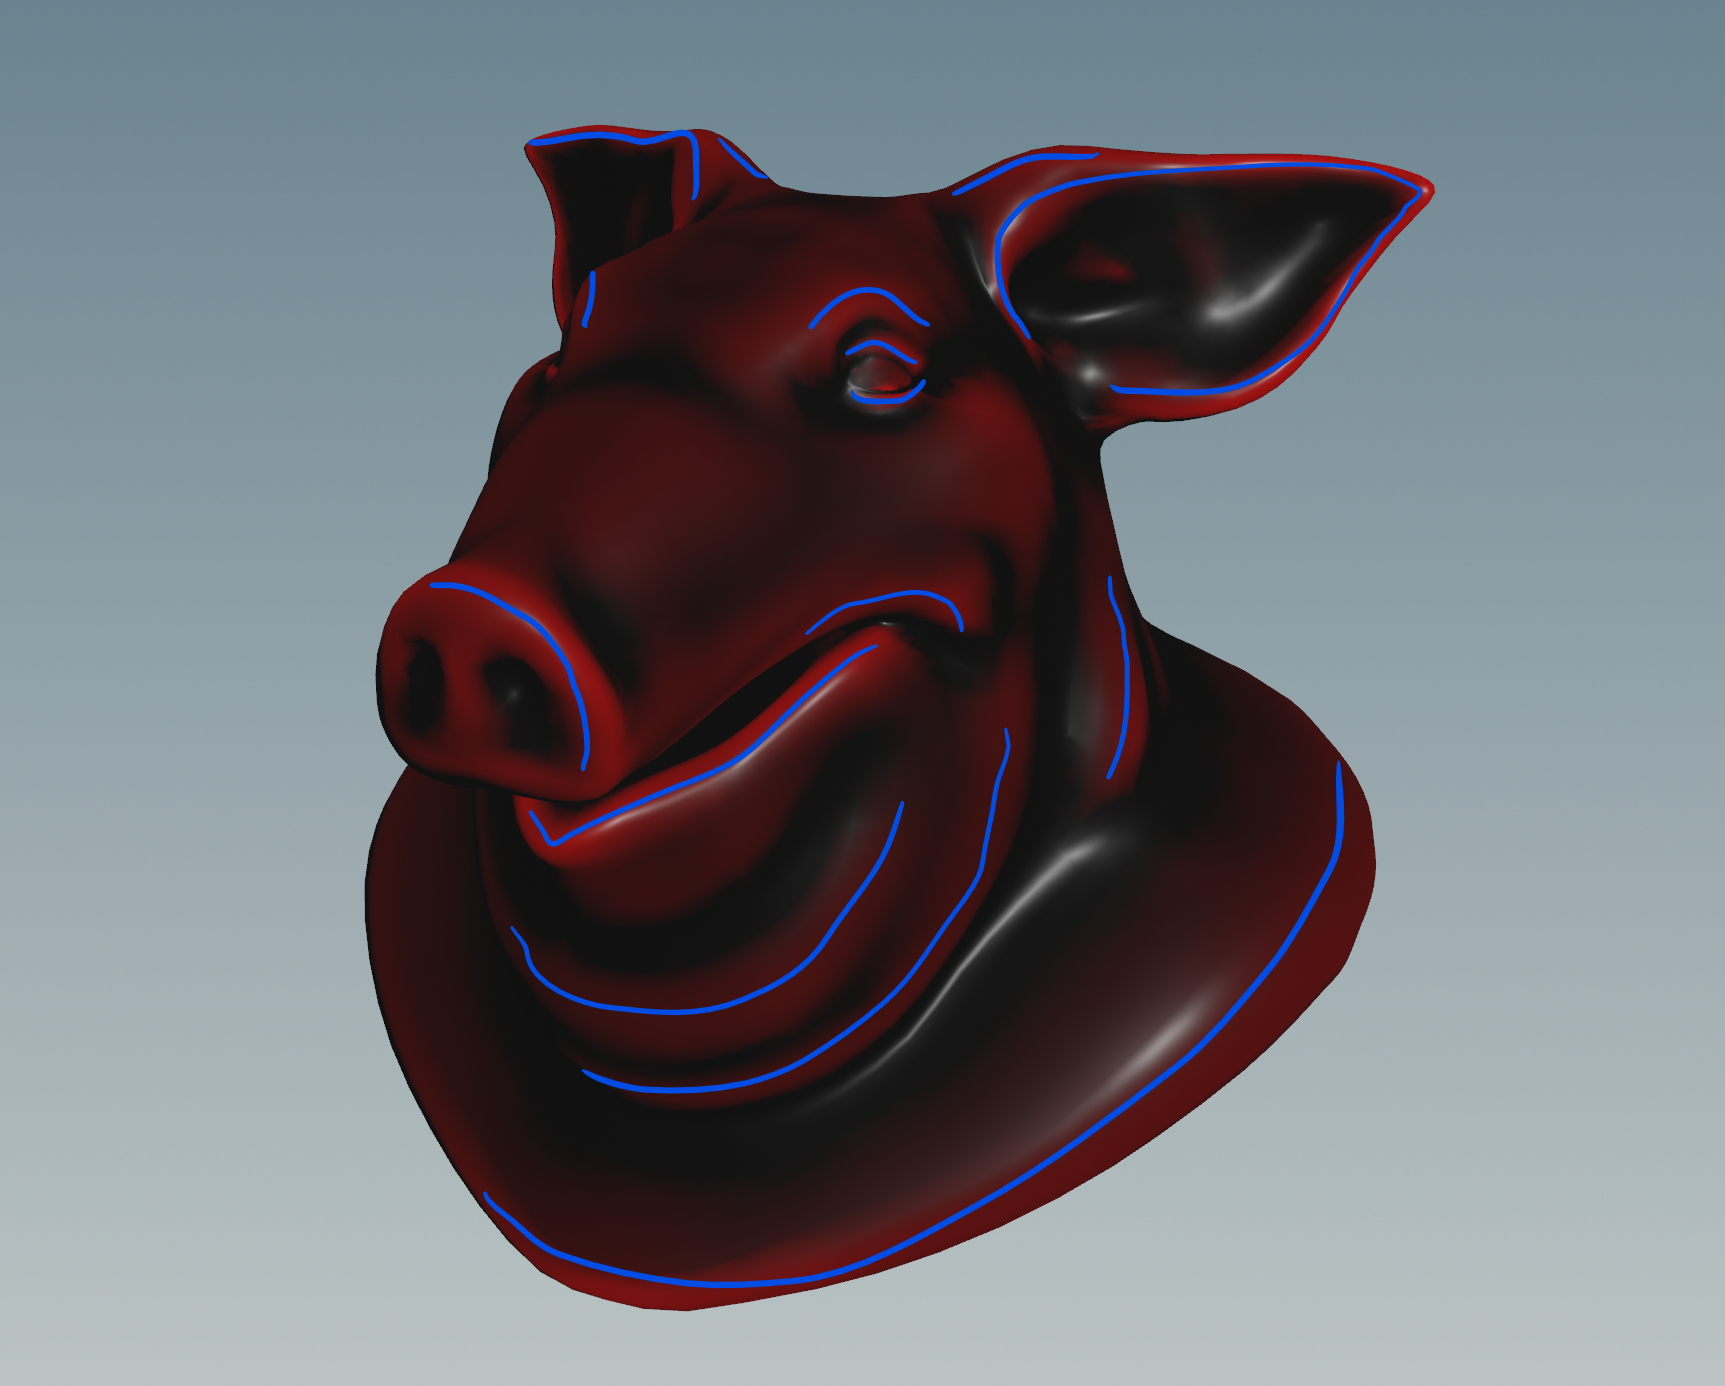
Hi everyone, I am looking for a good approach to generating curves that follow the curvature of a mesh. The goal is to generate line art in 3D, so not in post-process. First Approach My first attempt was based on vertex normal to find the lines, but if I push too far the sharp edge detection, I end up with duplicated lines along my curvature which gives an undesirable result. Expected result: Second Approach My second idea was to scatter points on my mesh and push these points in the direction that the principal curvature method gives me. I keep pushing the points in that direction as long as the next position has a stronger curvature than the previous one. The problem is that the principal curvature doesn't give me a constant direction through my mesh, and can flip from one vertex to another. The other problem is that I don't know how to connect the points into a curve. Thanks in advance for your help.

-
Hello. Help me, please get rid of flickering on animated geometry. I have curves generated with "find shortest path". I'm tried interpolate, but still error
-
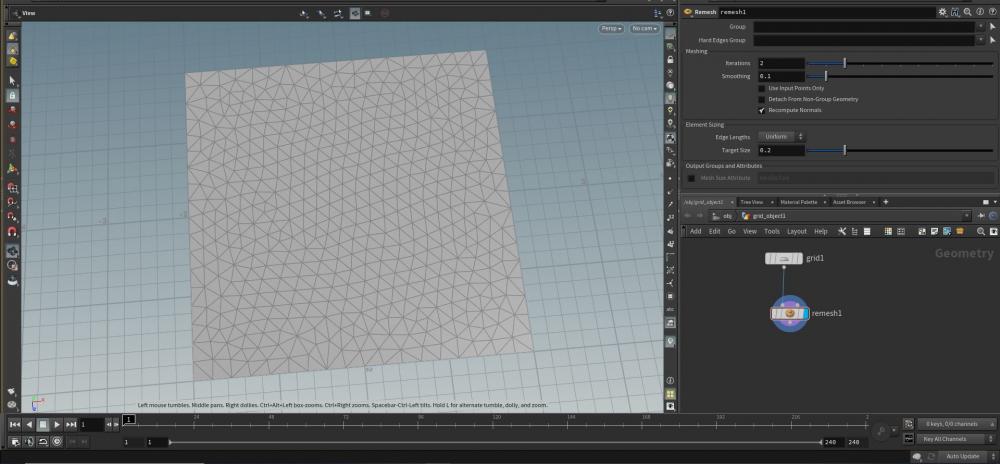
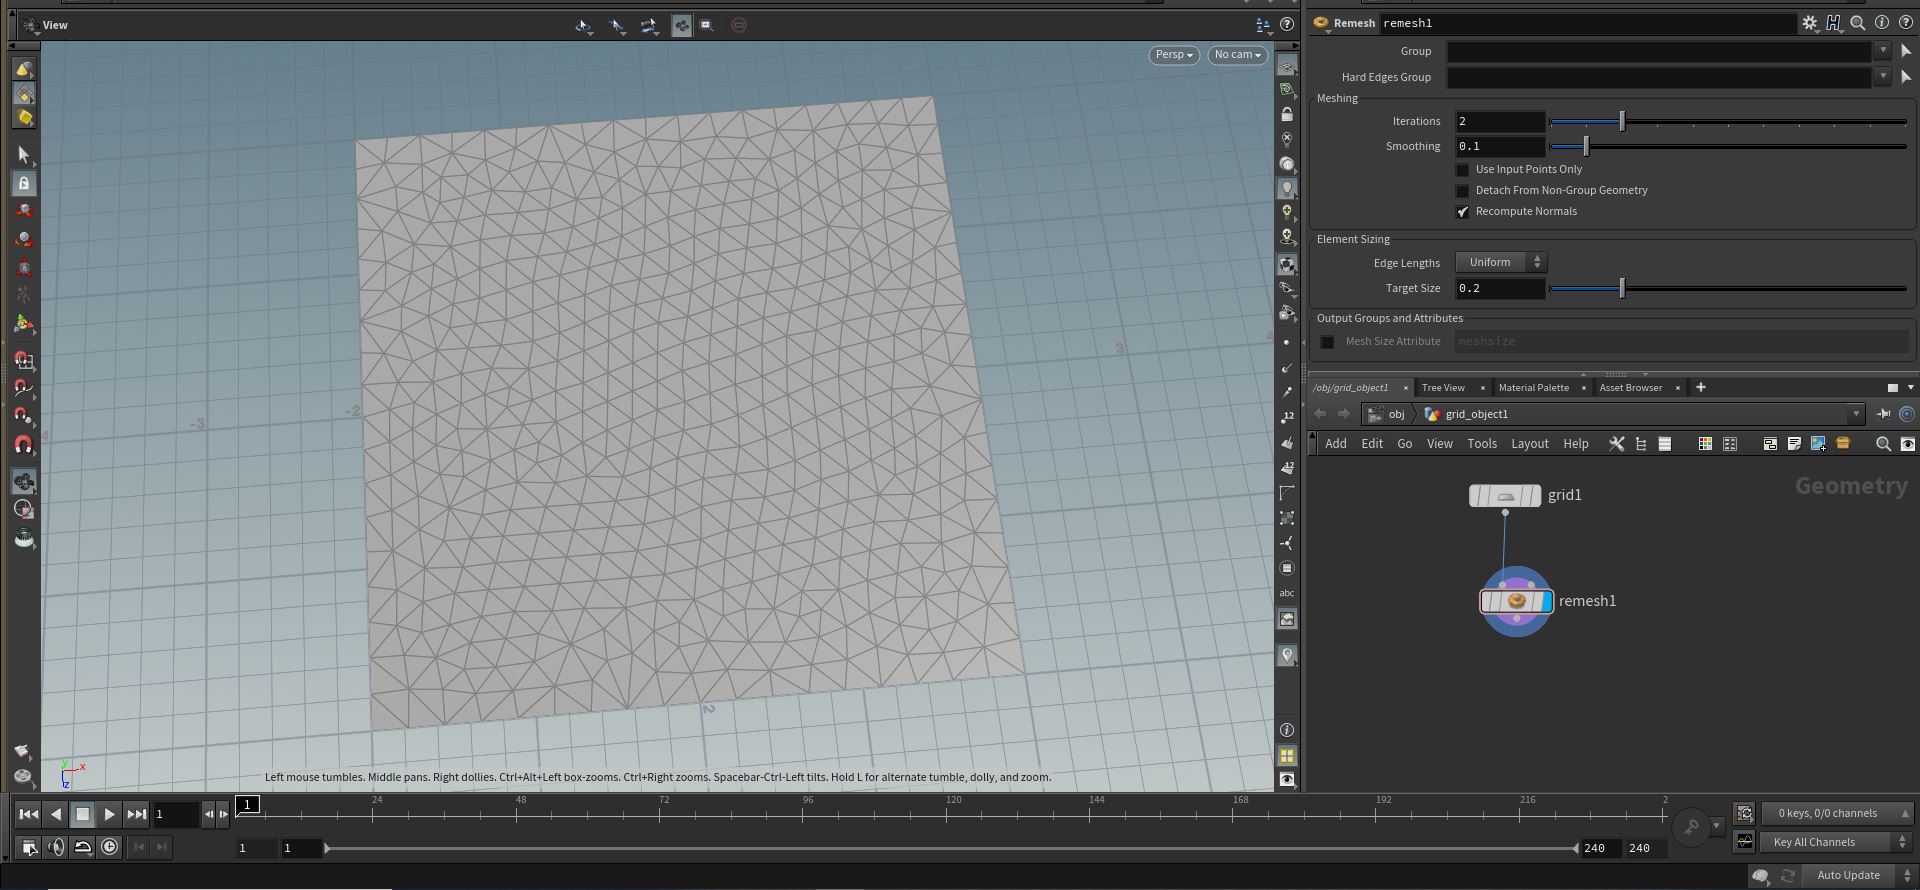
Is it possible to use a curve to influence the vertices on a mesh like this grid?
-
I imported my xgen descriptions as alembic curves to houdini and i'm trying to use these curves for the simulation. I did select the Use external Geometry in the guide groom node's basic tab but they are not doing what i want them to do. I basically want to simulate this curves from my t pose character to animated character. How can i do it?
-
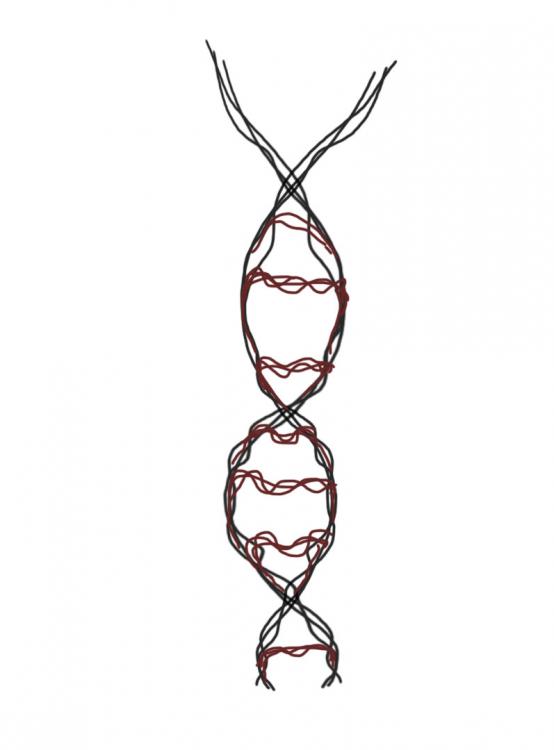
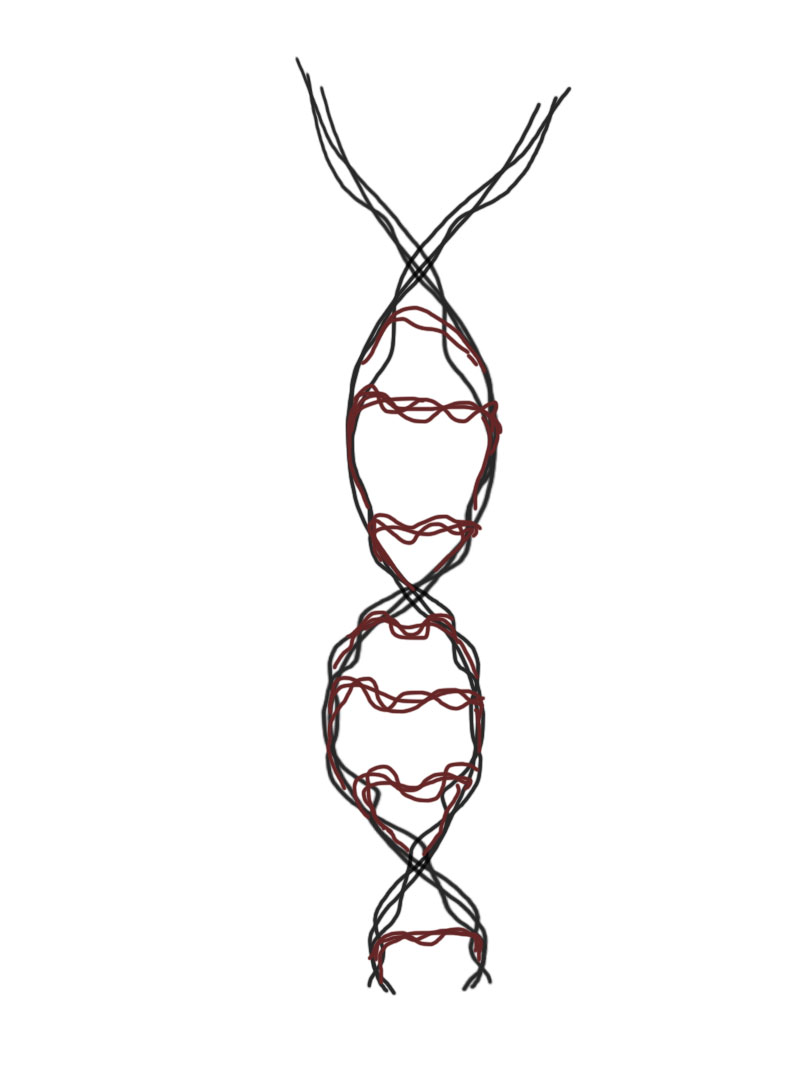
Hi Guys, I'm stuck doing this stuff, I would like to make a DNA based on fiber/curves like in the picture The 2 branchs and every step in the middle are noisy fiber.. I getted the DNA but can't get the way for the middle steps.. Any help would be appreciate. Thank you.
-
I'm snapping a path along a terrain and then using that path in a sweep node as a backbone curve to generate a wall. The problem I'm running into is that the sweep is following the tangent of the terrain normals and creates a warped look in the corners that's accentuated with increased height. I tried to correctly orient the cross sections in the sweep node by using an orientalongcurve node with the snapped path in input 1 and the pre snapped path transformed higher in y for input 2. That works more or less for the longer portions of the wall but still results in warped corners. Since this is a wall and not a roller coaster, is there a way to force the cross sections to always be oriented straight up in y while still following the snapped path around the terrain? My assumption is that this would fix the corner issue, but I'm very new to Houdini so I may be going about this all wrong. Any help would be very appreciated.

-
I have a 1 object that consists of a ~1000 closed curves/splines (same ammount of primitives), i want to generate particles on each curve and move those particles along them, but each particle stays on that same curve it has been generated onto. i started with popnet with a force and a pop wrangle @P = minpos(1,@P); but of course the particles are jumping on the next spline when it comes near it, which i want to avoid. Also tried adding the popnet inside a for each prim loop, but not sure how to use metadata from that loop inside a popnet (particles disappear after the 1st frame) Can any1 please guide me on what logic i should be using?
-
Hi, So, I following this tutorial and got stuck at the actual web shooting part which happens at 43:00. He did it with vops, is it possible to apply the same principle to achieve it with vex? Maybe by moving it back to rest position? I tried it with a carve node but the transformation isn't as smooth as the one in the video. I have attached the HIP file below for reference. and spider_web.hip
-
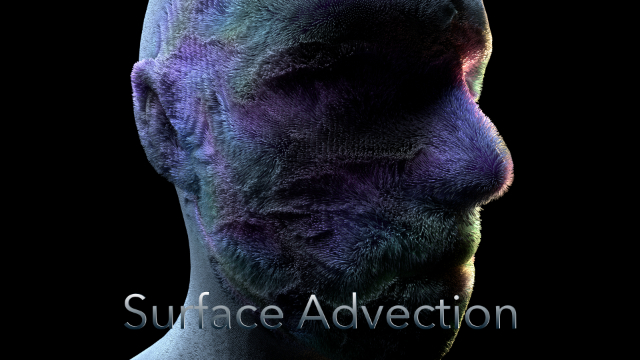
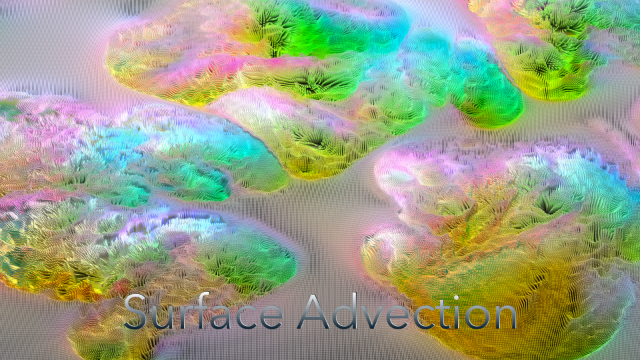
Hi all, just wanted to let people know I have a brand new live class coming late September as well called Surface Advection. You can enroll and view a teaser video here: https://www.houdini.school/courses/hs-211-surface-advection

-
Free video tutorial can be watched at any of these websites: Fendra Fx Vimeo Side Fx Project file can be purchased at Gumroad here: https://gumroad.com/davidtorno?sort=newest


-
Hi, Anyone knows a good way to deform groom using sim curves? as guidegroom deform doesn`t seem to work for me and pointdeform has some other issues. Do I really have to sim low res curves and then apply hairgen for full res? Problem is that i have my groom done already and want to sim approx 10% of curves and only the long ones and deform my groom by those curves. Obviously I can`t acces Furtility, so is there any other good way using Houdini to do it? Thanks Here is the simple example of what I`m talking about: groomDeform.hip

-
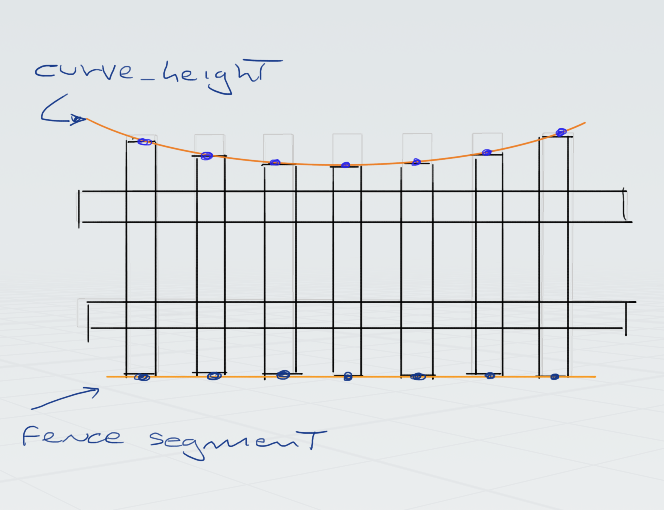
Hi, I've created a basic picket fence setup. Each picket is positioned on a ground fence segment based on its width, as well as the segment's length. There's a curve_height that I want each individual picket to extend to. I'm currently stuck as to which part of the for-loop to put it in. The curve_height section is in the red network box. Thanks for the help. picketFence_w21_alternateHeight1.hipnc
-
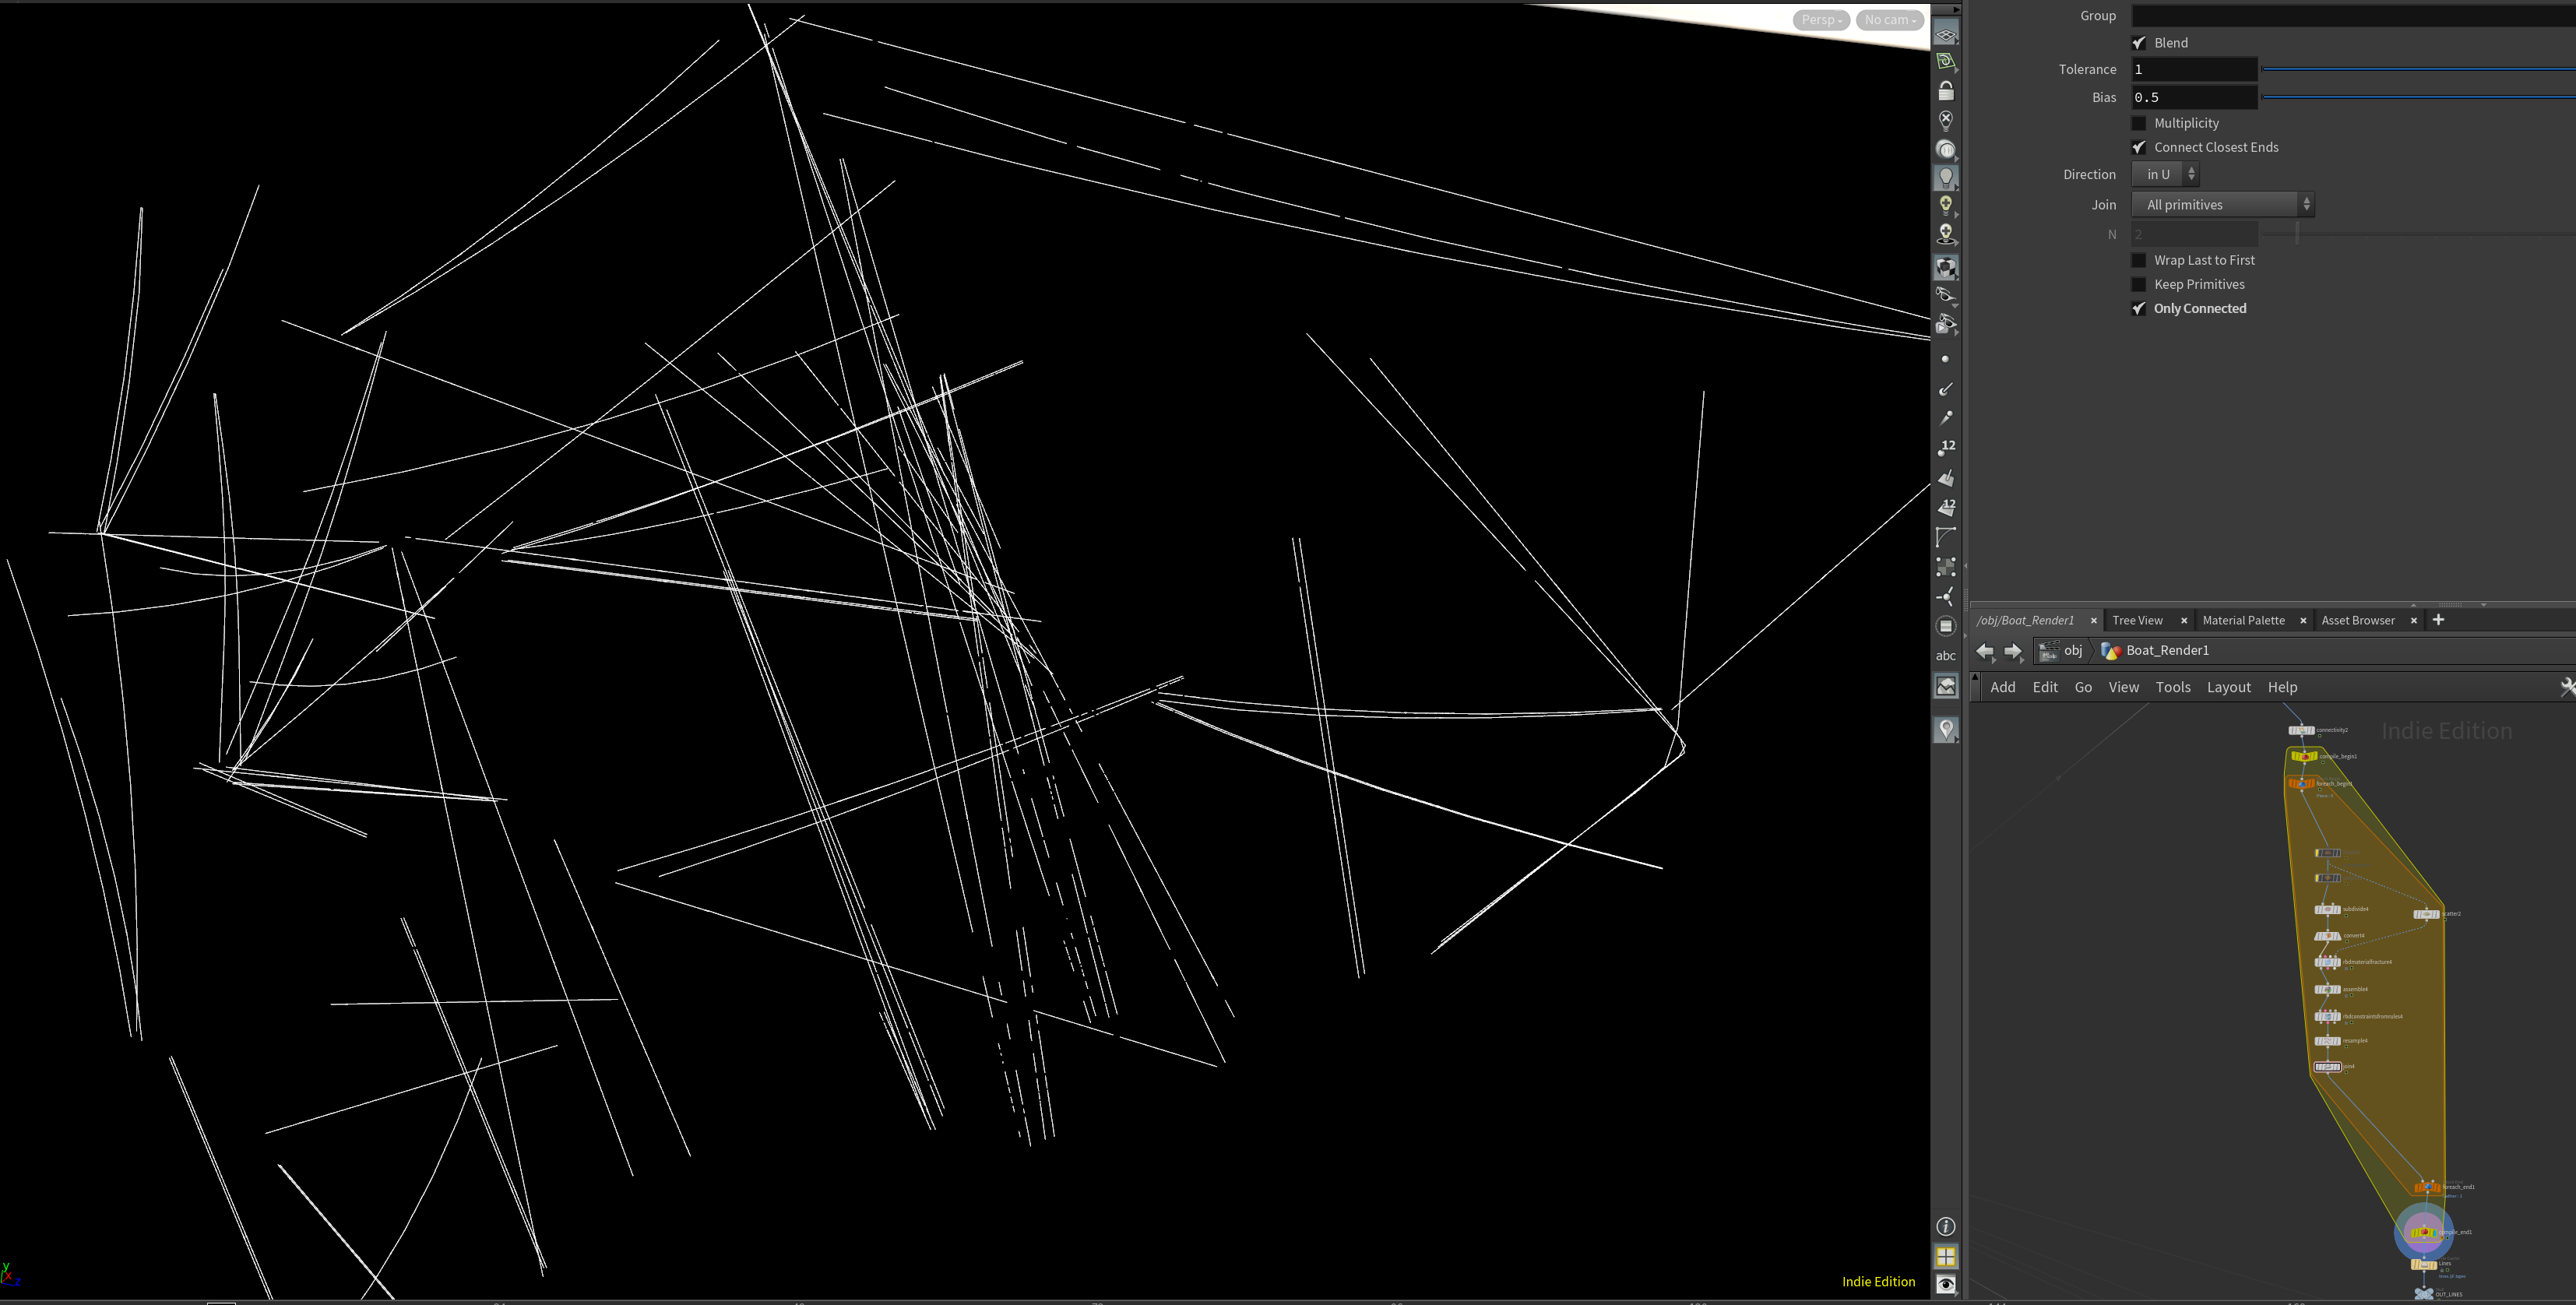
Hi guys, may I ask for a quick way of converting geo tubes into straight splines? ATM I'm abusing the fracture tools to generate single constraints withing the center of mass and a join afterwards. Kinda works but wth some flaws. A few lines show discontinuities/breakups. Disabling "only connected" on the join node adds quite a few new splines what I dont want. So is there a quick and dirty way of getting to some fine splines? Some node I dont think of? An alternative would be looking for points with a neighboutcount < 2 which are not at the max or min of curveu and connect them - or something like, I guess.

-
 Hey all, I've been having an issue figuring out the best way to make panels move along a curve - constrained to each other. Like chains, tank treads, sectional garage doors, etc. I've attached an image of the issue, the black dots would be wheels on a rail. It looks like the chain sop uses curveu to control the objects position along the curve, which fails when the movement axis changes from a single direction to a mix of the two. IE as it rounds the bend the top pivot point travels a longer distance than the bottom pivot point. I've got one thought which is to create points that are constrained via distance to the previous point, which are all constrained to slide along a path. Is this possible in vellum now with the slide constraint? Each point would be a position constraint for the bottom of one object, and a 'look at' constraint for the next object down the path. If the distance is maintained between each point then theoretically it'll always be a seamless assembly of chain-links or a tank tread. I just can't believe there isn't a simpler way or something that has been done before, it seems like this would've been solved years ago. Maybe there's some math or CHOP to interpolate point distance along the path? Maybe some sort of for loop where it changes a points curveu attribute until the correct point distance is achieved? Thanks much for the advice!
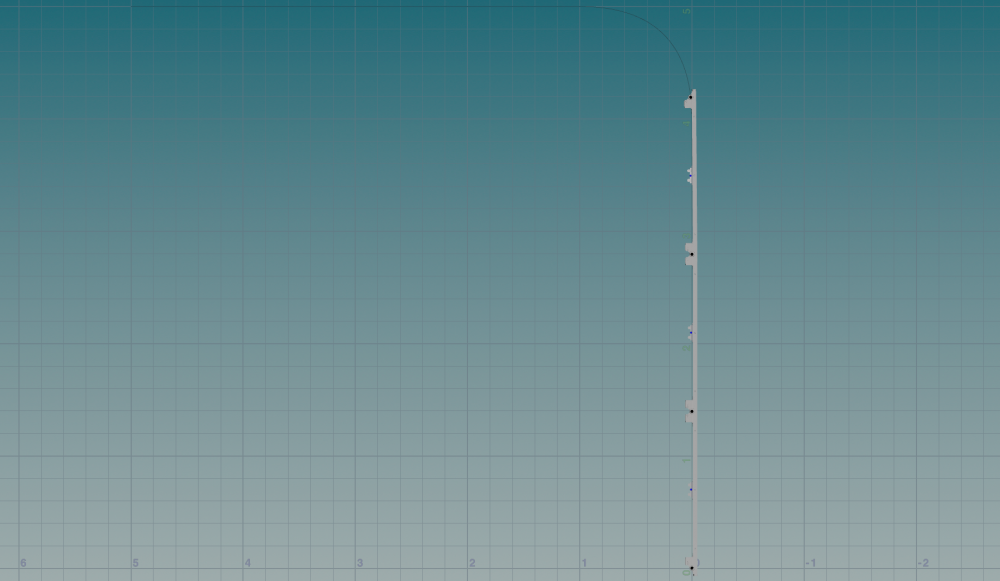
-
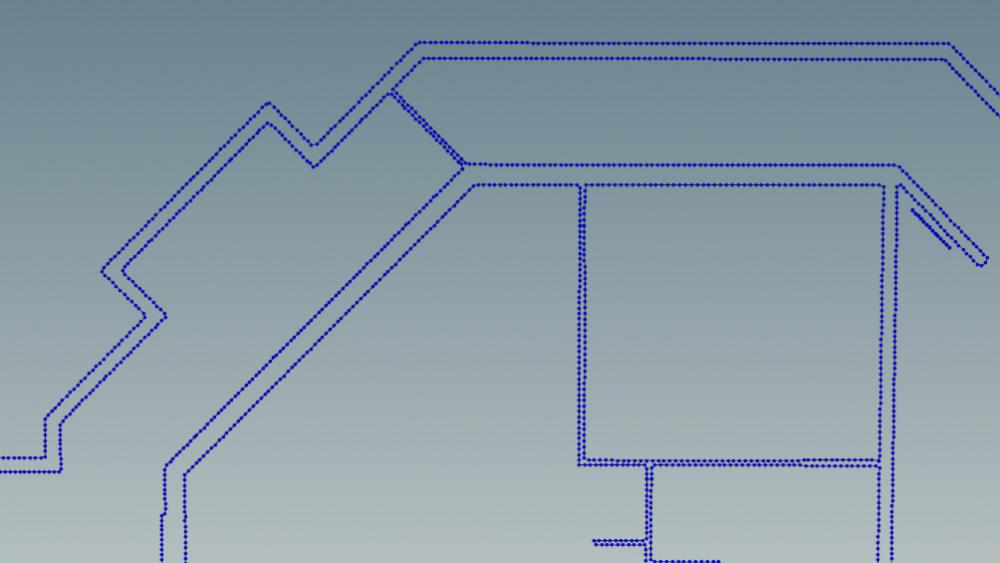
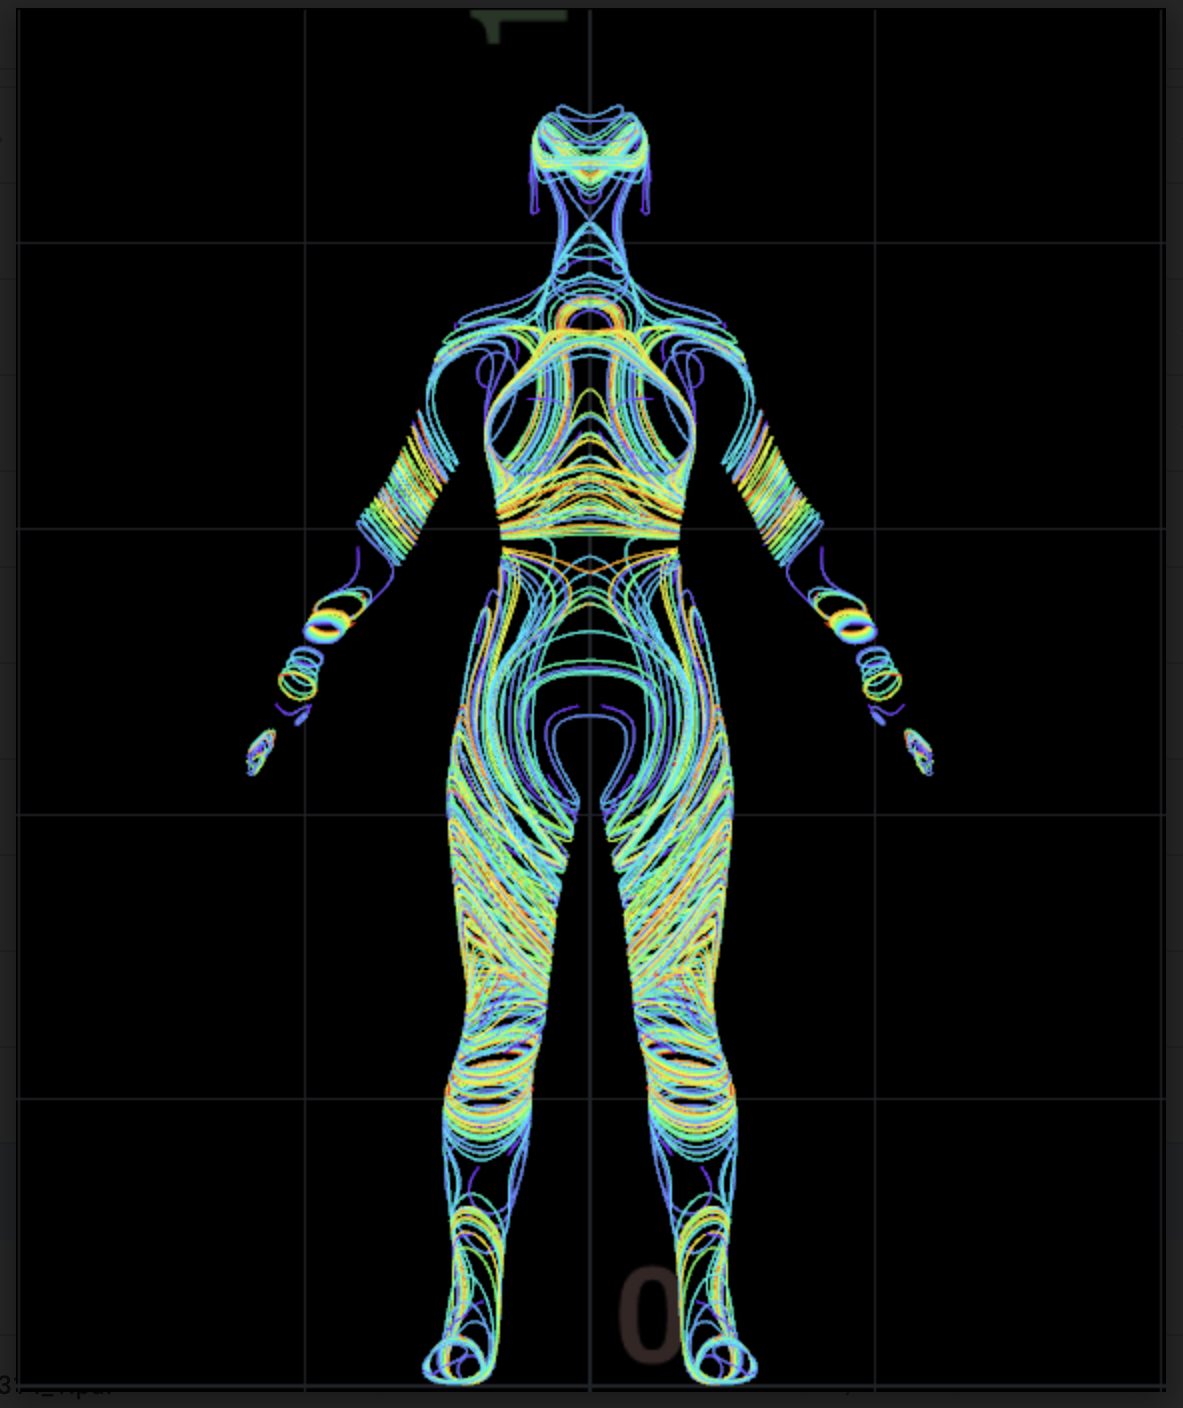
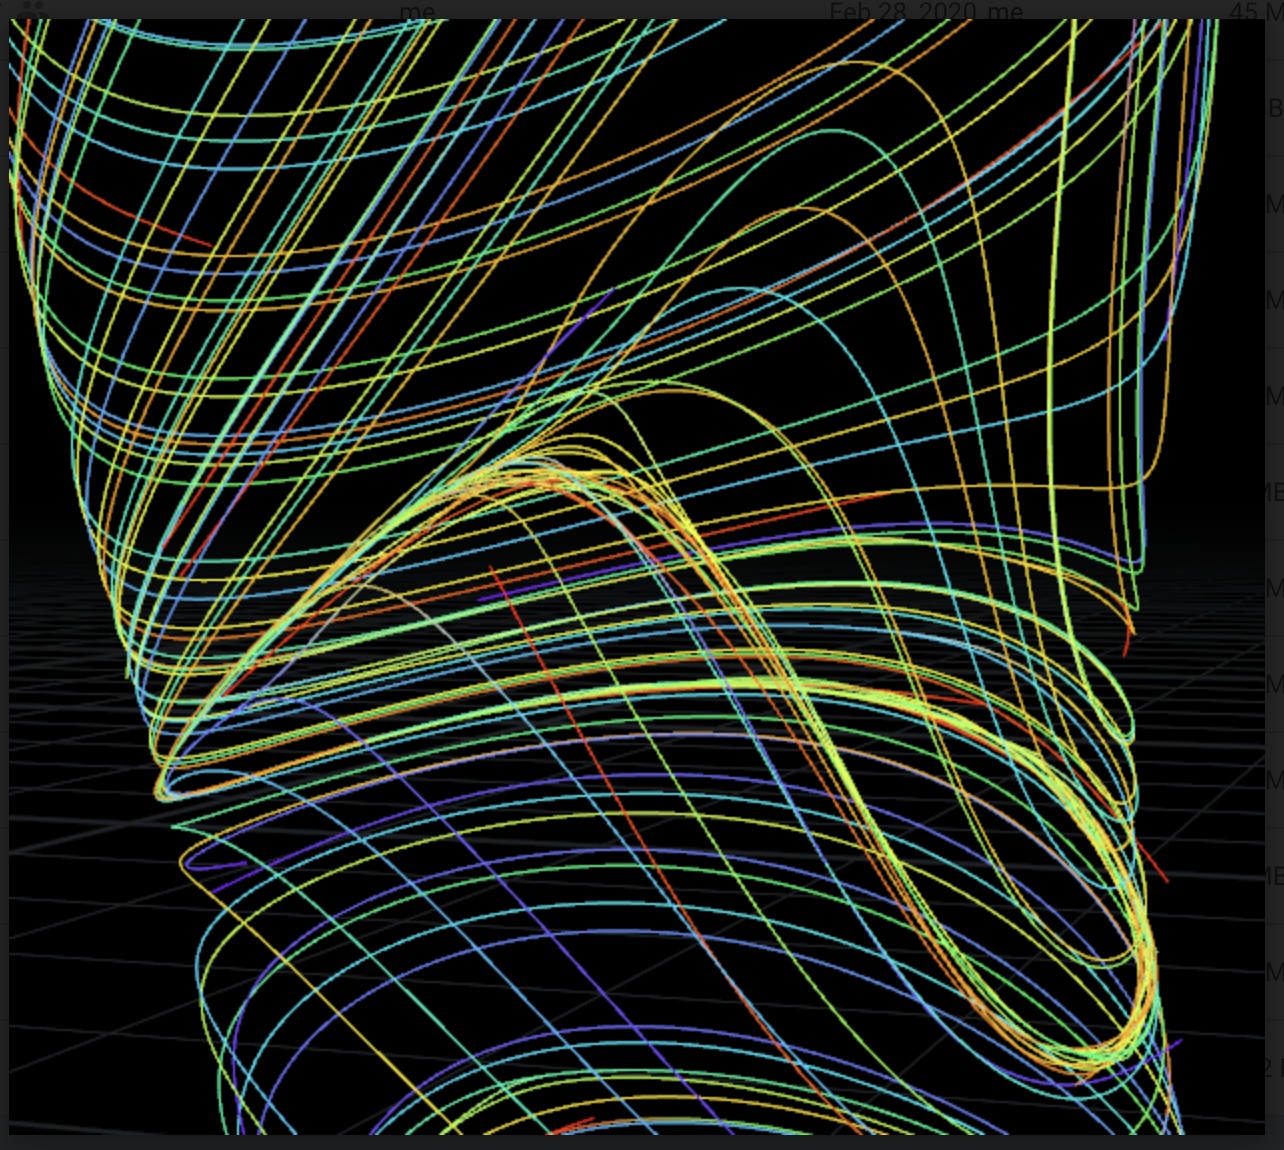
Hello everyone, I am new to Houdini and was wondering how to solve an issue regarding the overlapping or intersection of curves. As you can see in the supplied images the curves become messy and extremely close to one another. Is there a method in order to be able to either delete curves that are inside a certain proximity to one another? Or delete every second curve? Or identify where there is a cluster of lines or points and delete them? Im not sure of the best method to resolve this issue so any help would be appreciated. (Apologies for the terrible screenshot images, the first is of the entire line network, and the second is a close up on the knee which shows some of the overlapping / cluster of lines.) Thanks very much.


-
Hi guys, I'm looking a way to refine my trace node import (iges). Is there a way to keep point only at angle? to keep it clean when extruding.. Thank you for you help.
-
Hey Guys! I'm trying to find a way to interact Vellum Grains with curves using Vellum Hair/Cloth. Attached you can find a test scene where you can see an simple example. In this example there is a switch node with three different setups: 1) Hair 2) Grains 3) Cloth My goal is to have both interacting with other, in a mutual setup. But only grains seems to work... But not as I expect, cause I'd like to have a stiffer line behaviour. I know hair can give us this, but how to make them interact? Thanks a lot! Cheers. grains_interaction_test.hiplc
-
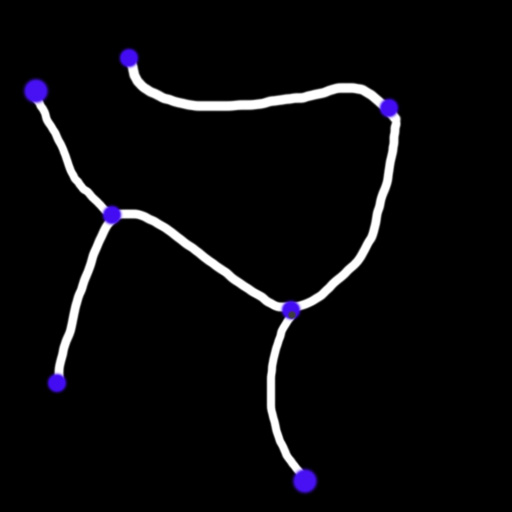
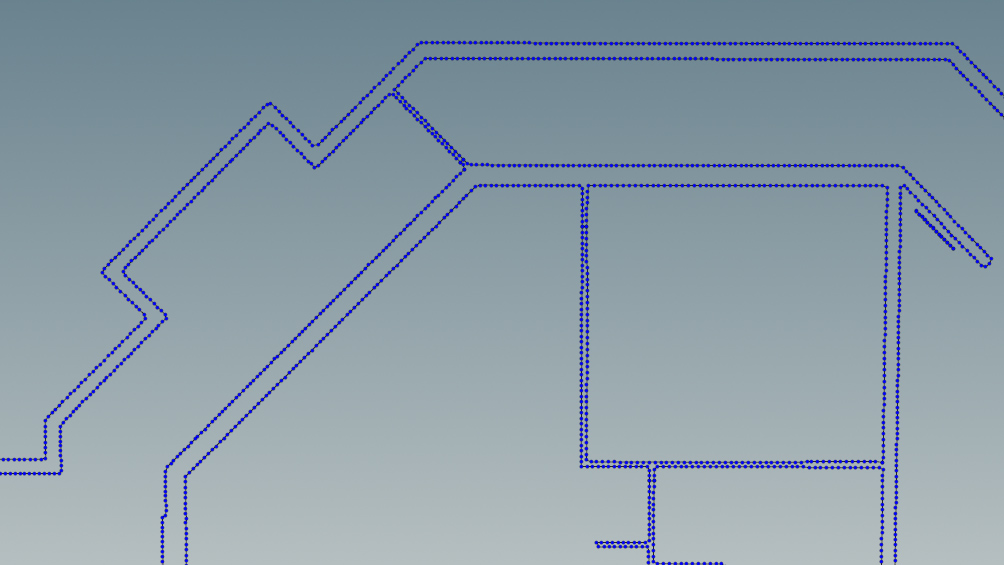
Hey everyone I am making a road system that dynamically deforms the terrain and for the most part it works great however every individual street is its own curve then merged and fused together. The problem is I will end up with 100's of curves and if I want to go back and adjust a point I have to go through all of them to find the right curve then adjust the 1 point. What Im looking for is a way to have a single curve node that branches off like in the image. Does anything like this exist or is there a solution so I dont have 100's of different curve nodes? Thanks!
-
Hi everyone, I'm trying to bake to texture a bunch of curves running along a surface. I'm wondering if someone can suggest a more effective solution than the rough one I've already figured it out. I basically made a color attribute transfer form the curves to a very high subdivided mesh, but the results I get are not clean at all and because of the very high subdivision level the system is prone to crashing. (Then I obviously proceeded with a bake texture rop). Am I on the right way? How to get smoother and less jagged lines? I attach a hip file (I turned down the subdivision to 3, I ran at 6) and some screenshot. Cheers curves to texture.hip
.thumb.png.e04aec71ea57e474f08800c0ce741047.png)
.thumb.png.9dc2692f758bb593c42ecbb23525f2cf.png)
.thumb.png.1b74061df595ee11581aee5859d3fa43.png)
.thumb.png.25b239a1b8c87635f3e9a0042bbc9c89.png)
-
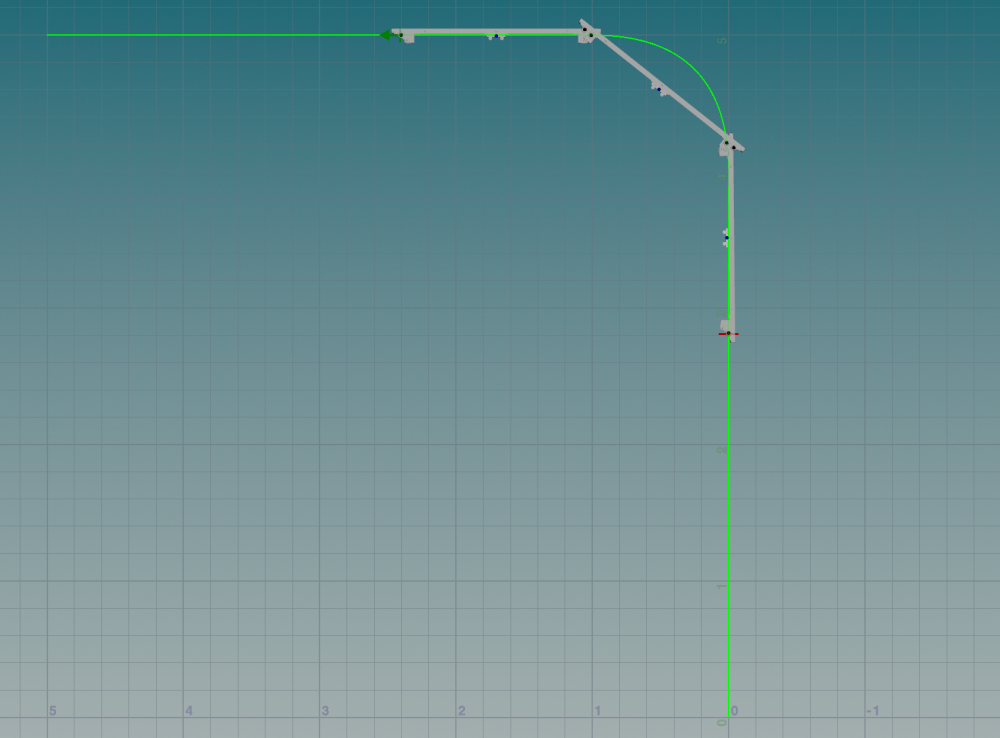
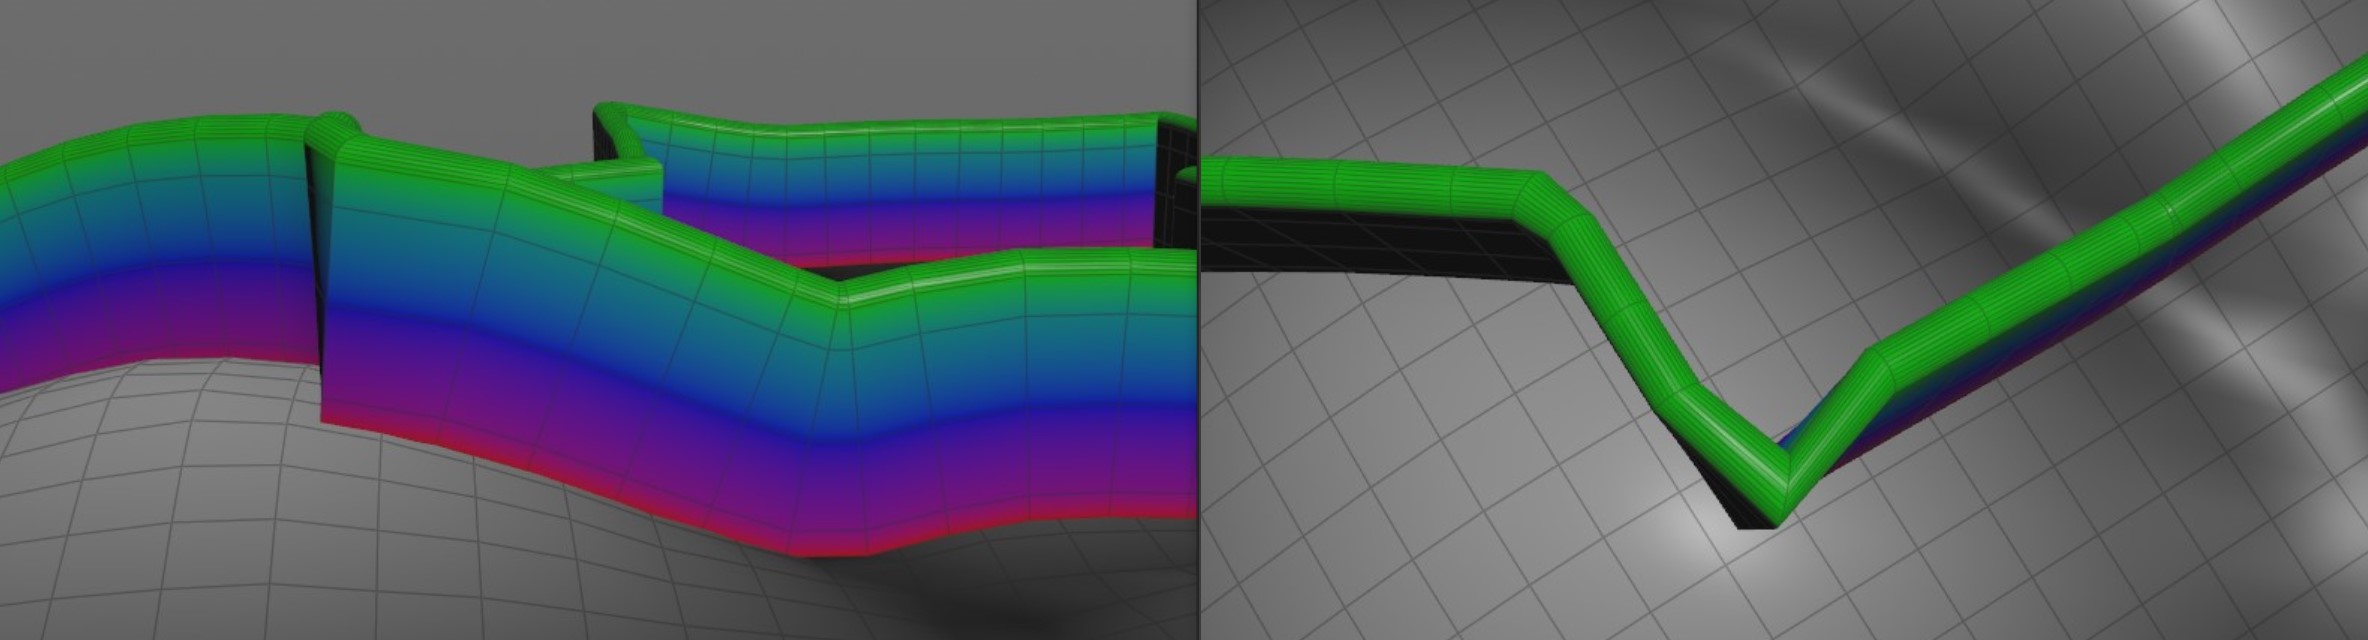
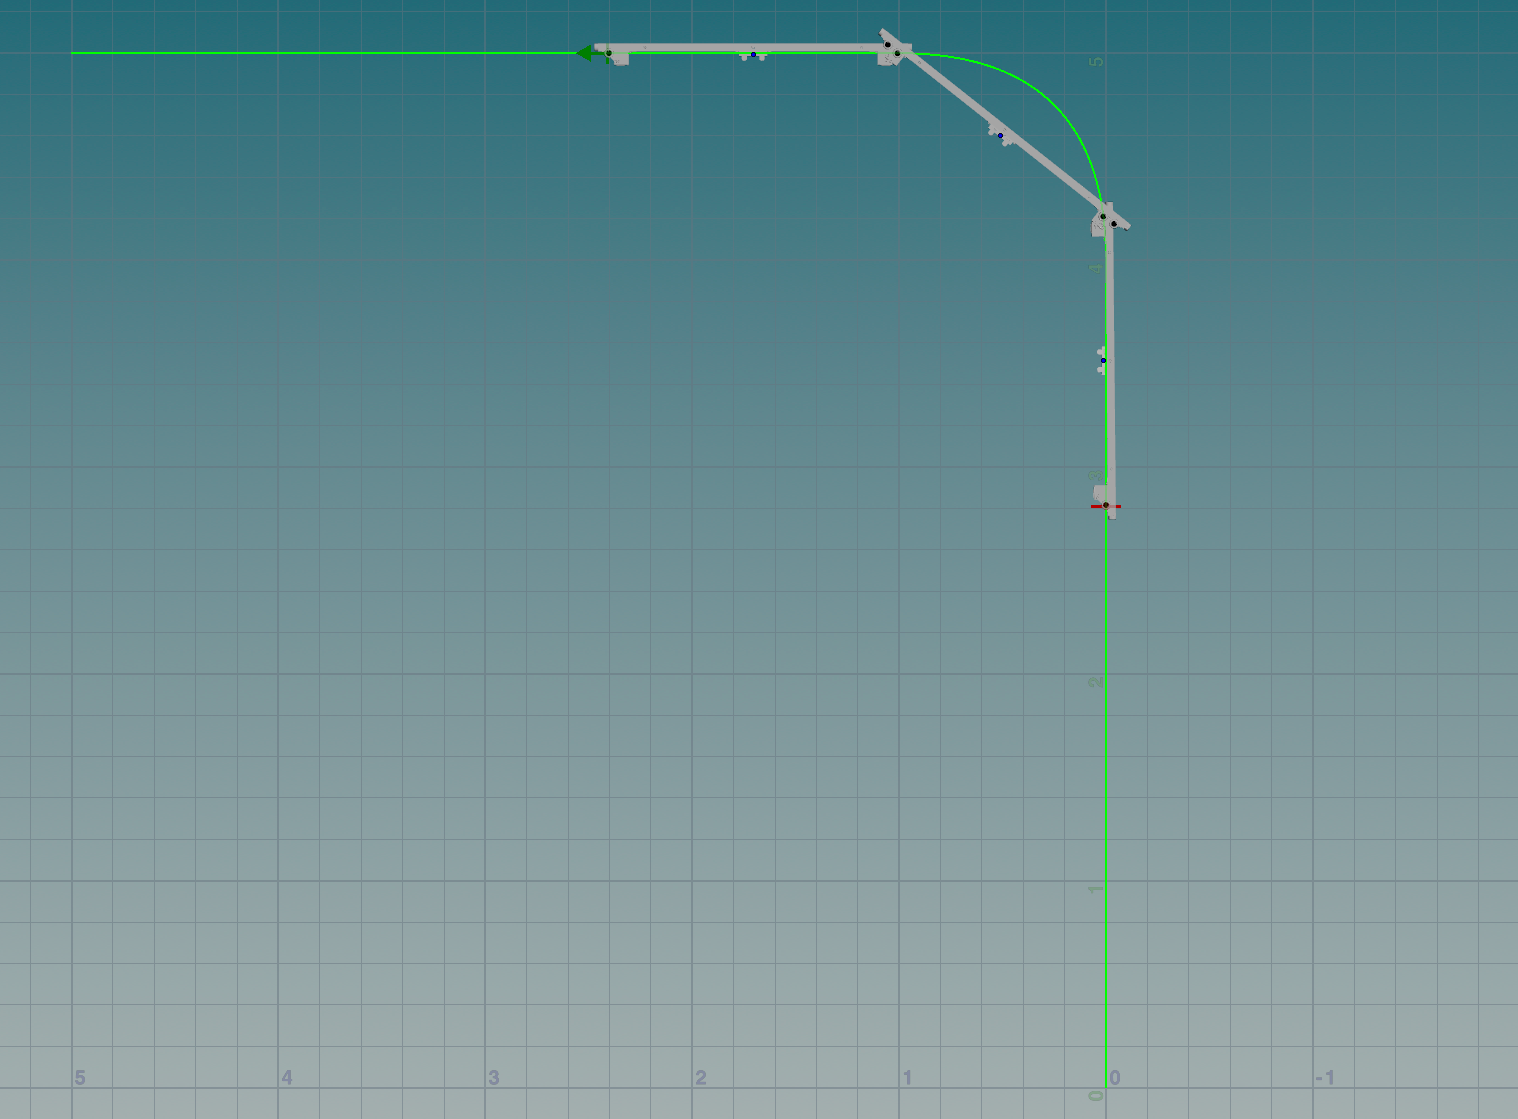
 I've got a curve that I want to attach to a piece of geometry. The connection should be smooth, more like roots of a tree, and not with a hard angle. How can I make my curve follow the shape of the surface I want it to connect to for a bit? Everything I came up with was either not really working or way too complex for this relatively simple idea. Just see the picture for a more elaborate description of what I want to achieve. Red = wrong, green = the kind of connection I'm looking for, following the target object's curvature for a bit.
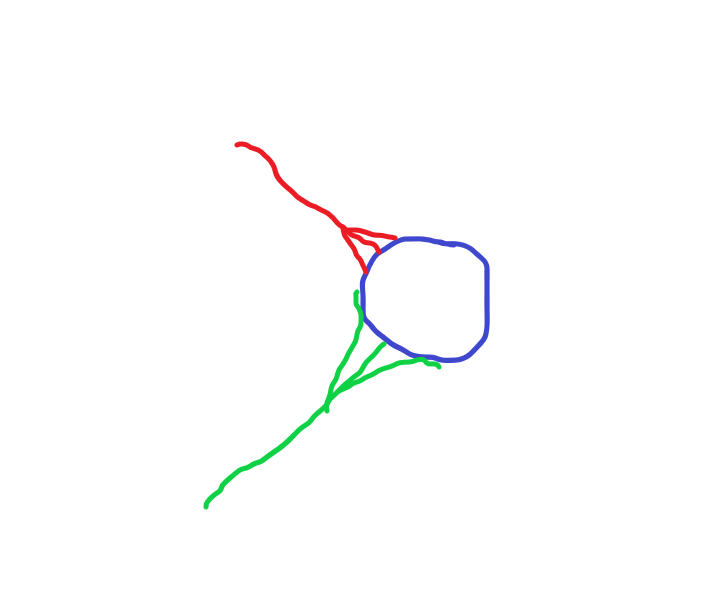
-
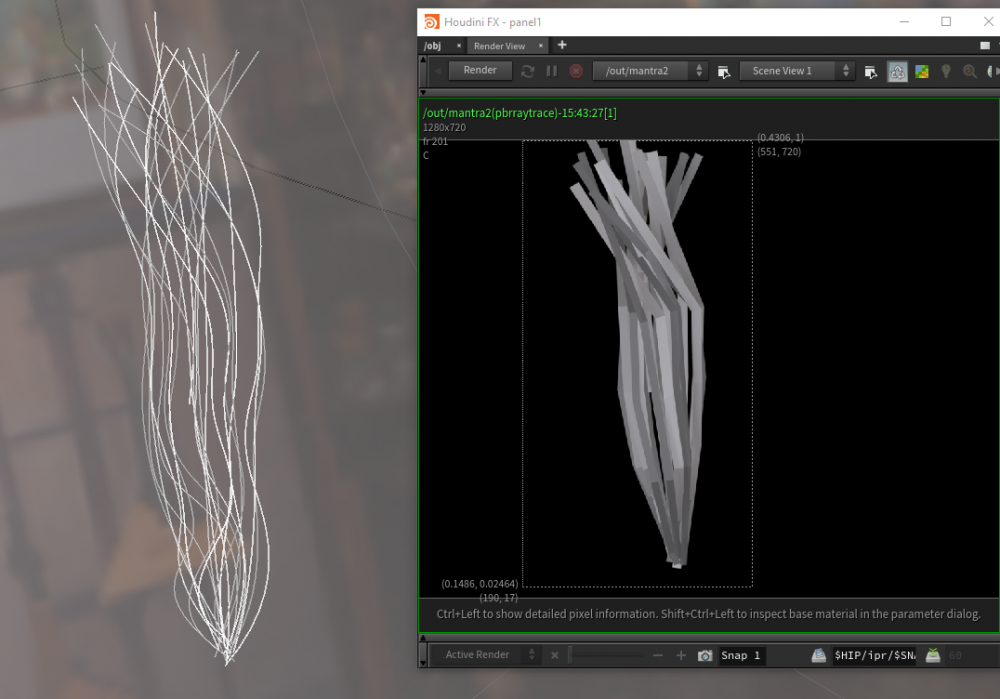
I'm running into an issue. I'm using the convert node to change my wires to NURBS. However, when I render these out it renders them as if the conversion hasn't happened. Is there a good reason as to why this is happening?
-
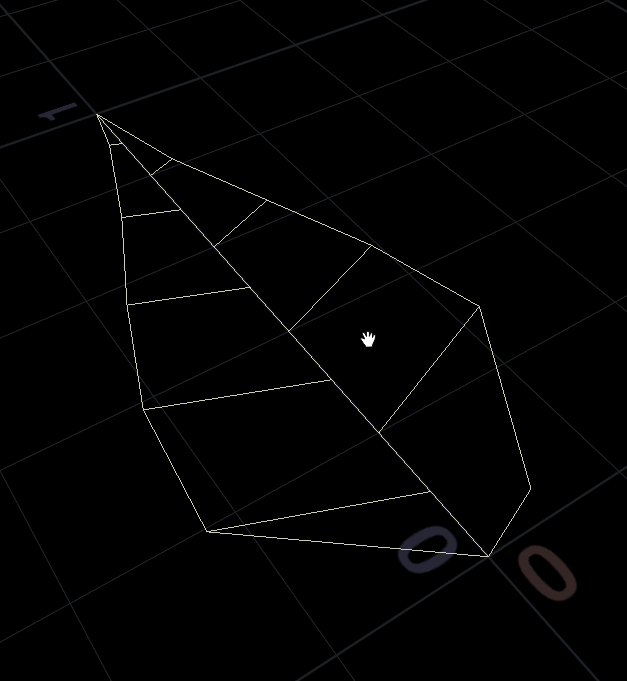
Sup guys, What would be the best way to create a mesh from these lines? Scene file attached Leaf_v0102.hip


.png.2bade54f191f85d4708ba6b3dc30a07a.png)
.png.9e77cd2465ebc0176fd01fd3f937dfda.png)
.png.afd0ef1c2004d78887b1b3e1640f448b.png)
.png.65c6391f2878b2ce8bf9fc6d4dbdfca0.png)

