Search the Community
Showing results for tags 'displacement'.
-
 Hi everyone, I've created a COP network within a Geometry context, and added a "Preview-Material" node. I connected the output of a Fractal-Noise node to the "Height" input of the "Preview-Material". The resulting mesh is displayed, but I'm wondering: how can I convert this mesh into a polygon? Thanks for helping.
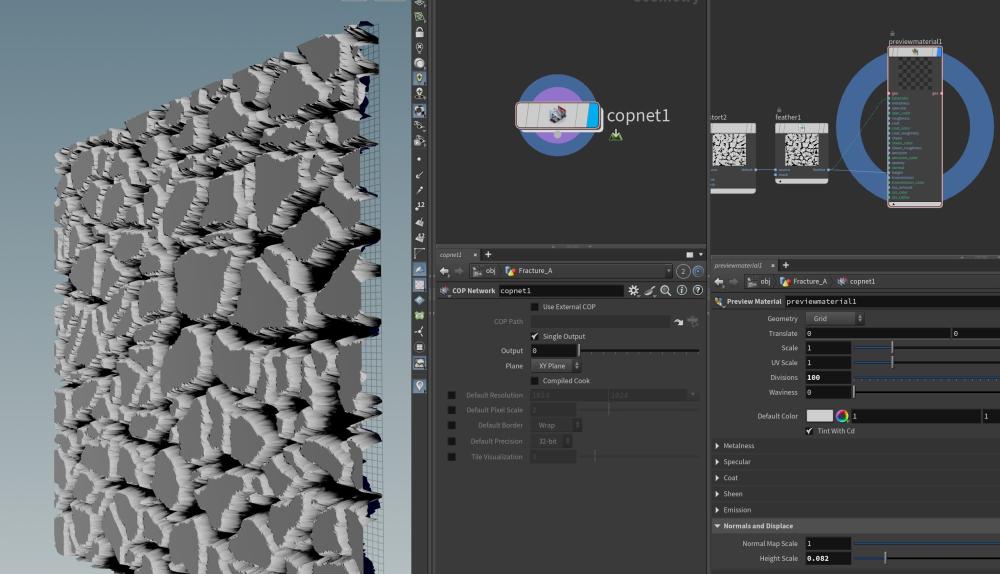
-
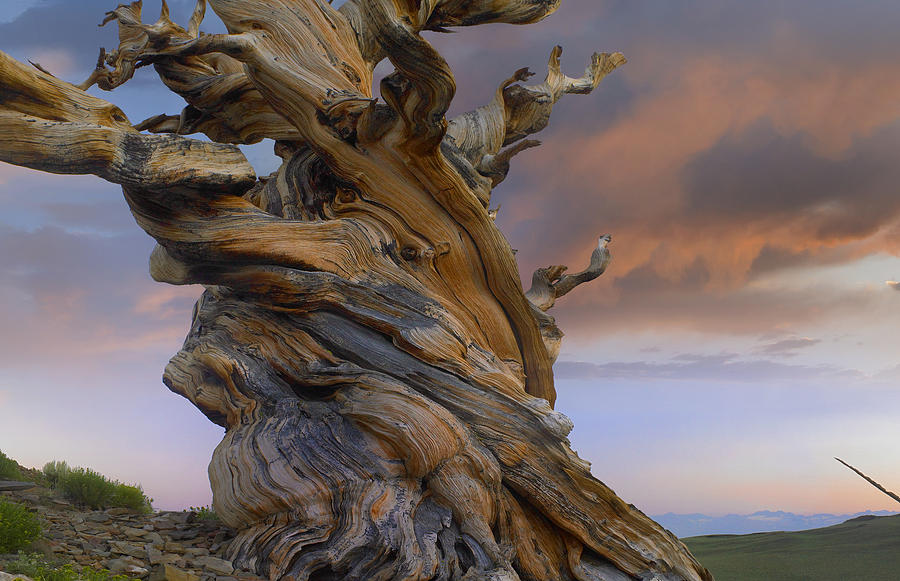
Hello, i am relatively new to Houdini and i would like to ask the community for methods to find a solution for my following project. So far i've been working mainly with C4D and Blender. I would like to find a workflow to create tree shapes from 3D models. Specifically, in my project i would like to take posed mesh from DAZ3D of 2 hugging humans and basically turn them into a "wood sculpture". (probably 2 seperate intertwined tree trunks) I would like to find a way to do this procedural, so i can use this on different shapes in the future. For now my focus is on creating the shapes, not texturing. So far i found 2 guides that might help for an approach: 1. 2. Guide 1 is a great approach, but the branches are too small and look like veins. Also the human shape is "too visible". I am looking to create a more natural tree look with really thick, wild growing branches. More like a tree that naturally grew into the shape of a human by chance. Guide 2 looks like a great way to approach the tree bark displacement, but there are only rock shapes shown and i sadly cant find a guide for a more organic, wood-like look. My guess would be to find a way to combine both of these methods, but sadly my experience in Houdini is too small to find a solution by myself. I'm looking to create pretty much this exact type of tree shape: I found this image under the keywords "foxtail pine tree", after searching for twisted branches. I hope someone can give me some tips to find a solution to realize my vision for this project. I am highly convinced there is a possibility. Really looking forward to what you guys have to say!
-
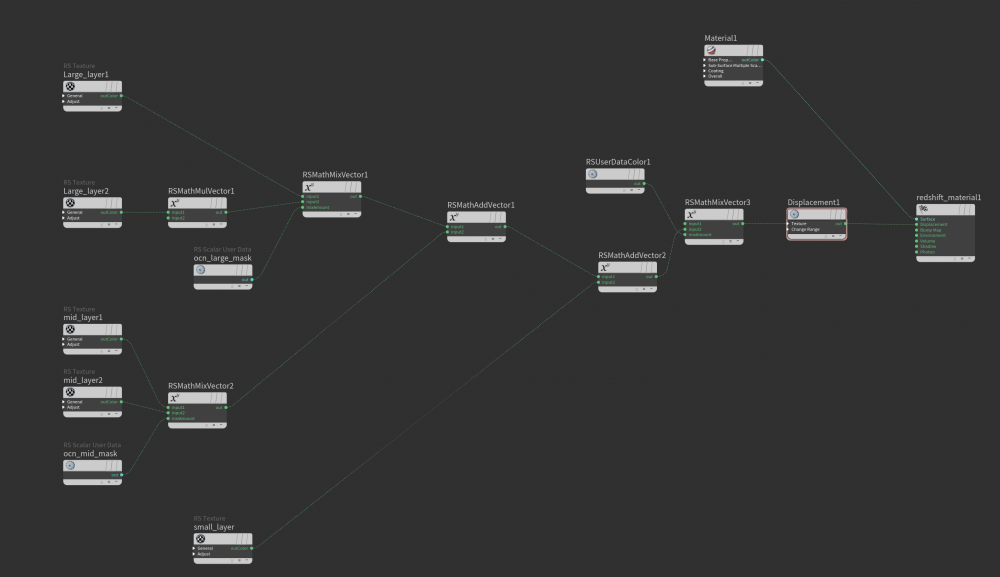
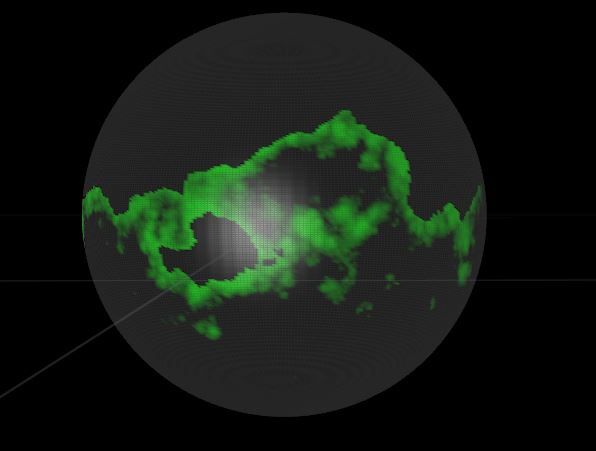
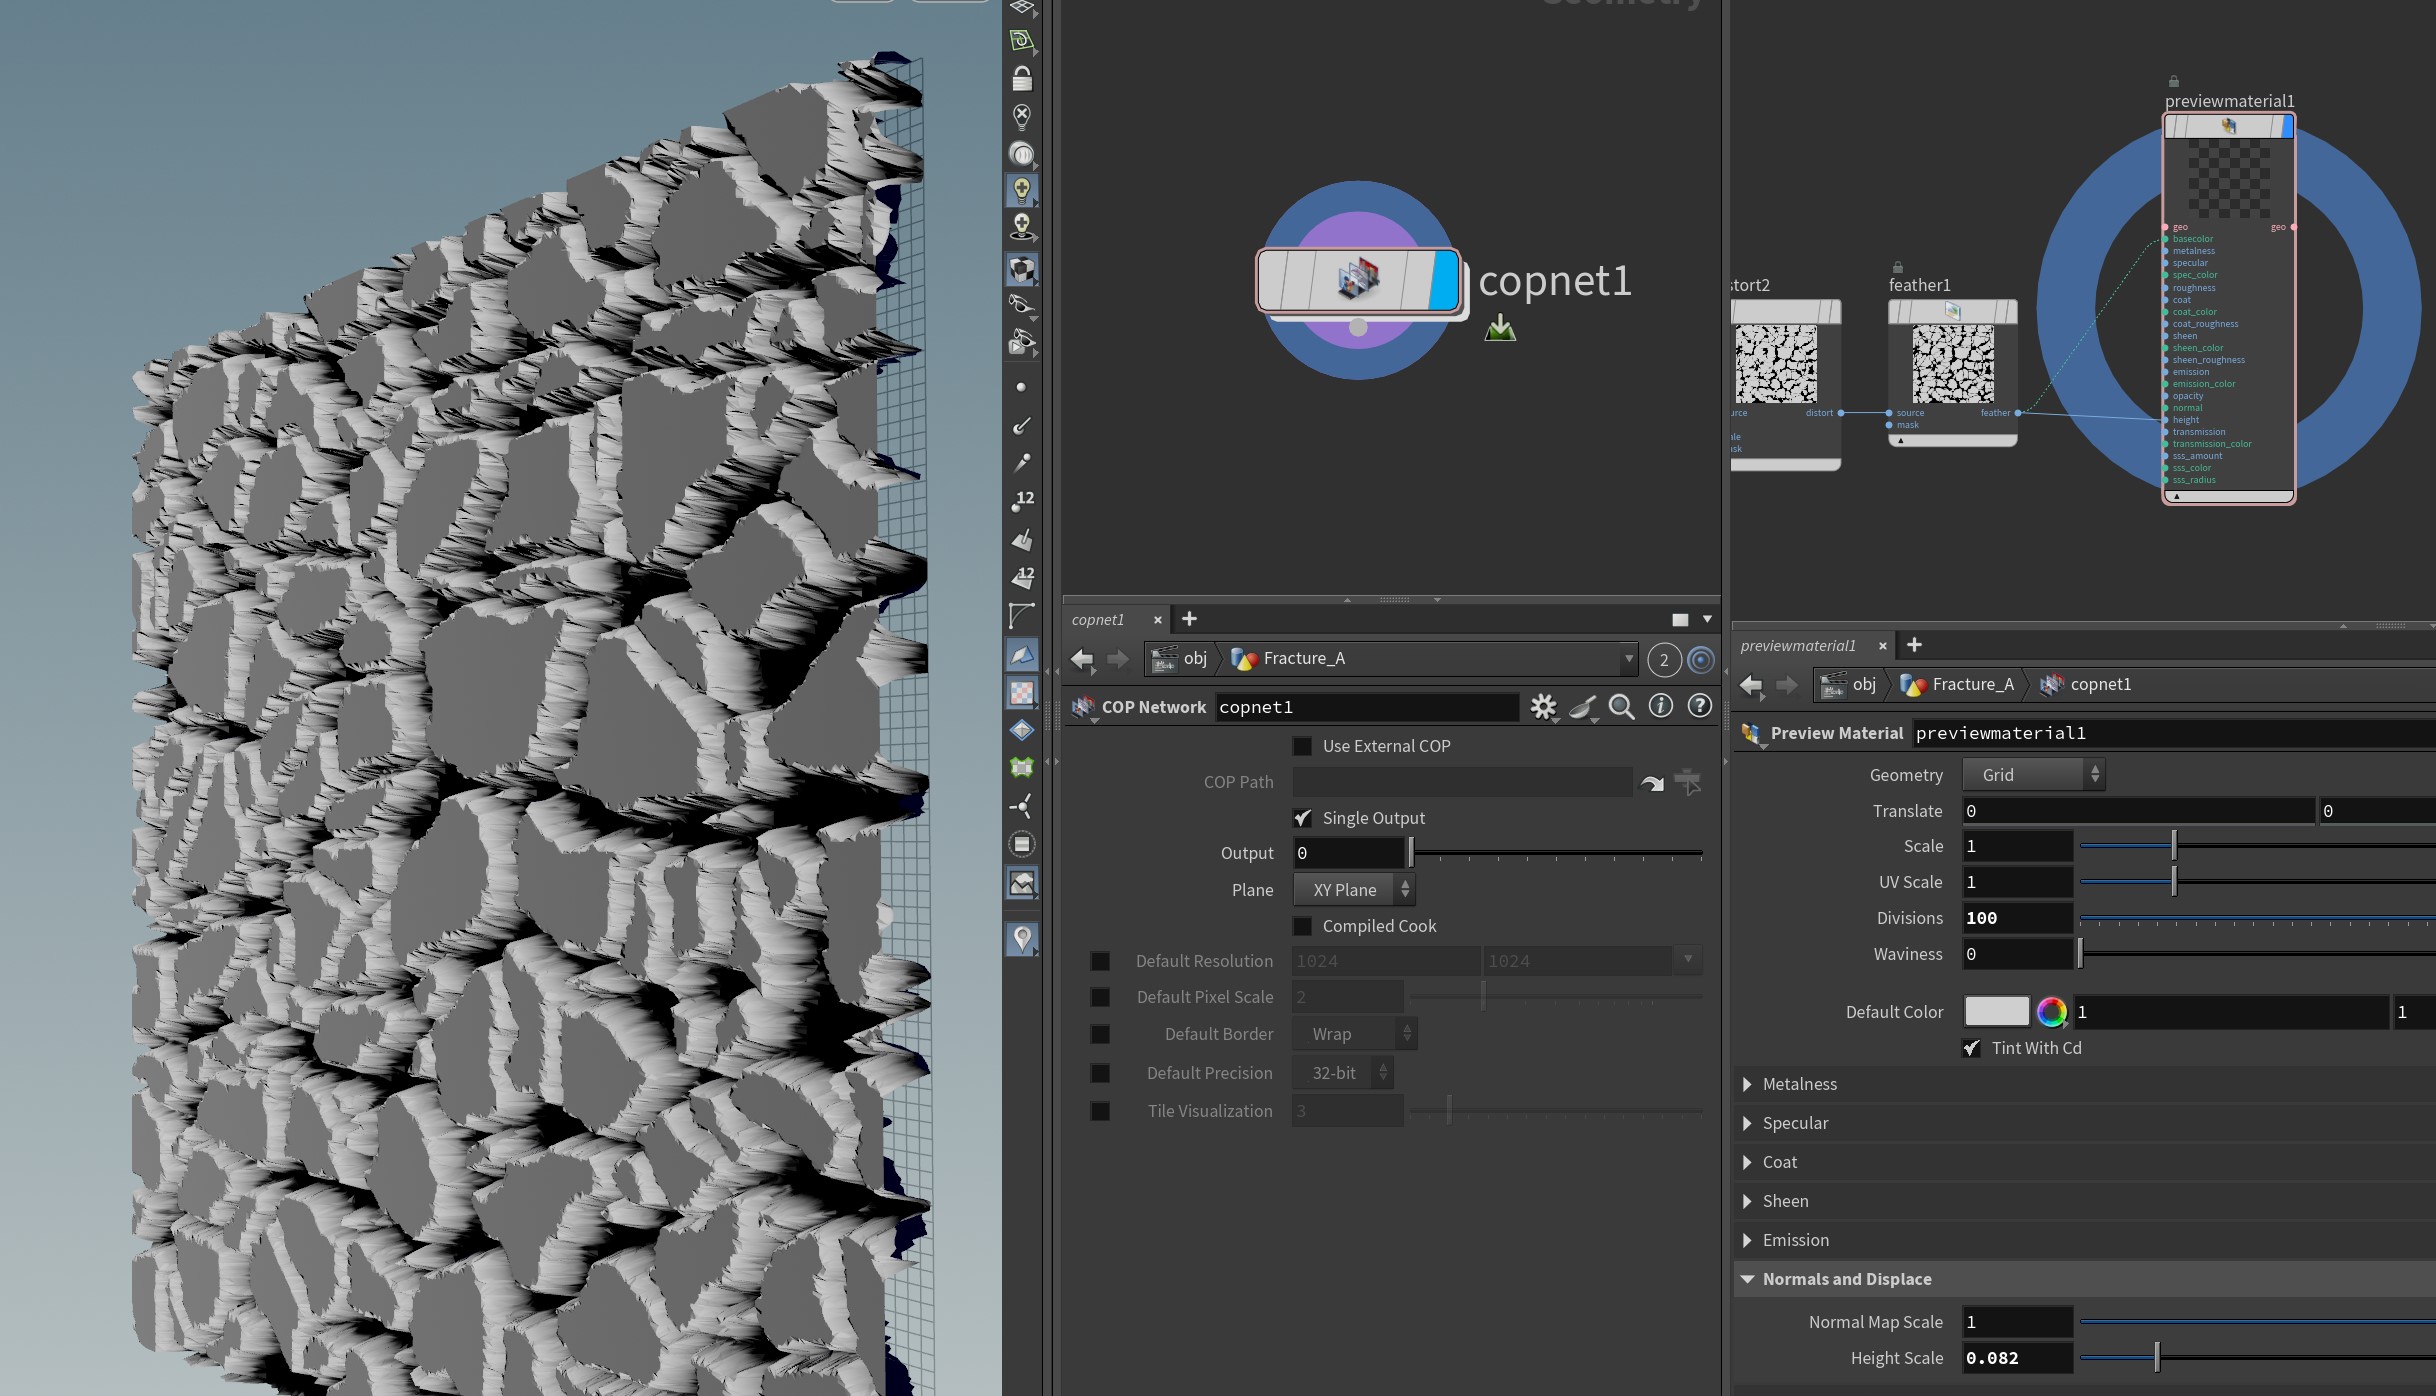
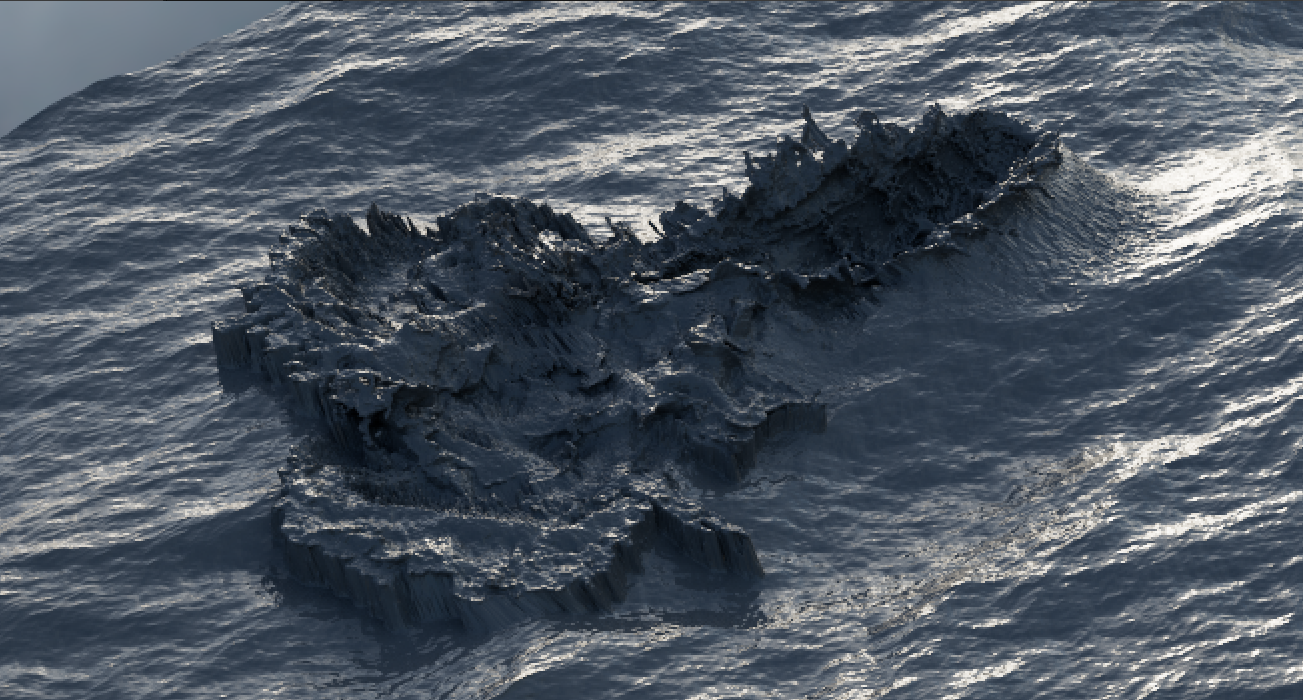
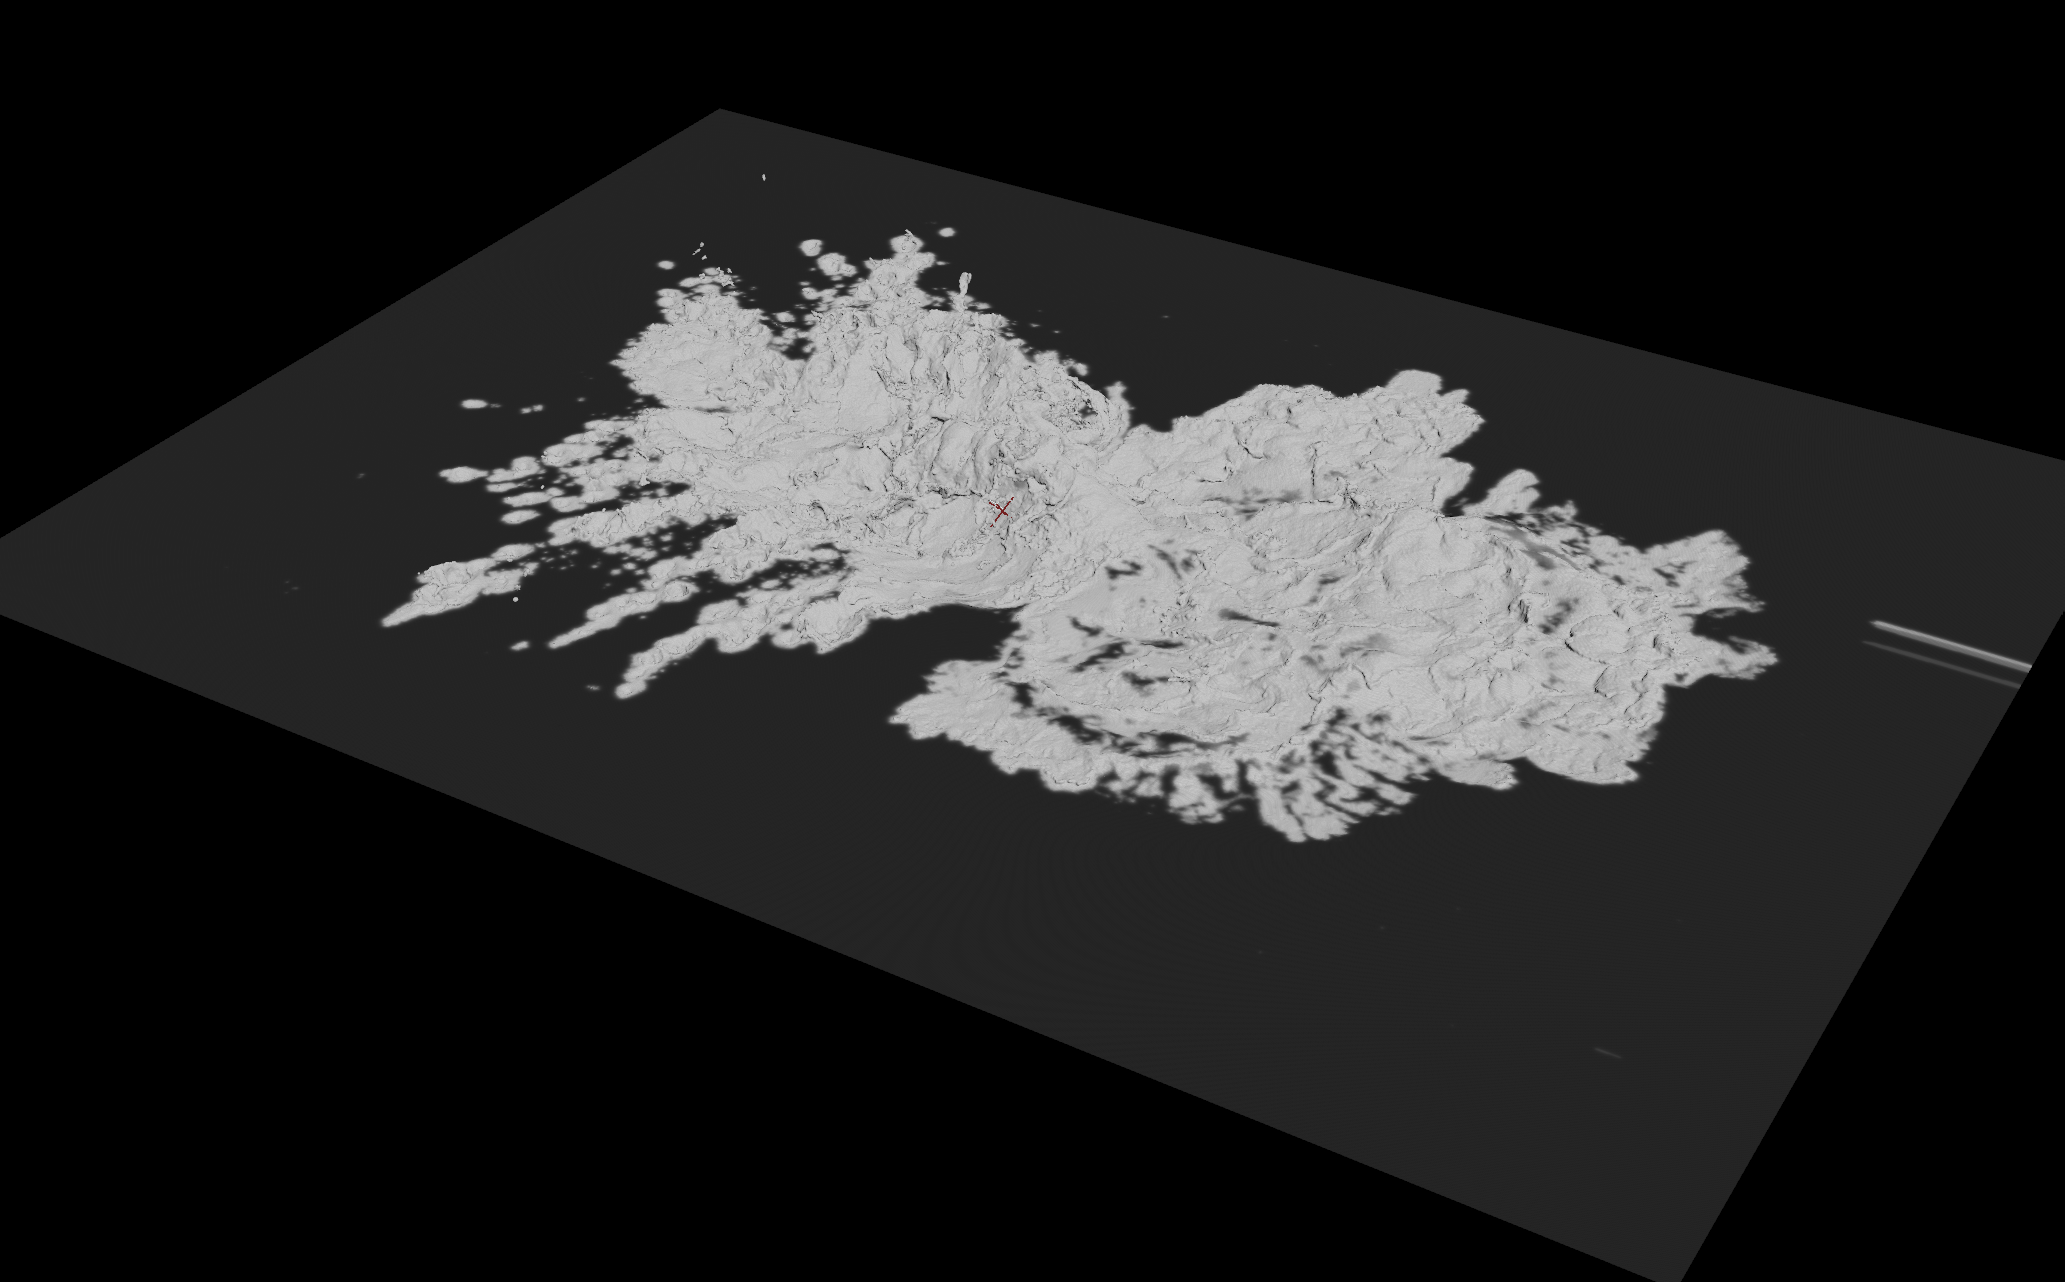
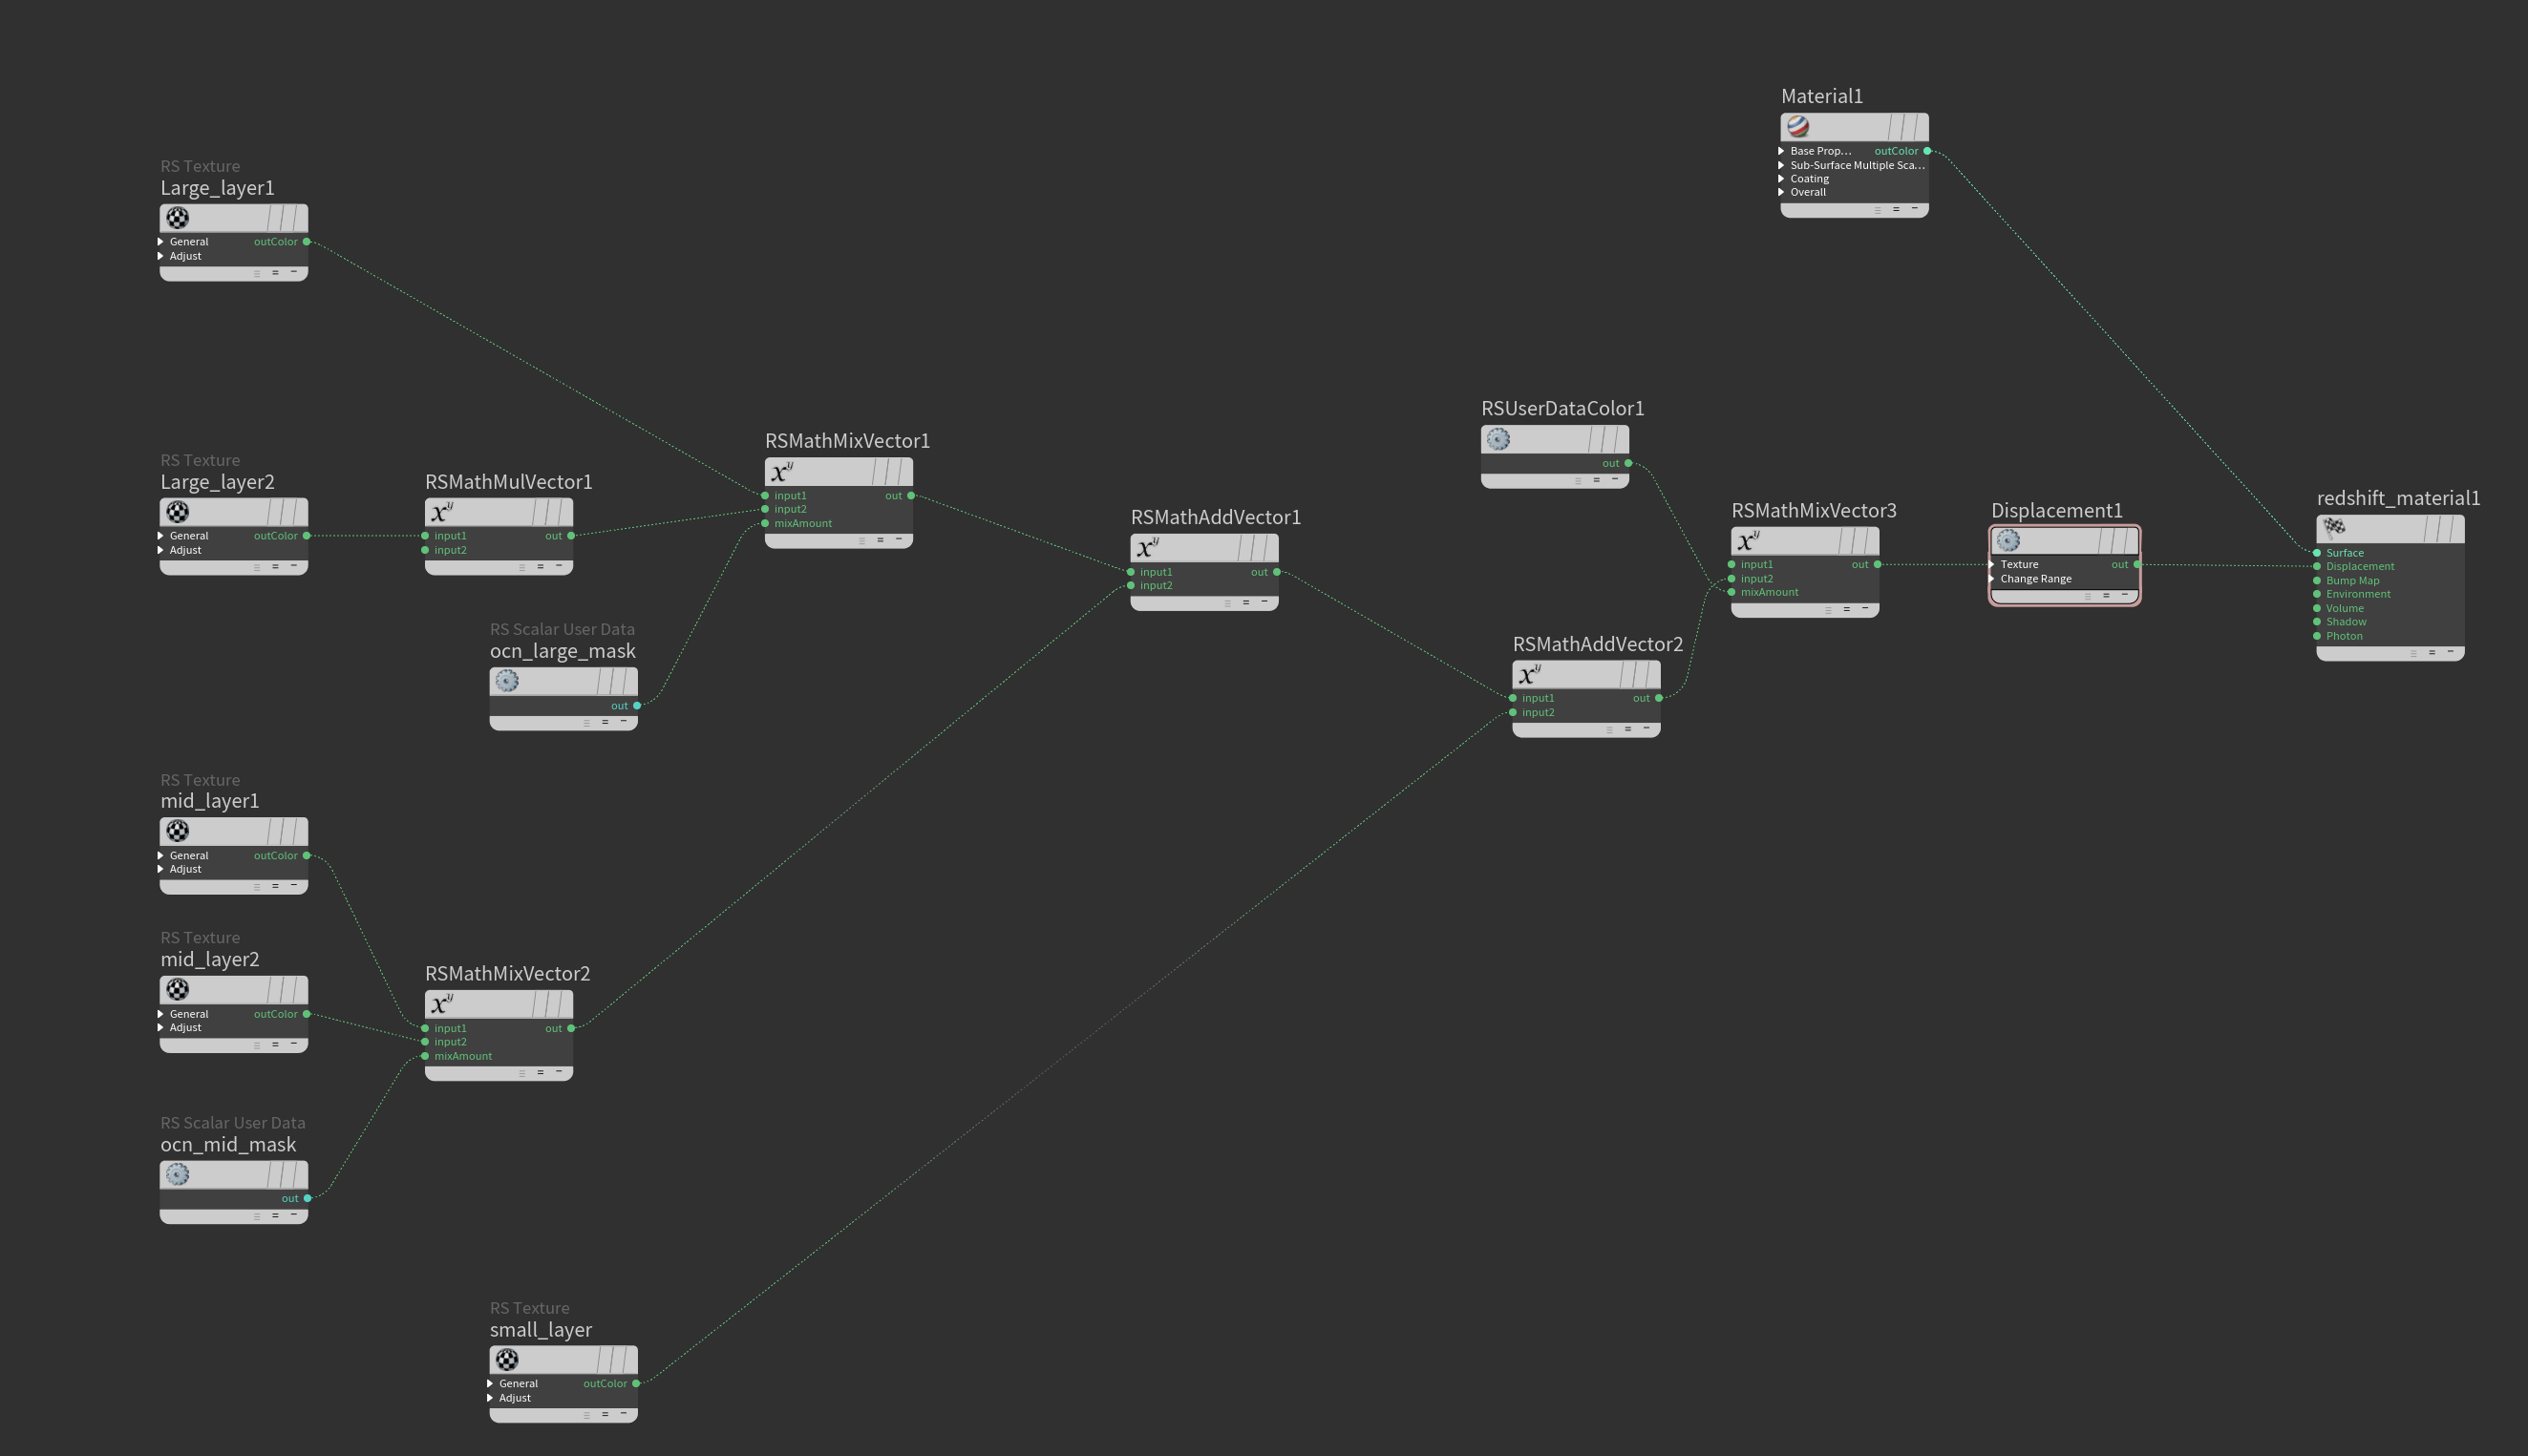
 Hi! I used displacement mask for redshift in Houdini.But there was such a problem.I don't want displacement where I mask and blend into the ocean smoothly. You can see the problem on the edges of the mesh in the first photo.How can i fix this? I shared the displacement mask and material setups below.I will be glad if you help.Thanks in advance.

-
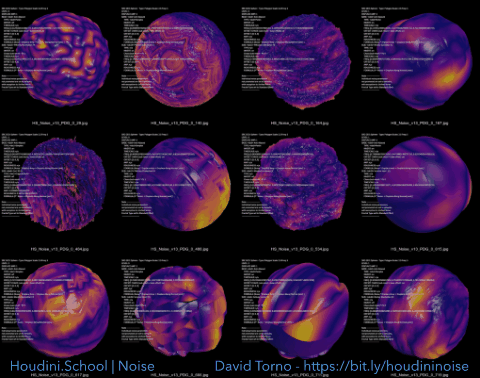
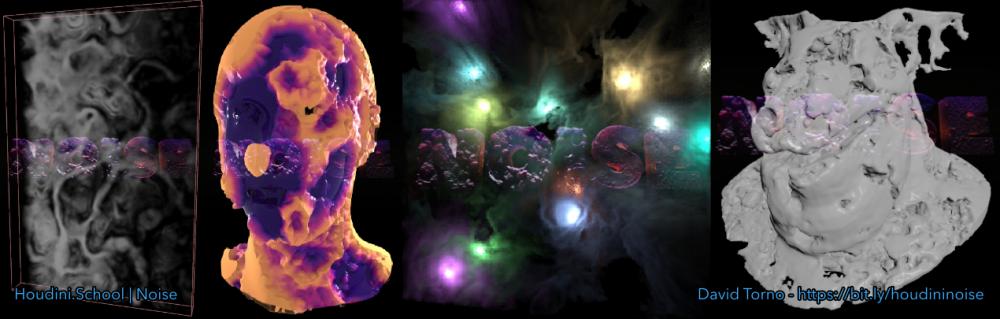
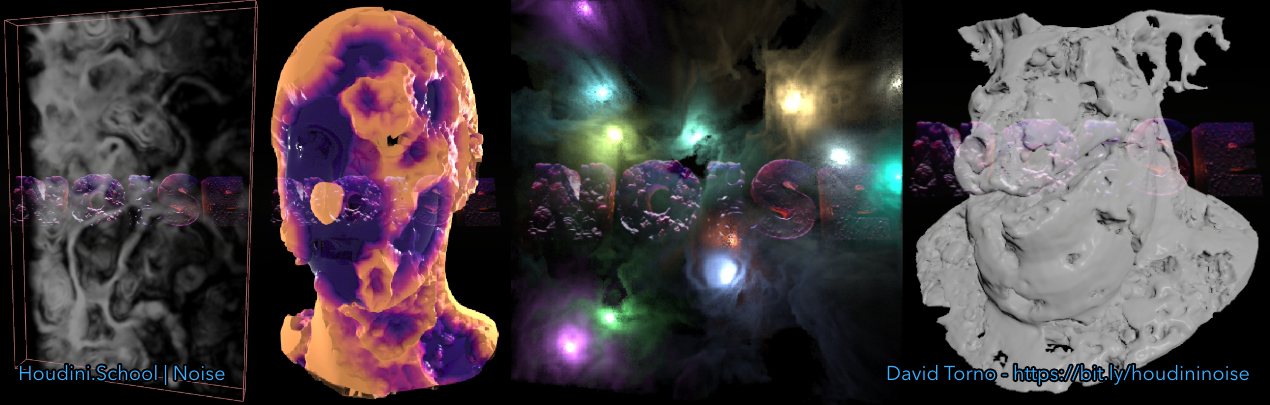
Houdini.School | Noise My biggest teaching venture yet. Take your Houdini Noise making skills to a new level with my 3 session class coming December 21st, 2021. Overview video about the class can be viewed through this link. https://www.houdini.school/courses/hs-217-noise
-
Hello all, I'm looking to do some basic volume displacement using dual rest (something I've done before in the past), however I'm stumbling at the first hurdle now, when revisiting it a few years on: I cannot get a working rest_ratio and rest2_ratio out of a pyro sim. I could calculate it manually using the frame offset and blend length params, but I seem to remember simply being able to grab it from the solver. I have initialized the rest field in the smokeobject DOP, as well as dual rest mode in the pyrosolver advanced tab, however the ratio detail attributes don't appear to move. Looking inside the sim at the smokesolver_build2/record_sim_settings_to_initialization_data script I can see that the ratios are being correctly calculated, however this isn't being exported properly when I lay down a Dop Import Fields SOP. I've attached a really basic hip file. pyro_dual_rest_ratio_not_working.hip Can anyone help me? edit: using 18.5.633 Thanks in advance.
-
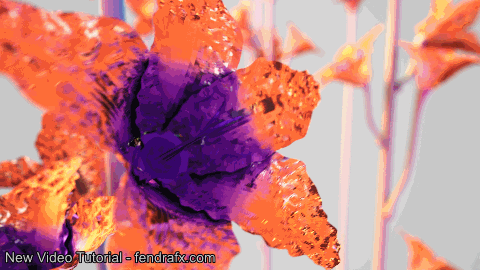
Free video tutorial can be watched at any of these websites: Fendra Fx Vimeo Side Fx Project file can be purchased at Gumroad here: https://gumroad.com/davidtorno?sort=newest


-
- 1
-

-
- mardini
- mardinigrow
- (and 11 more)
-
Hello everyone, this is my first post here, I hope everything is I write is clear :::) Im working on a complex wearable, generated from a a simulated sun exposure in houdini. Right now its in a VOP Sop node because it gave an effect close to what im looking for. Like in the photo attached, these gills/petals currently have their opening both facing upwards and downwards, ideally if like to achieve the opening only on the bottom, with a substantial overlap between these gills/petals. The system needs to remain based on the "solar exposure" for the project! If you have and ideas or references about how to achieve this effect please let me know! :::) Wearable_gills_petals.hip Female_naked_smoothed.bgeo
_LI.thumb.jpg.21f92243b0949766cd97d7c253158e52.jpg)
-
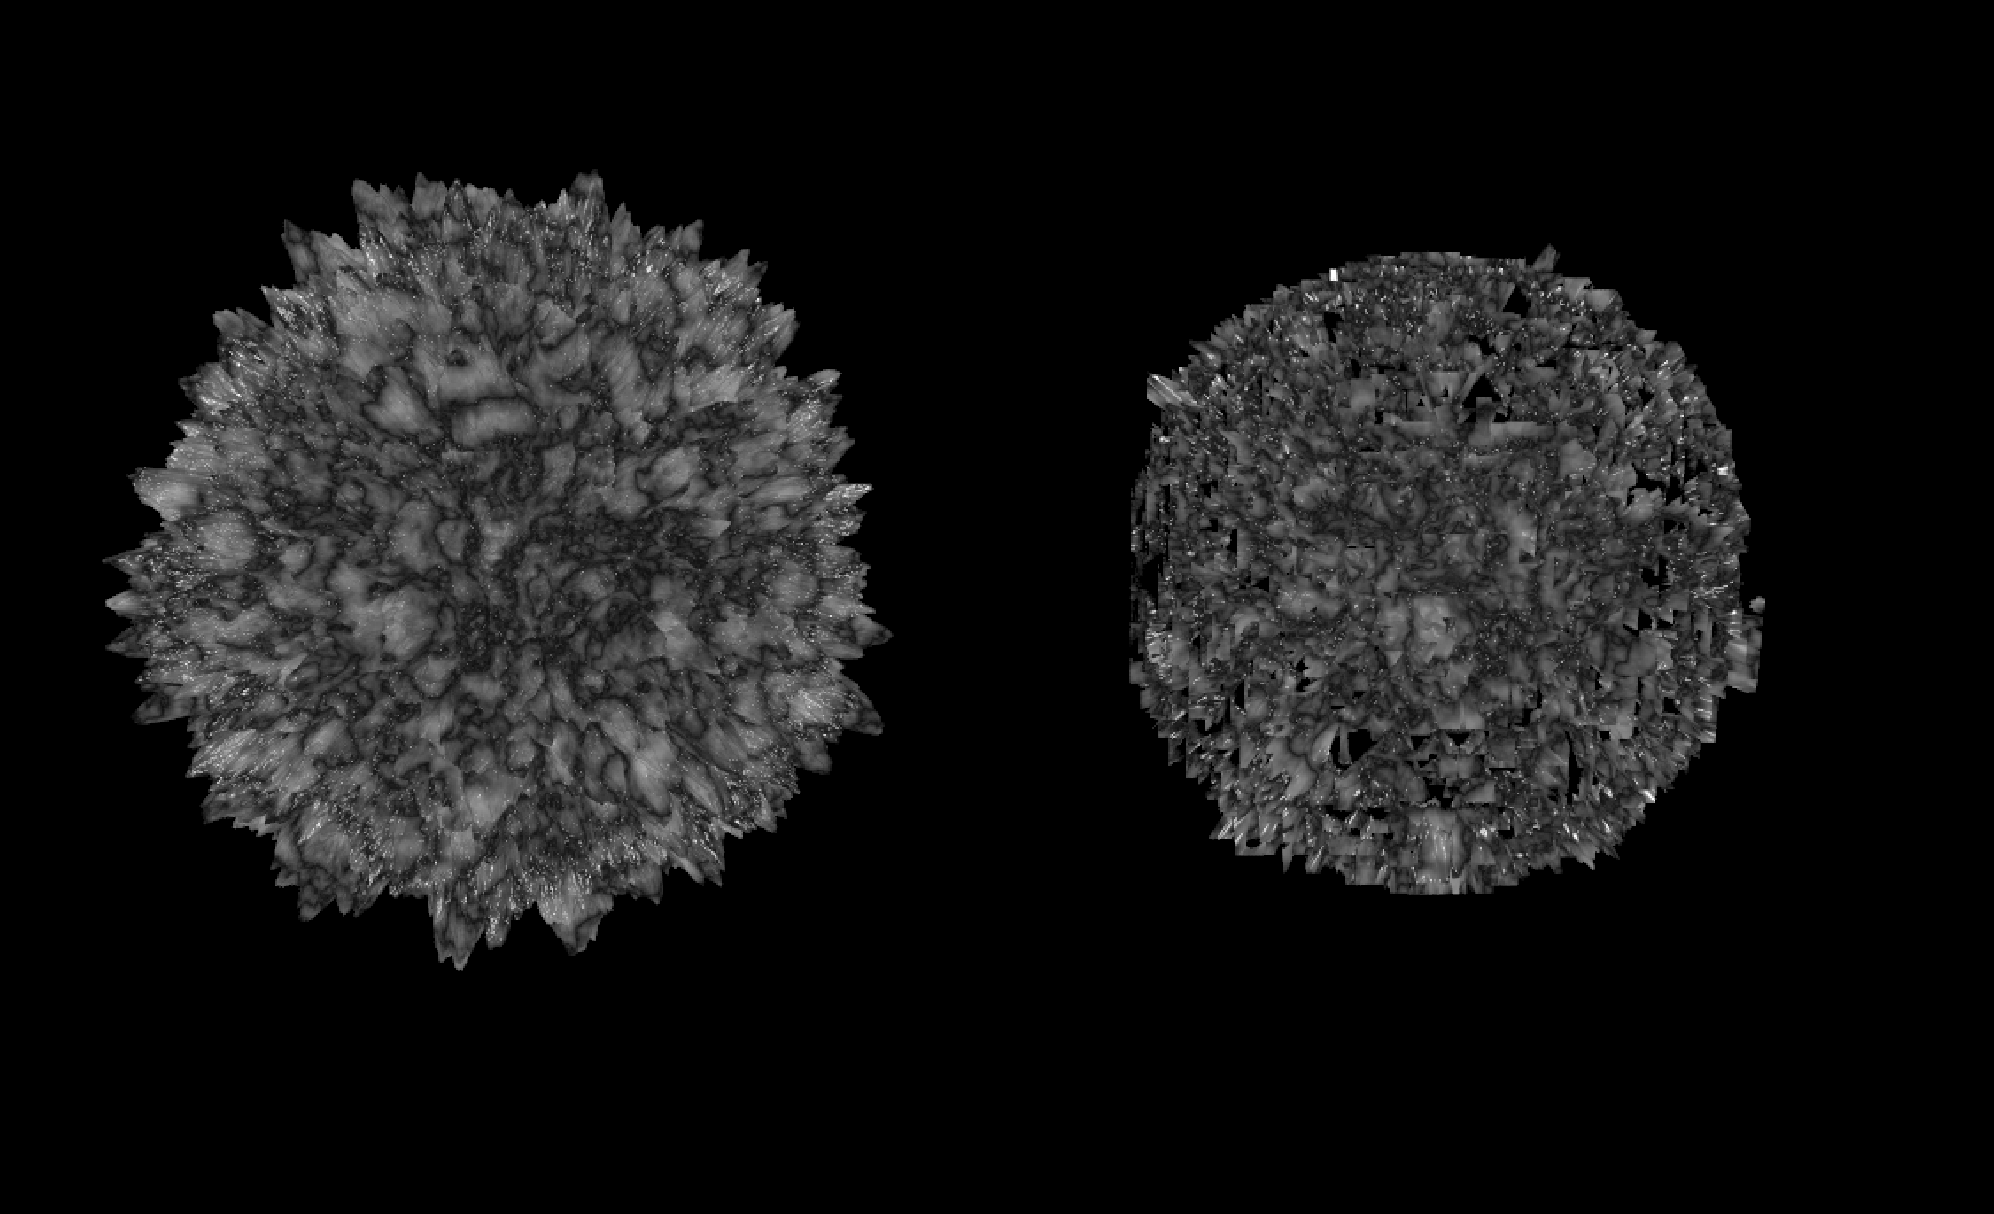
Is there a way to create displacement like this? thanks for help
-
Hello all, I have a simple question after trying hard and also looking into the web and SFX help cards with no success... I have a simple quad mesh with unshared edges, then I connect that to a rest sop, pipe that into a bend sop for deformation and connect that to an attribute vop where I use an anti-alias noise to create displacement on the model. After the part is bent and with displacement applied, I would like to have it back to its original shape before the bend but keeping the displacement intact. I'm doing that as a way to have more control over the noise transformation. Tried using a wrangle sop with @P = @rest; but "duh" enough.... the part comes back to the rest position and the displacement is gone. If I try that same procedure with Cd instead of displacement, it works. Does anyone knows how to get the mesh back to its original shape after the deformation and displacement were applied to it? @mestela mentioned this in his amazing cgwiki page, something like this: Measure deformation Can measure the distance between @P and rest with a wrangle like @d = distance(@P, @rest); And use that to colour the surface, or enable a displacement map to drive wrinkles, or push points along their normal to do hacky squash and stretch. However, I don't have a clue on how to keep the displacement after the deformation and back to its original shape. Any help is greatly appreciated.
-
Is it possible to use point normals for displacement shading? I'd like my grid to displace in the same direction as the normals are in this video. Houdini Tutorial #7 (Point Normal) - YouTube
-
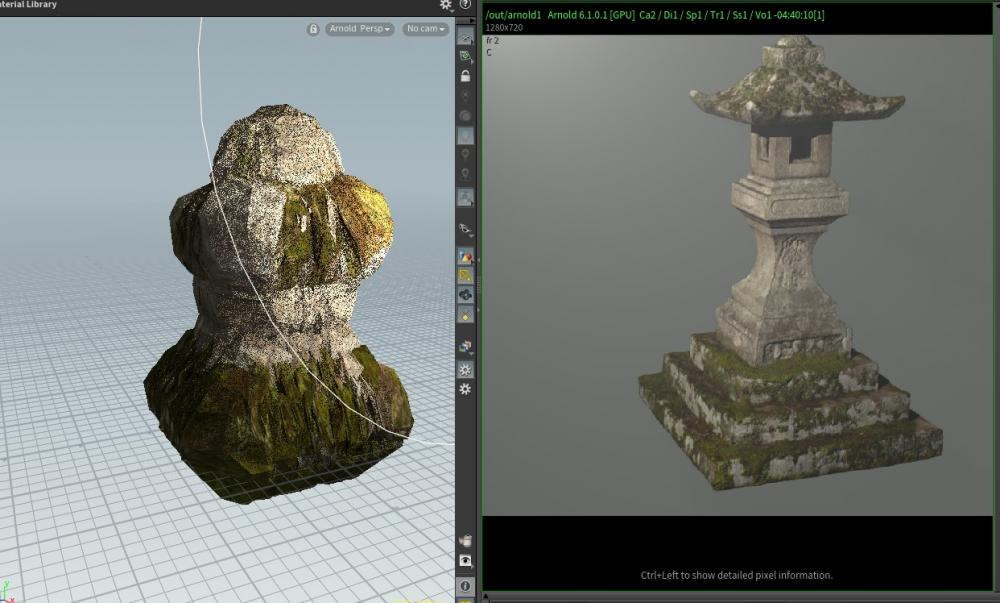
hello guys, does someone succeeded in using correctly the displacement inside Arnold Solaris ? first issue is the subdivision scheme, it doesn't seems to work at all in solaris, I tried to check the "treat as subdivision surface" on the sop import, tried to connect a edit property to the said sop import (adding catmull clark option parameter -from usd tab). second issue is the displacement control itself, usually the parameters for driving it are on the geo node itself, I tried to import the arnold parameters to the sop import but as expected didn't do anything (SOP and LOP being two system I guess that's normal). I have been searching every tut I could and couldn't find any use of displacement, is there someone to bright up my lantern ? many thanks !!
-
I saw this video where you can turn geometry into displacement. https://www.youtube.com/watch?v=rwzo8LD4Tac I want to know how I can turn modeled geometry into a displacement shader. I'd like to turn the modeled geometry on the right into parameters for a displacement shader for the plane on the left shown in the picture.
-
Can you prevent displacement in Houdini from stretching? I've thought of creating a scales material, either directly in Houdini or in Substance Designer and export it in Houdini. I want to generate scales procedurally on reptiles like dinosaurs. I also only want the skin between the scales to stretch when dinosaurs move, not the scales themselves. Tiny scales like the ones on this dinosaur. https://cdna.artstation.com/p/assets/images/images/010/901/196/large/jacob-baardse-pararender.jpg?1526848727
-
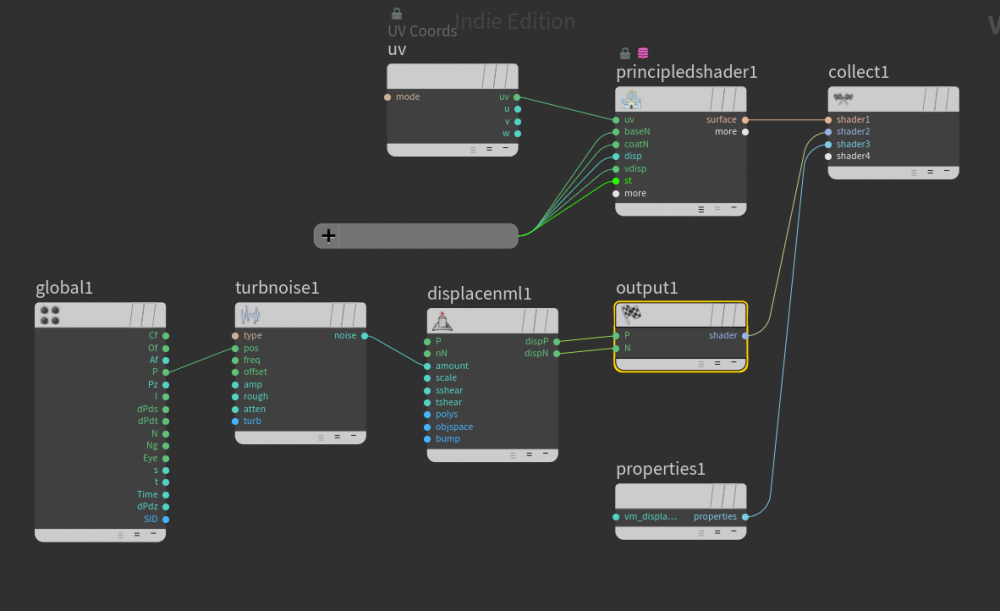
I'm pretty new to Houdini, and try to understand how shaders work. Here is what I don't get. I have simple yet functioning setup in mat: If I select all the nodes above and collapse them into a material, meaning I create a material builder from them, the displacement is broken. See this screenshot: (left side desired outcome, right side broken material builder) Could somebody enlighten me, what is actually happening here? Looking forward to your answers. daily_20_056_material builder wtf.hipnc

-
 I have 2 pralines that collide and break to pieces. They are prefractured with Voronoi fracture, then put into an RBD Sim. I'm exporting them as an alembic and rendering them in C4D. They are polyreduced with displacement at rendertime and this is where I'm running into an issue. The displacement is revealing the edges of all the prefractured pieces before they break and also in the chunks that never actually break apart because of the constraints. I tried merging all overlapping points both with fuse and clean after caching the rbd sim and removing manifold polys with the polydoctor node, but that won't remove most of them, probably because some pieces have already moved a tiny bit apart before the collision. The issue seems to be the manifold polys though, because when I go in and delete them by hand in C4D the gaps between pieces are not visible anymore. Is there some way of merging all pieces that havent breaked apart yet and clean up the geometry of the cached geo at every frame , so I can apply a proper displacement map?
 -
I have 2 pralines that collide and breake to pieces. They are prefractured with Voronoi frature then put into an RBD Sim. I'm exporting them as an alembic and rendering them in C4D. They are polyreduced with Displacement at rendertime and this is where I'm running into an issue. The displacement is revealing the edges of all the prefractured pieces before they break and also in the chunks that never actually break apart because of the constraints. I tried merging all overlapping points both with fuse and clean after caching the rbd sim and removing manifold polys with the polydoctor node, but that won't remove most of them, probably because the pieces have already moved a tiny bit apart. The issue seems to be the manifold polys though, because when I go in and delete them by hand in C4D the gaps between pieces are not visible anymore. Is there some way of merging all pieces that havent breaked apart yet and clean up the geometry at every frame of the cached geo, so I can apply a proper displacement map?
-
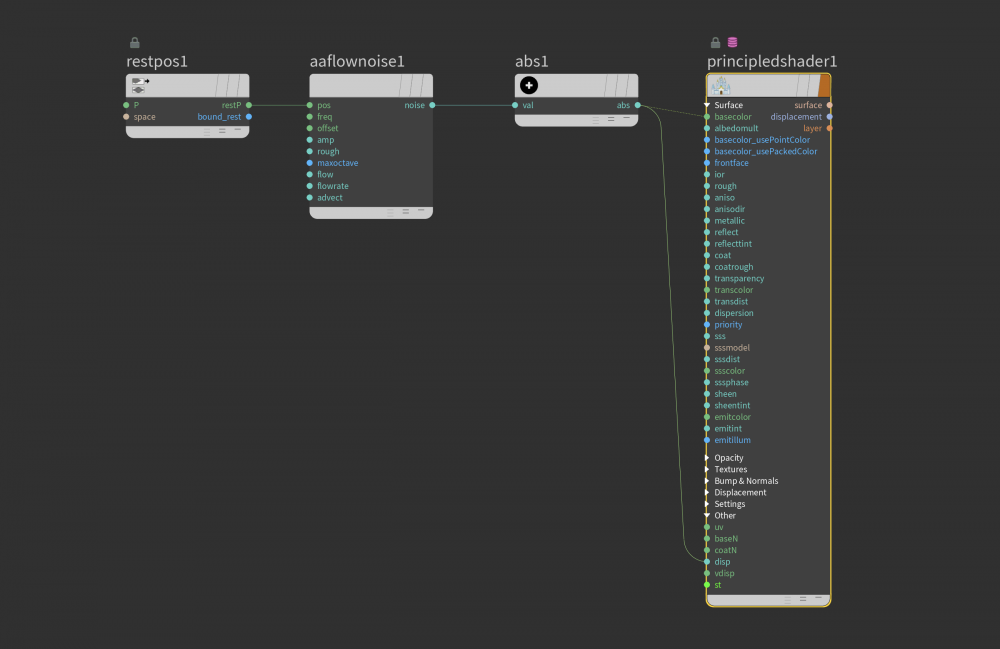
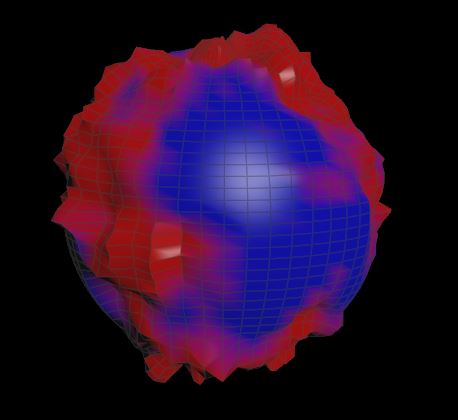
Hi. I want to apply displacement to the area I want. For example, I want'dis' to be applied only to the red area as in the image. But I am not sure how to do it in the shader. Could you please let me know? Or maybe it's a reference address. The example file is also good. Thanks in advance.
-
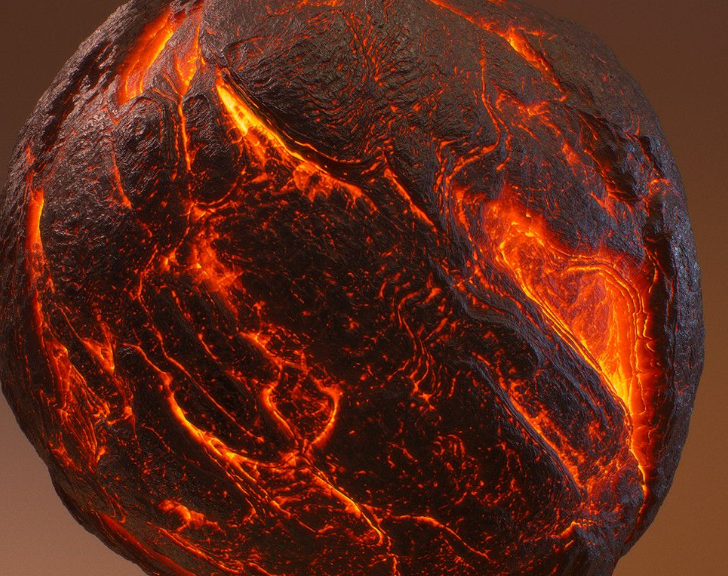
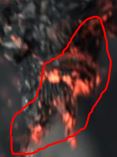
Hi. Like my reference image, I used displacement for the green color. (From Shader) (viewport) (render image) 1. How to soften the edges. (The edge naturally?) 2. I want to add noise to the green color once more, like using a lava shader. 3. It's confusing whether I need to do what I want to do in the shader or in the sop. If you do it in the shader... Is there a way to visually check it in sop? I also attach my hip file. Please advise. Thanks in advance. noise_test_dis.hipnc

-
How could we achieve something like that? I am genuinly interested on this technique. masking the effect, proyecting the texture, displacing the volume thanks
-
 Hello, I’m new to houdini, so I don’t know much. Is there a way to import particle fluid surface (water fluid displacement) into a displacement texture map? For example, oceanEvaluate node have "export to texture" tab and I can export displacement texture for FFT ocean. Is it possible to do the same for a particle surface mesh?
 -
 Hi, How to Render infinite ocean using Redshift In mantra Shader Directly read spectra node, but what about Redshift how to spectra in Redshift
 -
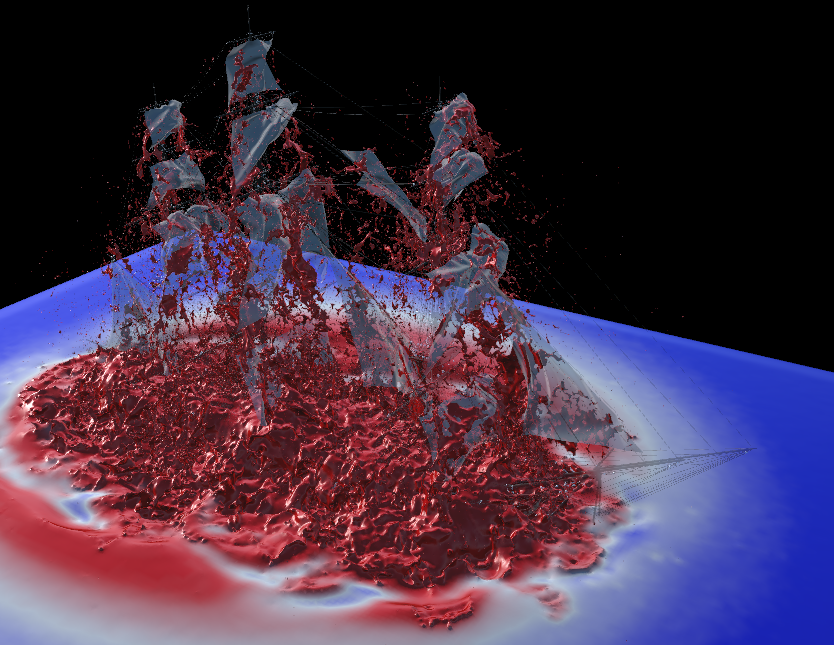
Hi everyone, I got a Pretty annoying Problem here regarding an attempt to render a displaced Ocean. So I'm playing with a ship thats comming out of the Ocean (think of pirates of the carebean) and the Memory comsumption Always runs out of Control and causes a crash. Doesnt really matter how low I put the Ocean spectra. I'm testing with a res of 10 and also tried downsampling by a value of 5 in the shader (what should Pretty much turn the displacement into a blobby mess) but nothing helps. Actually only happens when there are a lot of droplets in the air. Running on 80 gigs of ram here. Ist almost as if it goes crazy with displacing each and every drop although its masked out. Also doesnt make sense considering I can downsample as much as I want and it still does this. Furthermore added a mask volume on top of the whole splathing stuff to be sure ist really masked out and doesnt receivve any displacement. Any idea About this?
-
DOING SOME DISPLACEMENT WITH IMAGE TEXTURES SIMILAR TO THIS: https://www.youtube.com/watch?v=rVTFpMUYETI LOOKING FOR A WAY TO ANIMATED SEQUENCE OF IMAGES(THERE PLAYING A VIDEO WITH DISPLACED GEOMETRY). HALP PLZ! WILL POST LINK!
-
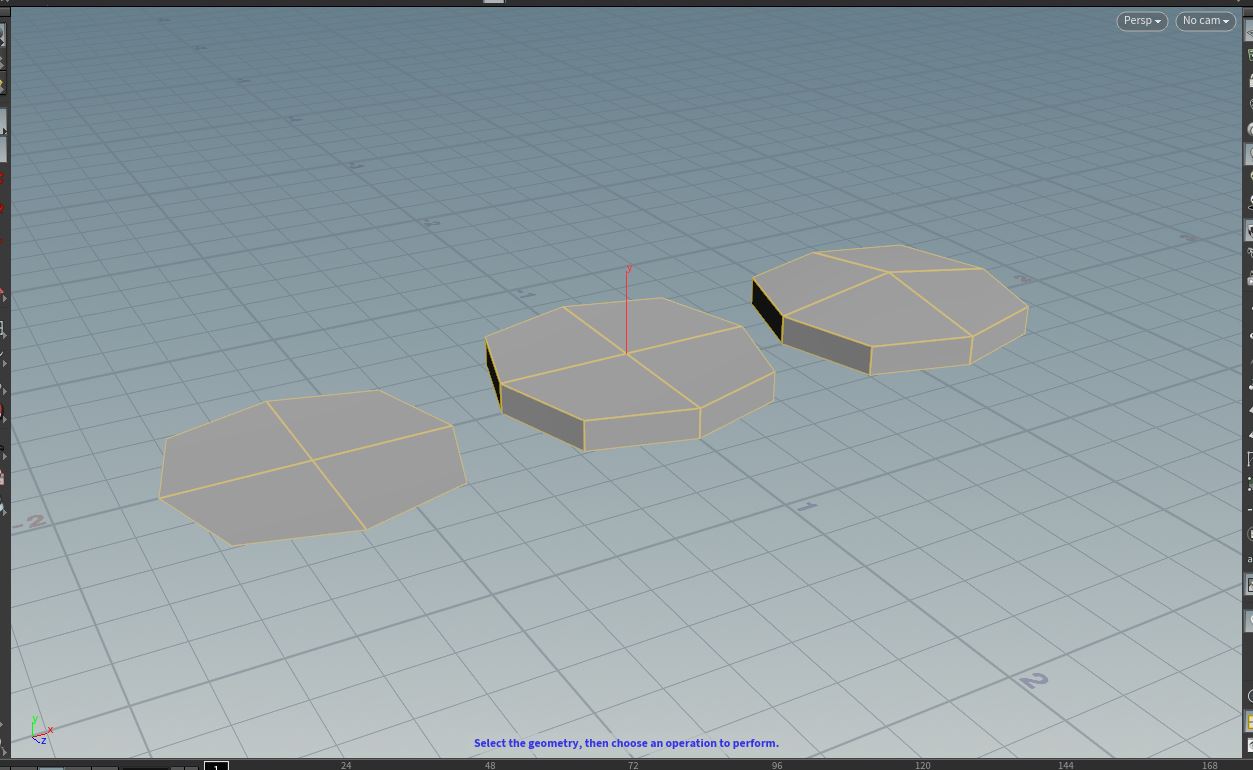
Hi, I'm having problem with displacement that when I try to add it it just stops rendering some polygons and there are gaps between others. Ive recreated it in a simple scene with noise for displacement. Could someone tell me where I got it wrong and how to get rid of the gaps? Also if you had a sample setup for displacement from exr texture that would be great. I just spent the whole day trying million different things but all have the same broken result. Here is the the .hiplc scene and the original and displaced render. As you can see there is bunch of polygons missing at the top of the displaced one :/ Also image of setup bellow. test_disp.hiplc Thanks Martin I'm using: Houdini FX Version 18.0.349 Rendering with Mantra Windows 10 x64

-
 I am trying to kill displacement when geometry gets a certain distance from camera. I've taken the geo bounds and was able to get that into black/white information in my shader. I am controlling the falloff with a fit range. I can multiply that black/white information against the displacement value and the geometry will not visibly displace. The problem I'm having is that it seems the geometry is still being subdivided in those areas. Anyone know how to kill that geometry creation when the displacement value is 0?


_LI.jpg.71bab540ec04787c13db867bc72ac6b8.jpg)