Search the Community
Showing results for tags 'POP'.
-
Hi guys, i've been trying to achieve this effect quite a while. Still nowhere near it. At least i got the emitting circle lines part. Now it needs to follow the surface. Does anyone have an idea? or where to look? Just in case i uploaded my hip. My goal: https://images-ext-1.discordapp.net/external/4AxxpXQfWR7fCquoJjQFy3HQ-H5zuj3xauIXD3omVfw/https/mir-s3-cdn-cf.behance.net/project_modules/fs/8fe4ed159786467.63ad826c5305d.gif Thank you. untitled.hip
-
Hello, I'm trying to do a particle morph effect and all I want to do is to have the animated data imported into the pop network. The effect is from a tutorial by Nicolas Donatelli (https://www.youtube.com/watch?v=B4Zz8Erc09E). Morphing works great but only works on a static geometry and I would like the animated data to be imported as well. It probably an easy solution, would be great if someone could figure it out. Attached is my HIP file with animated geo. I've tried the pop attract node which does the job but it can be quite tricky to control. ParticleMorph_WIP_1.hiplc
-
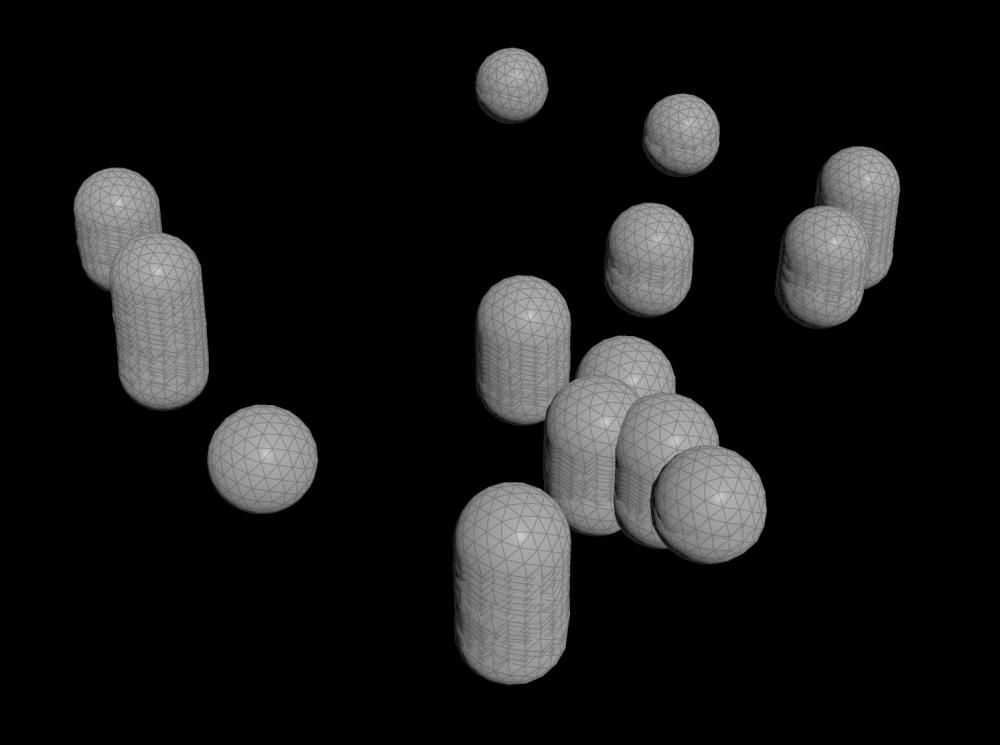
Hi guys, I'm trying to get bubbles to collide with each other but can't seem to find the solution yet. I'm using points that are emitted upwards and assign a random pscale value to each new point. I'd like points to change colors when they are too close to each other, that way I can check if the setup works. So when 2 points are close to each I'd like to check if the distance between them is not smaller than the radius of the point and the radius of the closest point. If it is, then the points need to turn red. For now, all my points turn red, but I think it's because I can't find a way to access the closest's point pscale value to compare it with the distance. Can someone guide me on how to approach this kind of issue? I tried to use pcfind but that doesn't seem to work too . Bubbles_WIP.hipnc
-
Houdini FFX Collection Get it here: Gumroad: https://davidtorno.gumroad.com/l/ffxcollection FFX Collection is a collection of scene builds and techniques for the intermediate users of Houdini. Those looking for quick setups, wanting to get more familiar with VEX use cases, and wanting to get started in Karma and Material X. This collection of “presets” as it were showcases a variety of topics within Houdini. Builds include FLIP, RBD, Vellum, POP, Pyro Solver, SOPs, LOPs, TOPs, Karma, and Material X. All renders use 100% fully procedurally generated textures created with Material X noises. The only exceptions are the test geometry textures which are directly read from their HDA embeded jpg textures. The HDA is a simple drop down list of all fifty builds, of which you choose the one you want and click “Build It” to have the tool generate the entire build for you. By default there is Network box organization to help understand the flow and processes that are occuring. Additionally there are annotated tips, and helpful explainer sticky notes to help inform an techniques used. These annotations are also optional and can be turned off before building the network. For those wanting to dive straight into everything there is to offer, there is a “Build All” button to create all 50 builds. This option will have each build turned off by default, so as to not overload your machine with too many items trying to cook. All builds involve various techniques and useful information. Each “category” is defined by the primary method used for the solution used. Be that by SOP nodes directly, VEX code, VOPs network, or even by simulation type like Vellum, Flip, RBD, or Pyro. Vellum does have a few builds under the VEX category as well. Builds include: FLIP Attraction To Curve Shape FLIP Fill Solid Object FLIP Melt Object FLIP Object Surface Advoidance ForEach Incriment Point Count Per Curve ForEach Poly Reduce Pieces By Volume Attrib ForEach Stacking Random Cubes PyroSolver Geometry Ripples PyroSolver Pyro Color Change Over Time PyroSolver Pyro Color From Texture RBD Activate Pieces RBD Apply Proxy Sim To HiRes Source RBD Attraction To Curve Shape RBD SOP Emit Every X Frames RBD V W Constrained Axis SOPs 8Bit SOPs Cull Random Curve Segments SOPs Dissolve Curve SOPs Dissolve Geo SOPs Echo Curve SOPs Post Shrink RBD Pieces Over Time SOPs Stone Path Vellum Animate Restscale Via Attrib Vellum Basic Fluid Cloth Two Way Coupling Vellum Cloth Flows Along Curve Vellum Define Cloth Ripping Vellum Flag In Wind Vellum Inject Geo Over Time Vellum Paper Whirlwind Vellum Spheres Expanding In Box VEX Blend Mask VEX Cull Back Faces VEX Custom Guides For Vellum Hairs VEX Falloff Radius Around Curve VEX Geo Look At Target VEX Geometry Ripples VEX Guided Infection VEX Per Poly Transform Via Particle Proximity VEX Per Prim Rotation Around Edge VEX Repeat Ramp Values VEX Ring Waves With Falloff VEX Rotating Grid Tiles VEX Sin Cos VEX Sliding Points Along Curve VEX Vellum Dangling Cables VEX Vellum Sim Forces From SOPs VEX Vellum Source Emission Instancing VEX Voronoi Fracture Animated VOP Blend Mask VOP Orientation Along Curve
-
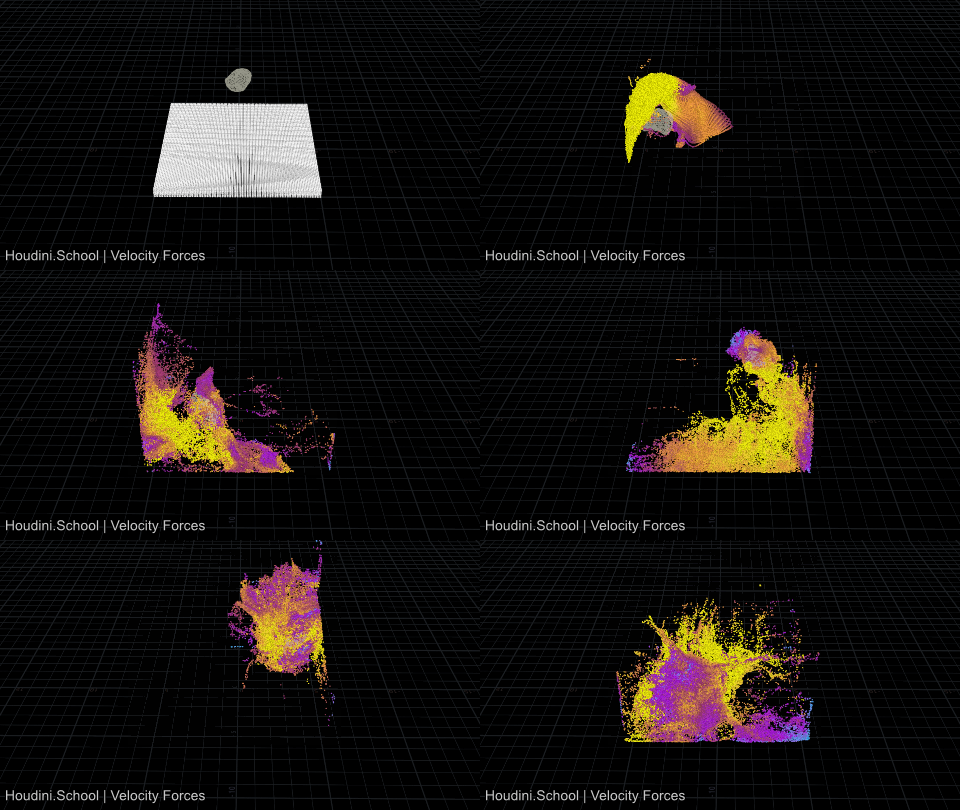
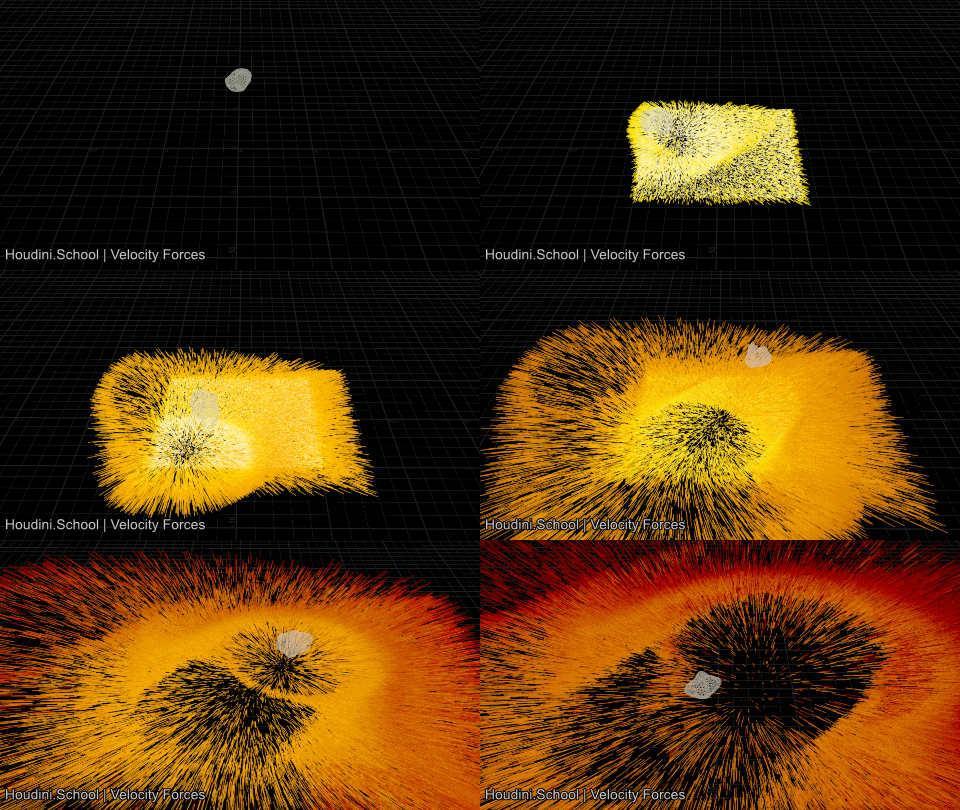
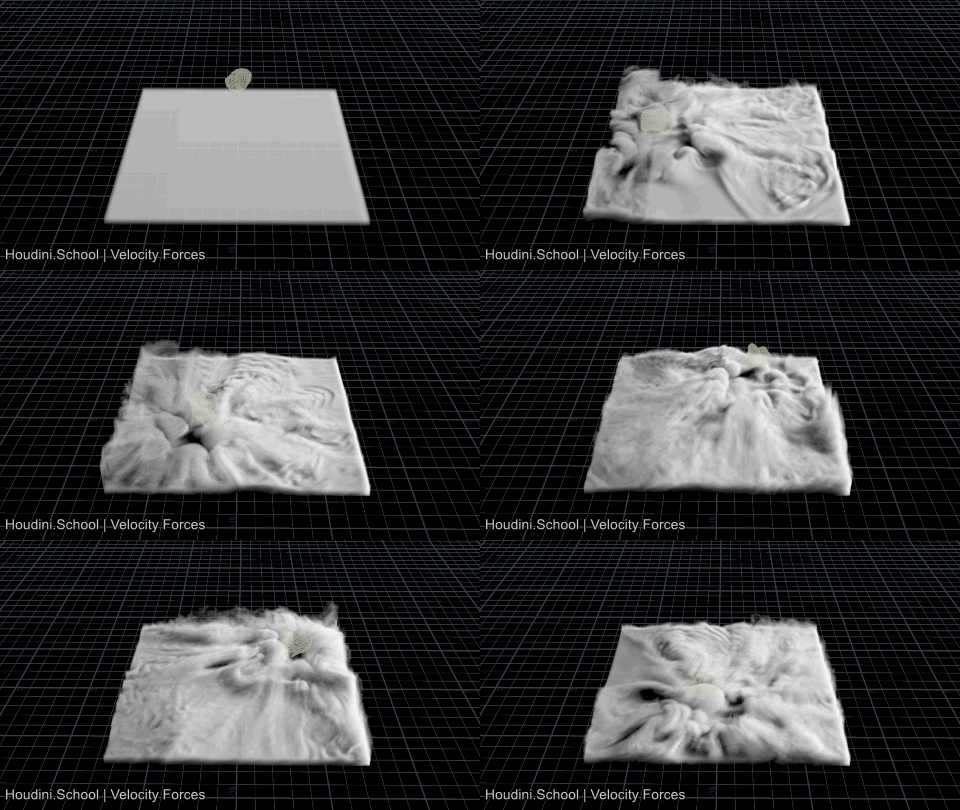
My popular Custom Velocity Forces class just got UPGRADED! Previous students enrolled should already see the updates now. For new students you can enroll here: Learn more Thanks for the all the support everyone! Updated promo video for the class:
-
- 1
-

-
- positional vector
- directional vector
- (and 15 more)
-
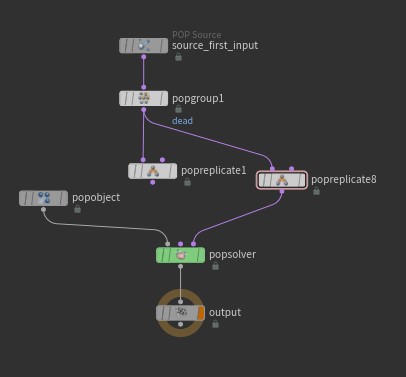
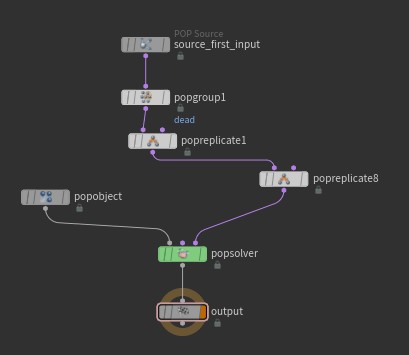
I want to make fireworks using pop network in houdini. So I made particles that go up. It is calculated in "popreplicate1" And I wanted to make particles that come out when source particles are dead. So I made a group named "dead" and replicate a dead group. This node structure runs well (I forgot merging) But this node structure is not working properly I think the problem is that the group has a problem as the stream has changed. After completing the operation at the first input of merge, do we continue to use the stream of the first input when moving on to the second input? I want to know what the problem is.
-
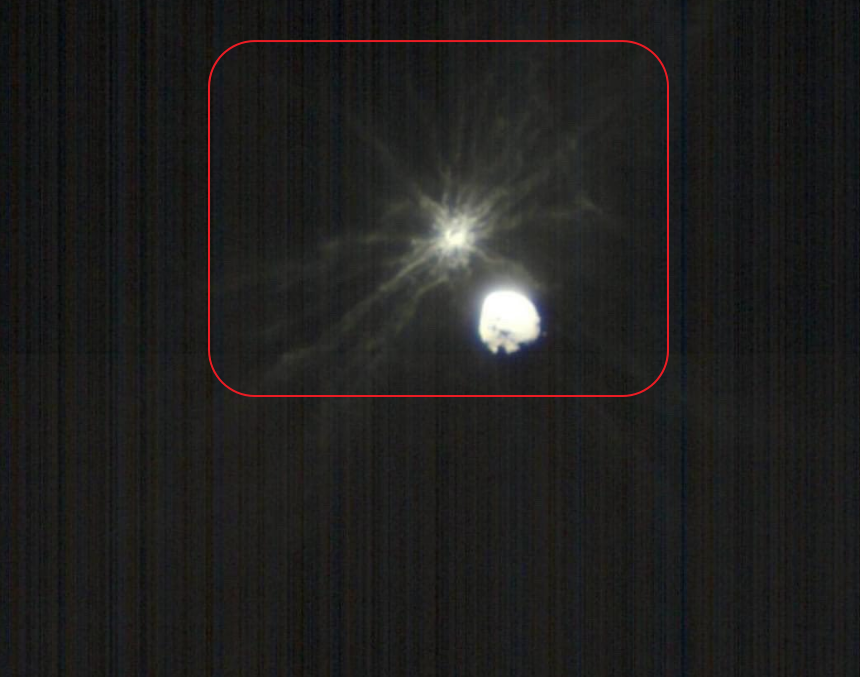
Hello folks, I have a picture from the recent DART satellite impact from NASA (see below). I wonder, if there is a way to recreate this impact-streaks-effect in Houdini. What I already tried: - created a particles simulation (tried to drive a smoke sim on those particles, then use this pyro sim to drive the same particle sim ontop of it - by using the node: "pop advect by volumes") - created jittered lines form a sphere, but here I am stuck on transfering the velocity attribute to the particles, so that they should move along these jittered lines =========================================================================================================================================== Now I am asking this forum to help me recreating this type of effect. How would you do that? Please only explained answers - short answers are useless! so, I would appreciate if you take your time to answer this question. Thanks in Advance
-
Hi. I have a setup with boxes scattered in a circle position. Inside rbdbulletsolver i try to use LookAt in order to force boxes always face the center while they move around. But fo some reason look at rotates all boxes. I know there must ne something with up vector but cant fiure out by myself. I tried to different options within look at and tried to assign different up values but still cant figure out how to make look at force objects to actually look in the center of coordinates without weird rotation. Please... help The file is attached. untitled.hip
-
Hey everyone ! I would need your help on a sand simulation that I'm working on. It's a 10m high building which is supposed to crumble as a sand castle. My first thought was to try to do it with vellum grains, but the issue is that I'm getting limited by the amount of particles that I can have. Indeed, my GPU gets full and I've got the classic Kernel issue error in the console, meaning I just can't simulate my thing. I've tried to disable every OpenCL buttons that I could find on the solver (OpenCL Graph Coloring & OpenCL Neighbor Search) thinking it would just disable the use of the GPU for the sim, eventhough I knew it would make it really slow (at least it would have been computed). But it didn't work. Then I tried to use POP Grains cause from what I've understood, it's not using any GPU accelerated system. But I've got the same issue, the sim just can't be cooked. Would you have any suggestion for me ? I'm running this on a Threadripper 3960x and a RTX 3080. test_10.mp4
-
Hello I'm trying to turn a pop wind object on/off. I first tried to just keyframe it, but then I get smooth values between 0 and 1 and all i want is on and off. I then noticed there is a handy 'use VEXpressions' box in there. but I do not know how to access 'Activation'. The editor does not like Activate, Active, Activation, with or without an @ Symbol. The SideFX help pages seem to indicate this is possible, but without showing how to do it. https://www.sidefx.com/docs/houdini/nodes/dop/popwind.html#parameters This is what I tired: if(@Frame == 1 || 20) { @Activate = 1; } if(@Frame == 10 || 30) { @Activate = 0; }
-
Hi Everyone, I'm looking to create EXACTLY this effect in de houdini docs: https://www.sidefx.com/docs/houdini/shelf/largeocean.html#using-large-ocean (example vid) I've traced it back to the launch event of H17: (skip to 01:20:00 or so) Ofcourse there's no tutorial or documentation to be found on how to achieve this. Would anyone know how to achieve this? As far as I can tell the Whitewater setup still requires FLIP as input. I've had no sucvces doing this in the popsolver; it just doesn't look right... and I'm a noob much obliged!
- 7 replies
-
- whitewater
- h18
-
(and 6 more)
Tagged with:
-
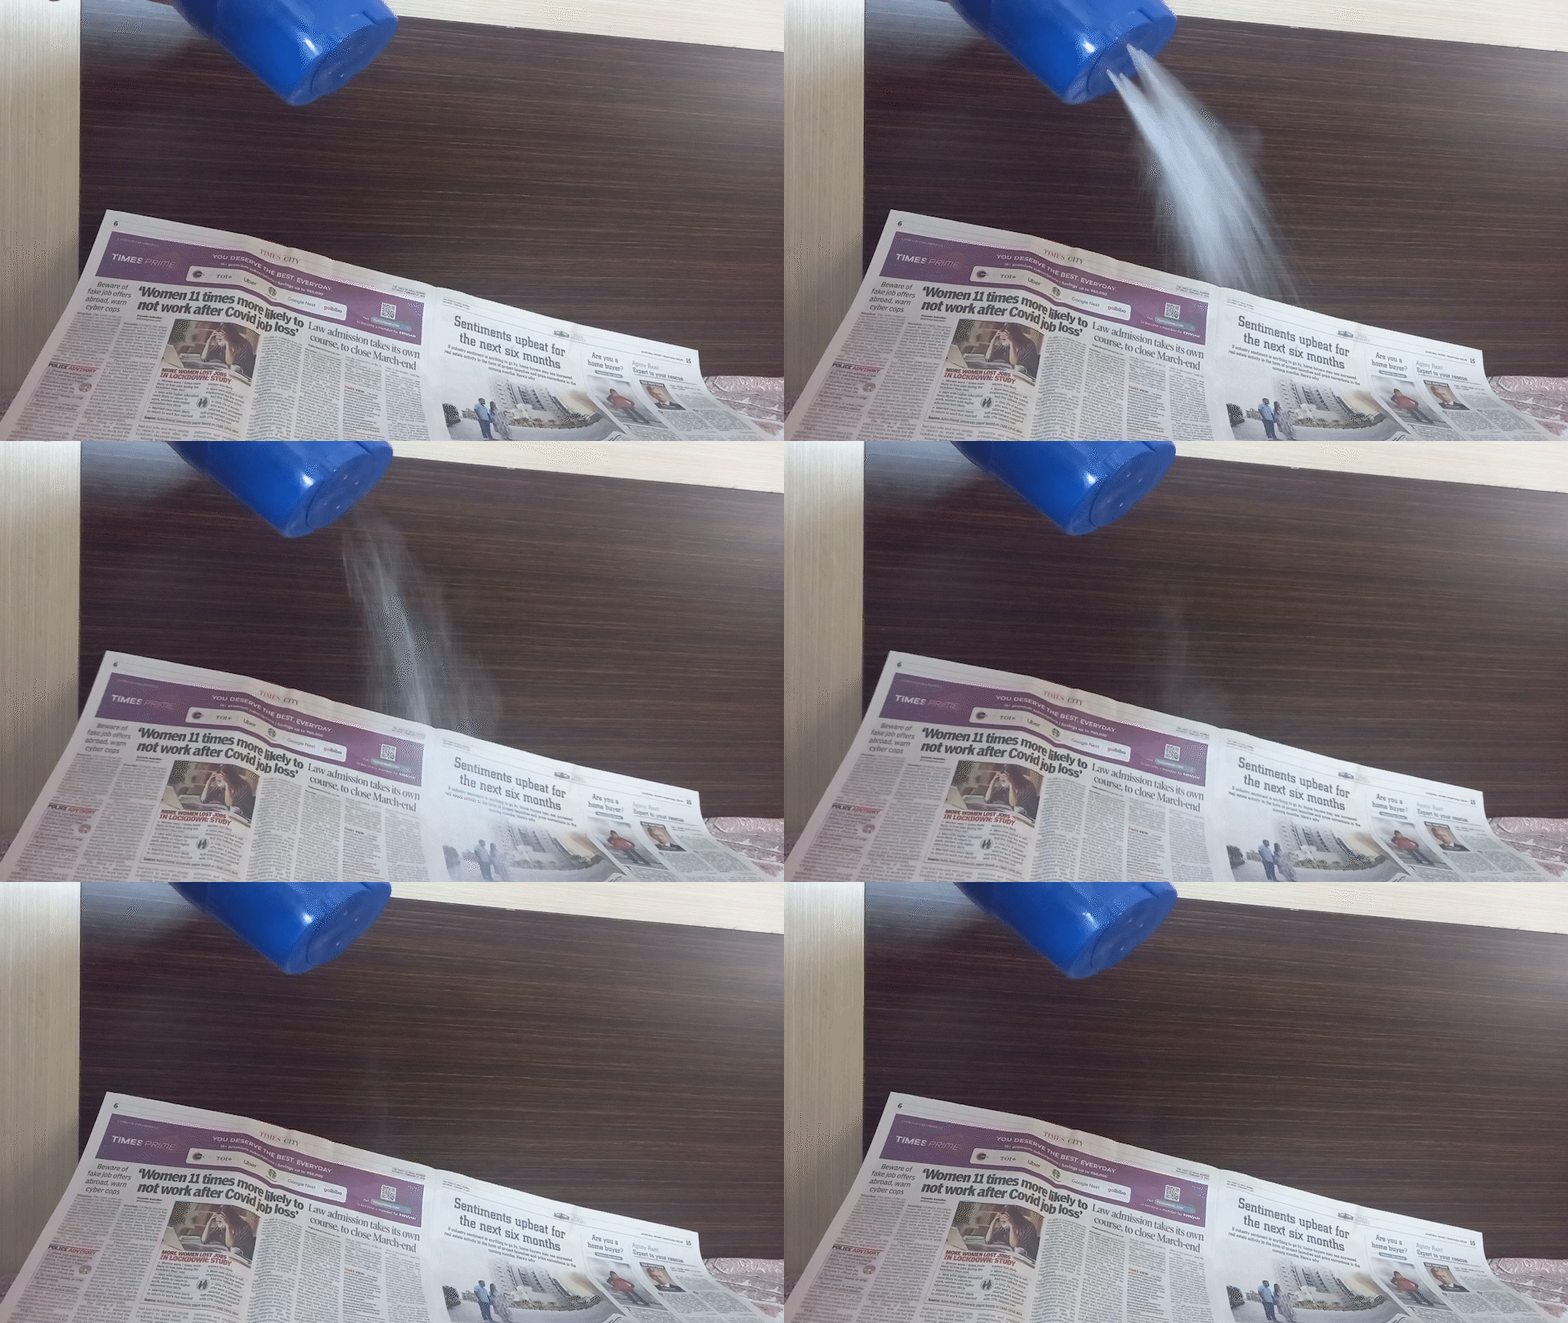
Dear all, Plz give me some suggestions to do simulation of talcum powder as I shown in attached reference gif. Thanks in advance..
- 4 replies
-
- simulation
- pop
-
(and 2 more)
Tagged with:
-
Is there an existing workflow to run a pop sim on the gpu?
-
Hi, I'm getting some very weird behaviour with some of my particles that collide with my VDB. They should come to rest but a small percentage don't ever stop moving. The collider is a VDB created using the Collision Source node and represents the original RBD pieces converted to a volume. I've tried using Auto Sleep and various other methods but these same particles just never stop. In one of the videos the purple colour is the active particles and the red are the sleeping particles. I've upped the substeps in the pop solver to 20 and they sill move. Any advice would be much appreciated. POPNeverStopsFlipbook.mp4 POPNeverStops.mp4
-
Hi My first post in the forum! I have a particle stream and I'd like to use the particles to instance vellum objects. I have this working, almost.. The problem is that the Vellum Source creates a continuous stream for each particle, in other words, Particle Id0 has one object on frame one, two on frame two, etc. The setup works if I give each particle one frame lifespan, but in my scene I want the vellum to stay attached to the particle as it moves. Should I create 2 pop sources and with the first, have 1 frame life span and create the vellum objects, then use the other pop source as a constraint or attach to geo to keep the vellum constrained to the particles as they move? I only want one vellum object instanced on each particle, can anyone please offer any tips on how to achieve this? Thank you! VellumOnPOP_01.hiplc
-
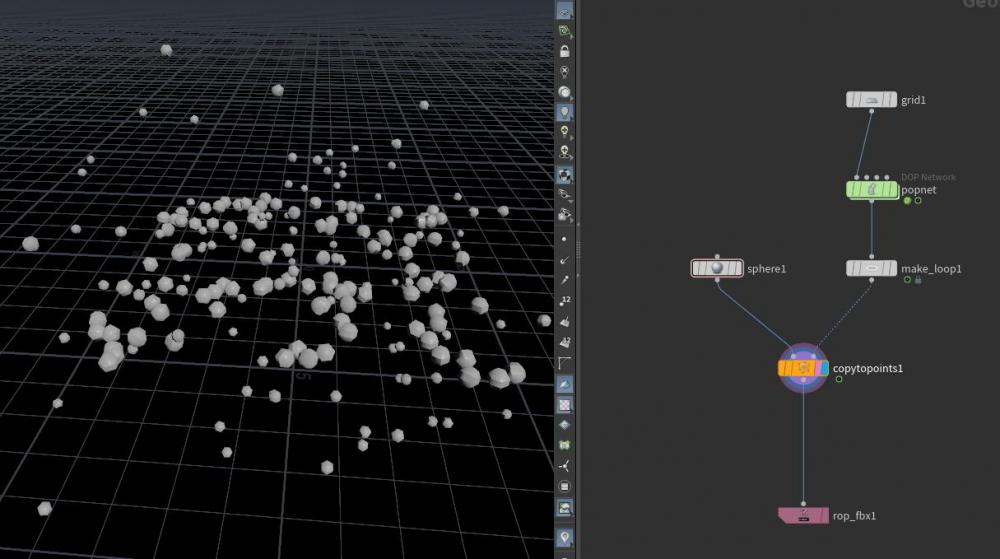
In a pipeline that requires you to do VFX work in Houdini and then render said VFX in 3ds max, there are many formats that are viable (I mostly use alembic). But I was not lucky finding a straightforward method/format to export particle systems that were created in Houdini to be later replaced by geometry in 3ds max for rendering. After some tests, we managed to do it using an HDA called PRTRop which exports particles in .prt file format. The particles were then imported into 3ds max using TyFlow, that reads a couple attributes such as width (pscale), id - this one is necessary for tyflow to import the particles, velocity, etc... Then we hit another roadblock: what if I want to export particles with orientation information for my geometry instancing? It turns out that, after some more testing, we discovered Tyflow uses an attribute called Orientation (case sensitive) which is a quaternion just like Houdinis orient attribute, and it has to be exported as a float16. So in case some of you were wondering how to do this, I'm sharing the workflow used here. If some of you know a better way feel free to share it... it might save some lives! Cheers, Mozzo
-
I have a 1 object that consists of a ~1000 closed curves/splines (same ammount of primitives), i want to generate particles on each curve and move those particles along them, but each particle stays on that same curve it has been generated onto. i started with popnet with a force and a pop wrangle @P = minpos(1,@P); but of course the particles are jumping on the next spline when it comes near it, which i want to avoid. Also tried adding the popnet inside a for each prim loop, but not sure how to use metadata from that loop inside a popnet (particles disappear after the 1st frame) Can any1 please guide me on what logic i should be using?
-
I'm working on a POP simulation for a rainy window and I've set up the simulation so that source particles (in yellow) fall with erratic motion due to a varying POP Wind force and Gravity force, emitting a stream of particles behind them (in green) as they fall using POP replicate. The emitted particles are stopped immediately after emission (using the stopped attribute in a POP wrangle). The issue is that as soon as the POP replicate is activated (at frame 200 in the video), the erratic motion of the source particles is lost and they travel more slowly in straight diagonal lines (as the trails of the emitted particles show). I believe that the POP interact node is causing this as the source particles are being attracted to the stationary emitted particles, slowing them down. But what I don't understand is that the POP interact and replicate are in separate particle streams so the emitted particles shouldn't have any effect on the source particles. I've attached a hip file along with a video illustrating the change in motion when POP Replicate is activated. Any help would be much appreciated as I'm pretty stuck on this! Thanks Houdini_POP_Replicate_Question.mp4 POP Replicate Issue.hip
-
First post here for feedback and direction, this mostly a test render for my first big pyro simulation. It's being driven by a pop system that's firing particles downwards and using that to drive a pyro simulation. The collisions for the simulation are pretty broken, please ignore those. One thing that I'm having trouble with is getting the outside plumes of smokes to rise higher, anyone got suggestions? Sequence_1_v01_-_converted_with_Clipchamp.mp4
-
Hey everyone, I'm trying to create a sim with a circle that's emitting particles from which I create curve trails that are then given string vellum constraints. Up until I add the vellum solver node everything works fine but once the display is set to the solver my geo is no longer visible. I'm not really sure why this is - I'm wondering if it could be to do with the constant stream of particles and there being no real ‘start’ and ‘end’ to the wires? I'm still pretty new to Houdini so there's probably a smarter way of building this, I've attached my file if you've got the time to have a look. Any help would be appreciated. Cheers Vellum_POP_Test_01.hipnc
-
Hi, I am trying to get my model wet by rain. But wetmap is not visible on the object completely. It just shows up on the half body like the only half of the body is getting wet. I have attached my file Thank you rain_nine_v08.hip
-
Hey everyone! This is my first post here! I have a scene where I'm caching a vellum grains simulation to a disk cache. I'm having trouble understanding why it takes so long. When I cache the simulation to ram in the viewport each frame takes about 15 seconds, however when I drop a File Cache SOP and save it to my hard drive each frame seems to take about 3 minutes. Could someone explain why this may be? I have tried saving to another drive and it didn't help.
-
I am happy to announce that I'll be joining a host of talented Houdini teachers, like: Debra Isaac Kate Xagoraris Beck Selmes Christopher Rutledge Justin Dykhouse Jeffy Mathew Philip Nicholas Ralabate You can learn more about my Velocity Forces class here: https://www.houdini.school/courses/hs-204-forces-building-custom-velocity-setups Teaser video for my Velocity Forces live class: https://vimeo.com/577928177
-
I'm currently working on a POP netowork to simulate raindrops on a window, and am trying to isolate the original particles from which the trails (in red) are emitted as per an emit attribute using the POP replicate node, so that I can selecting apply a POP interact force to them. However, I'm really struggling to find a way to isolate those points. I couldnt find any reference to the original points within the POP replicate node, apart from the fact that their ID is added to the sourceptnum attribute. Am I missing an obvious solution? Thanks


