Search the Community
Showing results for tags 'texturing'.
-
having a bit of a nightmare with this one... this is my shot... hulk swinging a log at thanos lol (sorry for the 6mb gif!) so i want the log to explode on impact so my log geo was created and uv'd in maya... i exported as a cache with the animation as alembic... it all seems to come into Houdini nicely... I then set it up with rbdmaterialfracture and then some uv nodes to texture the inner pieces.. i just use a simple sphere for collision that i then shrink after impact and move down through the floor to get it out of the way lol!... I have my uv's on the log and it looks fairly nice overall i think... i'm using the rbdconfigure to switch between deforming and active ....thanks to @rohandalvi for his little video tutorial on youtube Here's where it gets tricky in maya... I'm exporting the cache as alembic but its not bringing the uvs in correctly... some parts seem to be nicely textured but then a bunch of chunks aren't working... this is the log geo in Maya viewport and when rendered it doesn't texture those parts as needed... Sorry for the longwinded post i just like to use pics to help it be more clear I've included the log abc cache and a the hip file incase anyone wants to take a look and point out where i could be going wrong? Thanks everyone! Ant shot_MIND_0110_log_v01.abc shot_MIND_0110_setup_v001_clean.hip
-
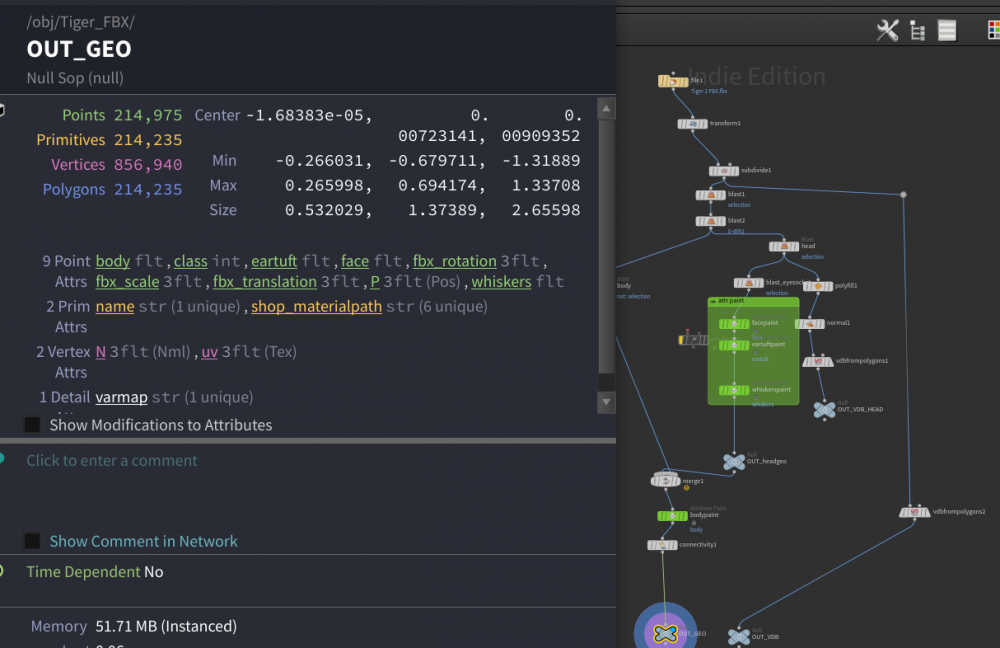
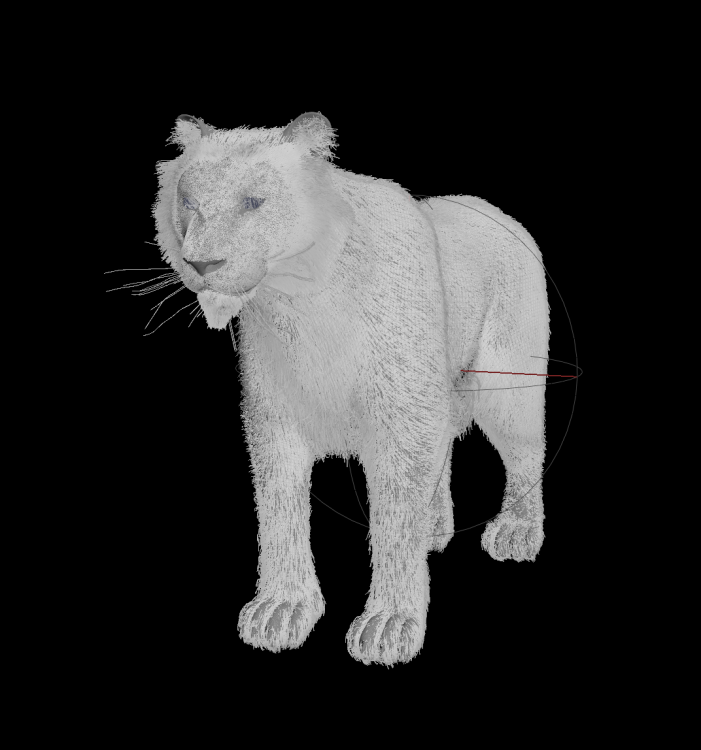
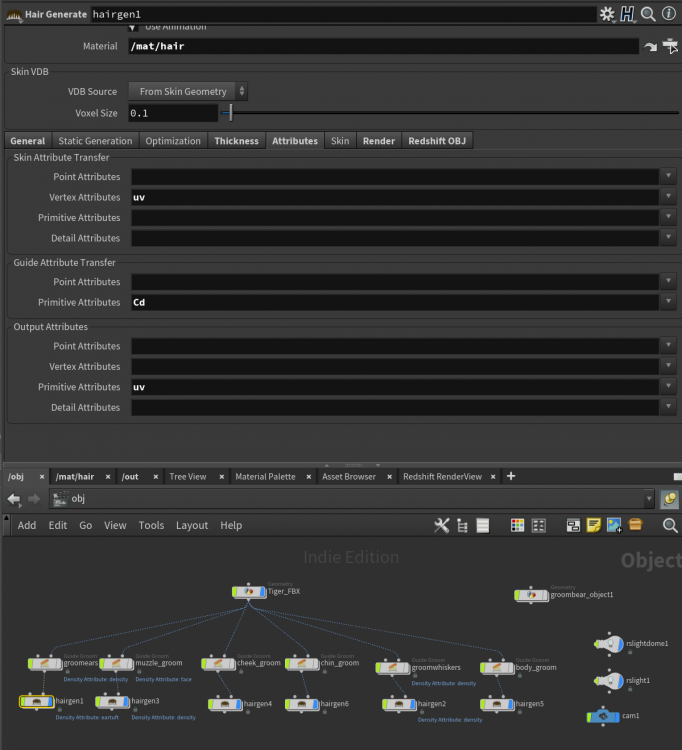
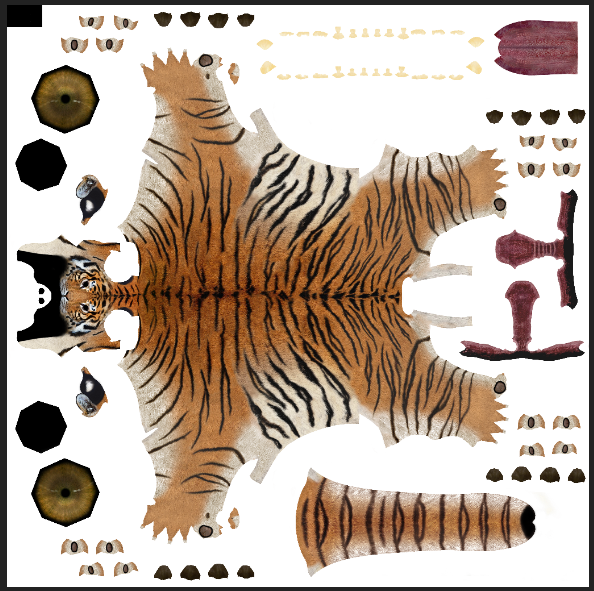
I'm trying to apply this tiger's UV'd texture to fur/hair. I'm going round in circles and sure i'm being stupid, grooming is new to me. Any pointers appreciated:) Rendering w redshift.
-
-
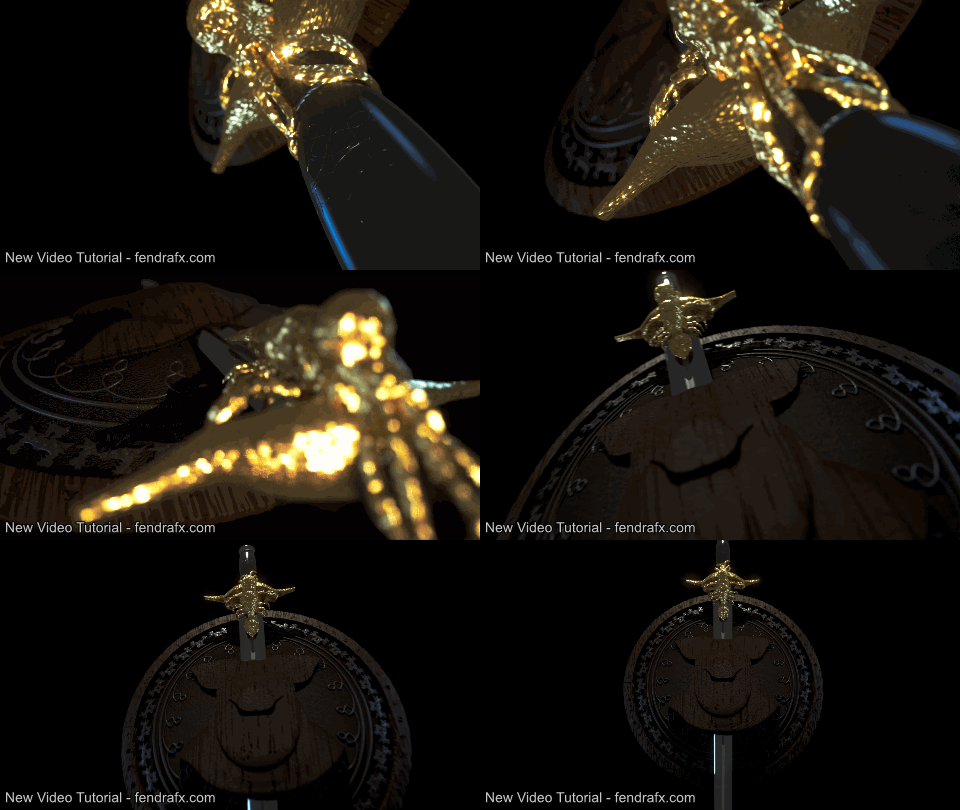
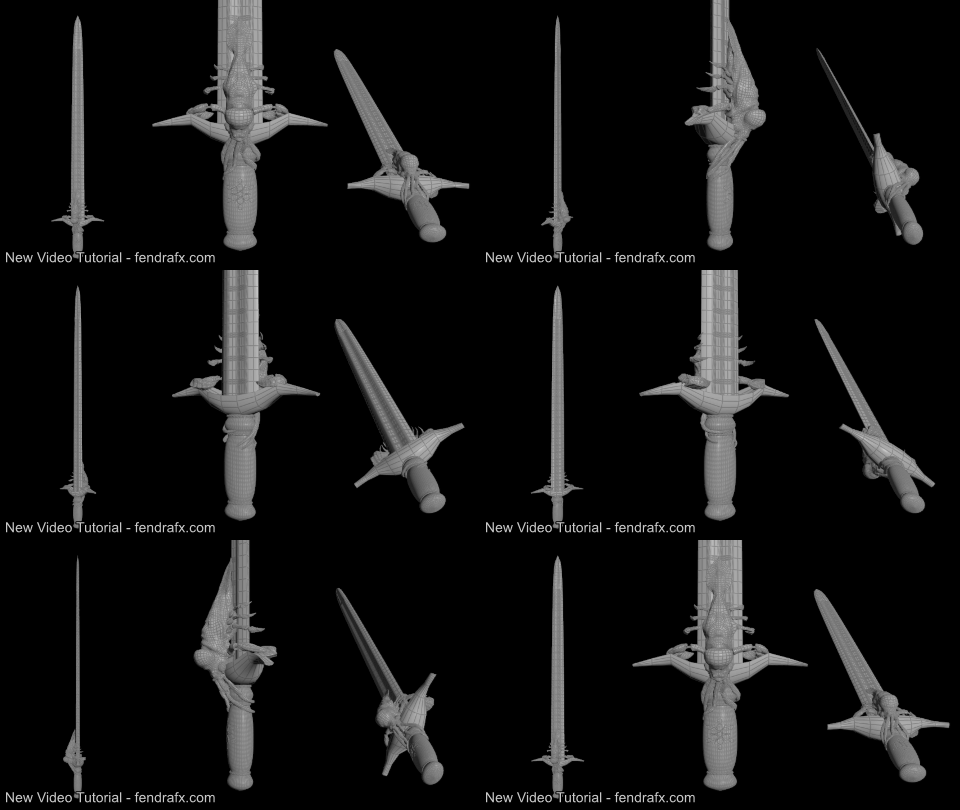
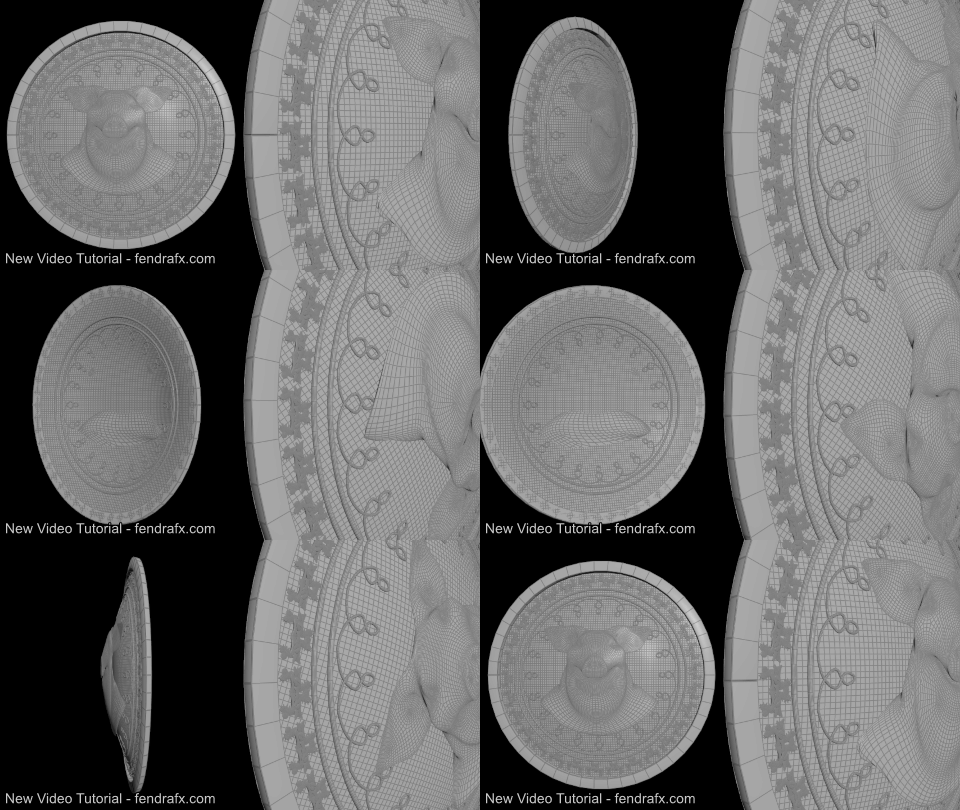
Free video tutorial can be watched at any of these websites: Fendra Fx Vimeo Side Fx Project file can be purchased at Gumroad here: https://gumroad.com/davidtorno?sort=newest
-
- mardini
- mardinimedieval
- (and 9 more)
-
Hey buddies, I'm trying to create boiling lava I have crated the sim but I wanted to texture based on the temperature, which I'm unable to do can you guys help me solving the problem please check the HIP file attached. Thank you. lava R&D_08(needed texturing).hipnc
-
I would like to take this value out so I can create a colour gradient out of it and use it in my texture thereafter. I know how to do it with the stress attribute as it appears in the constraints attributes, but I do not have a Bend angle attribute in my solver. Cheers!
-
I am trying to modify a texture map using a stamp command on the material override and it is not seeming to stamp. What am I missing? Here is my expression $HIP/4kTexture.`stamp("../StampBoxes", "ptnum", 0)+1`.png It successfully imports one texture, but it does not increment the value in the stamp. If I break that in any way, the whole texture breaks so it is "working", just not stamping off 0. Even if I use a different default value, the output of the stamp command is always 0. I am just using $PT in the value for ptnum on the copy stamp node. The scene is around 200 boxes, each pulling a separate texture.
-
Hello Odforce! I just released a new course - Shading Techniques I, and this one is all about improving your shading & texturing skills by exploring a variety of techniques. Part I mainly revolves around tri-planar workflows, and you'll also get an awesome wizard tower scene to practice with. Check it out a cgforge.com
-
I'm happy to announce that I've teamed up with SideFX to release a new free course! - Shading Theory with Karma. These videos are designed to teach you the fundamental ideas behind shading/texturing while utilizing the principled shader, karma, and my dear friend - Shaderbot. Visit CG Forge to download shaderbot along with access to the videos for free. https://www.cgforge.com/course?courseid=shadingtheory Have a nice day,
-
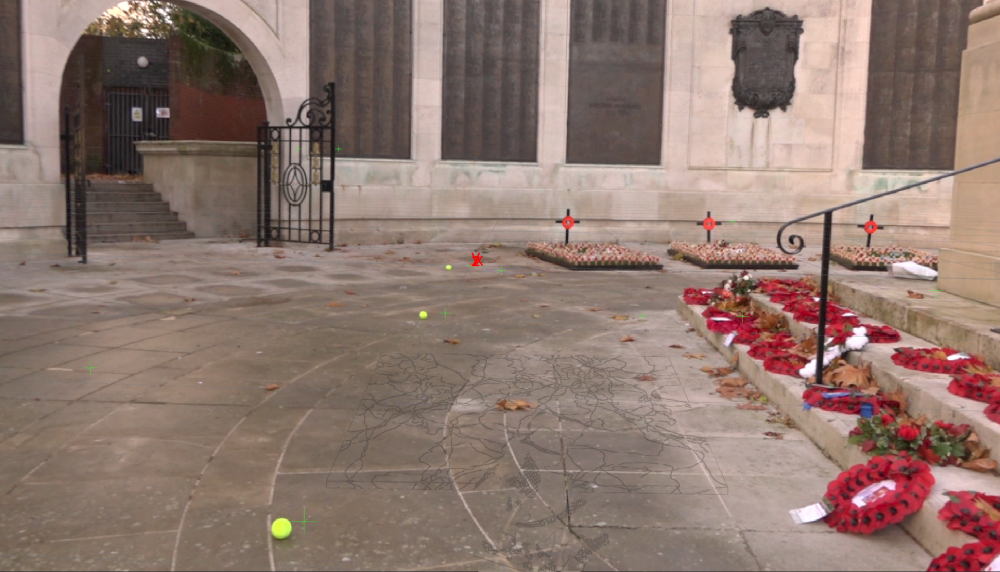
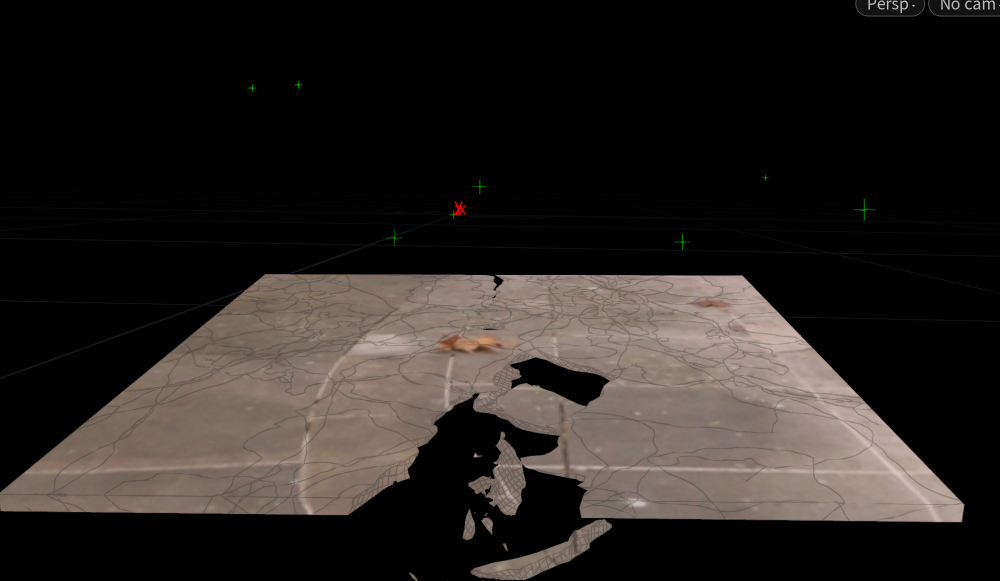
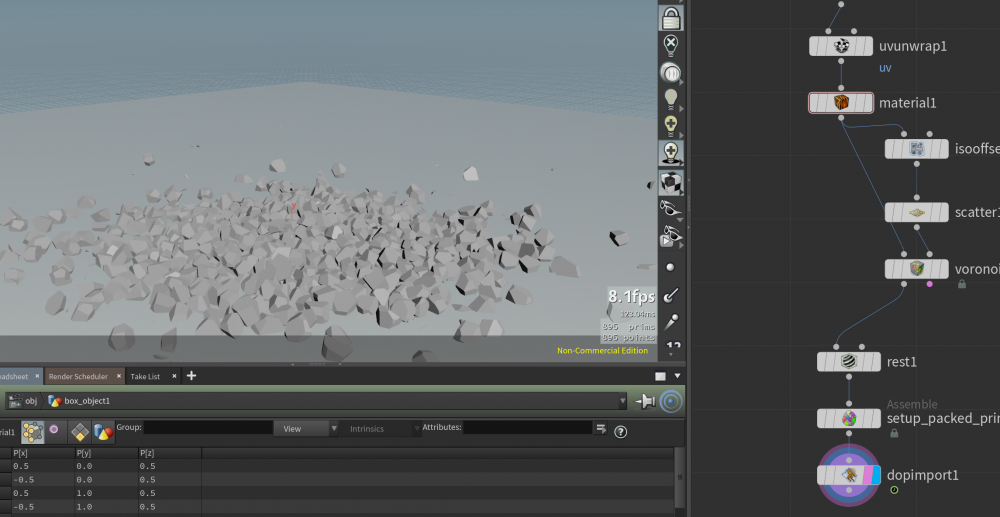
I am trying to create a Ground collapse effect on tracked footage(tracked on 3dEqualizer) by projecting the ground texture on to my cube and then fracturing it. However, the texture from the projection is overlapping the effect even after it fractures so only the texture is visible in the scene. I'm a beginner when it comes to Houdini, sorry if its something simple that I have missed
-
- texturing
- fracturing
-
(and 2 more)
Tagged with:
-
I'd like to know if there is a way (a proper workflow) to add textures to a destruction simulation ? thanks destrcution.hipnc
- 2 replies
-
- texturing
- destruction
-
(and 1 more)
Tagged with:
-
Hey everyone! I recently finished up a tutorial on creating game ready procedural rocks assets for UE4 Hopefully you can learn a thing or two on my process and feel free to let me know if you have any suggestions, critique, or questions about anything you see! Video preview Free Demo version: https://gum.co/rocksue4demo Full version: https://gum.co/rocksue4 Includes: 8 Video Chapters Project file (.hip) Hi/lowres meshes+maps Tools: Houdini 16.5+, Unreal Engine 4 Introduction: Chapter_1_Base_Shape 26 min Chapter_2_VDB_Setup 4 min Chapter_3_Detailing 12 min Chapter_4_Texturing 21 min Chapter_5_Remesh 10 min Chapter_6_LOD's 9 min Chapter_7_Save_File 15 min Chapter_8_Bake 4 min Difficulty : Intermediate-Advanced Format: Recorded video chapters
-
Not available
-
Hey ODforce! I recently published the next installment of the Houdini For The New Artist series. This course is all about making Houdini easier to learn, and you can watch the first chapter for free! Here's the link: http://bit.ly/2okYpY4 Some of the main topics include: Chapter 1: How to understand and set up DOP networks Using SOP attributes with the dynamic context Forces Particles Life & Variance How to use groups Rendering Particles Sub-steps, Sub-frames, & Time-Steps Caching Sub-steps & Practical Applicaitons Chapter 2: Texturing & Lighting Techniques How to Integrate a Substance Painter Workflow with Houdini Spot Lights, Area Lights, & Artistic Considerations When Placing Key Lights Utilizing Light Attenuation Gobos Aim Constraints, Near-attenuation Techniques for Reading & Emphasizing Form While Lighting How to Make Light Blockers Shadow Masking Techniques for Controlling Light Placement Component-based Lighting Light Linking Chapter 3: HDAs, Velocity, Normals, and & VOPs What is an HDA? How do you make one? Data Types & Adding user Parameters Booleans, Switch Nodes, & Parameter Behaviors Additional HDA Modifications What is Velocity? What are Normals? An Introduction to the Point Wrangle Introduction to VOPs How to Blend Materials Basic Noise Parameters Additional VOP Techniques Chapter 4: Geometry Types, Animation, & CHOPs Geometry Types & Attributes Introduction to Volumes Animation Basics Channel Groups, Animation Layers, & Motion Trails Introduction to CHOPs Curve Constraints, CHOPS with DOPs, & Additional Settings Chapter 5: Rendering & Compositing Introduction to Multi-pass Compositing Rendering Concepts How to Use Takes Rendering Multiple Jobs De-noising passes Compositing Basics with Houdini Thanks for watching! - Tyler
-
Download the Course Files & Watch for Free at CG Circuit https://www.cgcircuit.com/tutorial/houdini-for-the-new-artist Hello ODFORCE! I'm very excited to share my first Houdini course titled: Houdini For the New Artist Houdini for The New Artist is perfect for anyone interested in learning Houdini for the first time. To keep things interesting, we learn about the basics while building "Alfred the Rhino" from scratch. If you're looking for an intro tutorial that gives you a bit of everything, fun to work with, and straight to the point - this is for you. Be sure to check out the full course and download the course files and practice along. Thank you for watching! Course Outline Intro 42s The Interface 12m 26s Setting up Our Project 12m 53s Utilizing Attributes 10m 47s Caching 8m 23s Applying Materials 9m 55s Adding the Backdrop 6m 41s Basic Shading Parameters 5m 36s Lighting 9m 30s Rendering 12m 29s
-
I’ve got a simple voronoi fracture sim with added edge detail (from Jonny Farmfield's example). An object from two Boolean’d spheres falls and breaks on the ground. Everything is working great except I can’t figure out how to get my RSNoise bump texture to stick to my fractured pieces. I’ve tried to do everything suggested from my search results, but it’s not working. I tried to create a vertex UV attribute as well as a rest SOP to no avail. I’m quite certain it’s something simple. Always is. On a side note, I am creating three point attributes from boolean and fracture groups to pass to my redshift shaders, inside, outside, and ainsideb. This works great and is picked up by RS even though I’ve not specified that the attributes get passed through my assemble SOP. When I do pass them though explicitly they get all jumbled up and don’t correspond to the right points anymore. Does redshift just figure out these attributes on it’s own. They aren’t even listed in the Geometry Spreadsheet yet work correctly. I didn’t want to assume this behavior as it might be messing up other attributes needed for the noise to work. I’ve attached a file. simple.edge.displace.v7.hiplc
-
Hi, I'm currently trying to texture the inside and outside of my fracture geometry, however, I have been creating a group 'Inside' and an 'Outside', which I have created UV's and a material node fine. Its when I view the dop import node it gets rid of the groups meaning the materials have gone.... could anyone help i'm really struggling, thanks, Here is the .Hipnc file... Fracture_Project_V03.hipnc
-
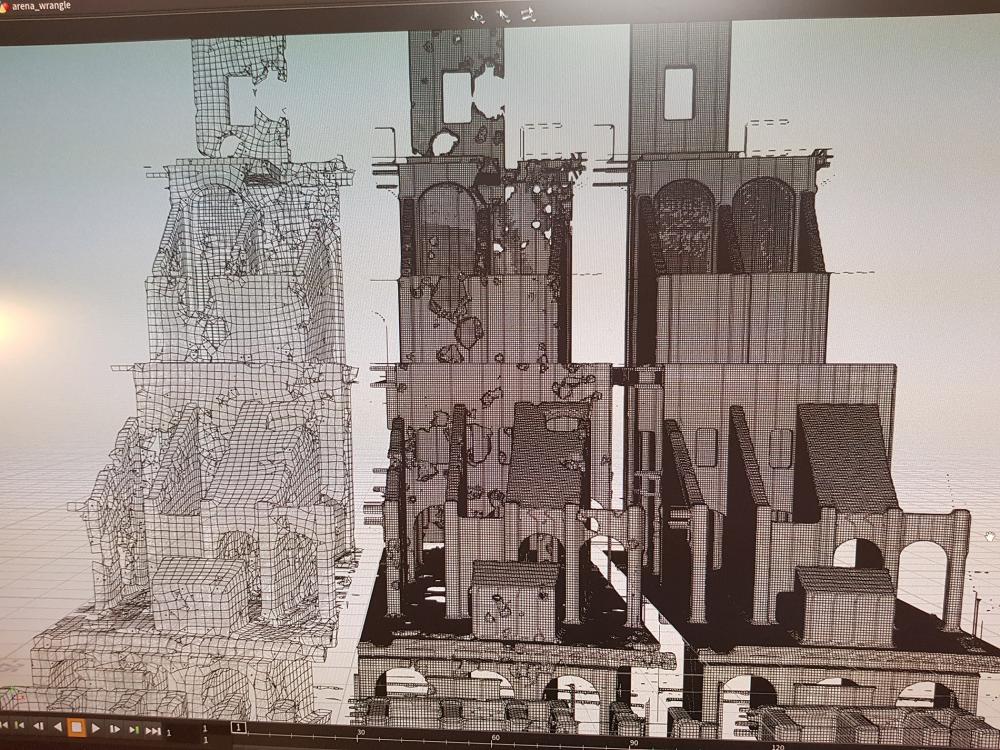
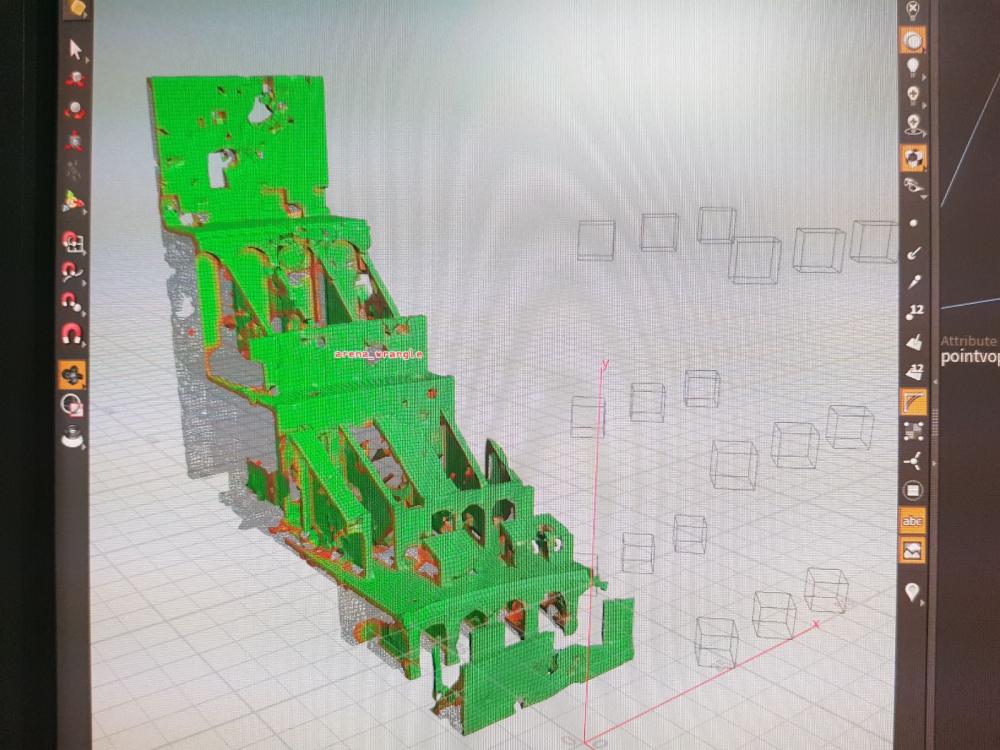
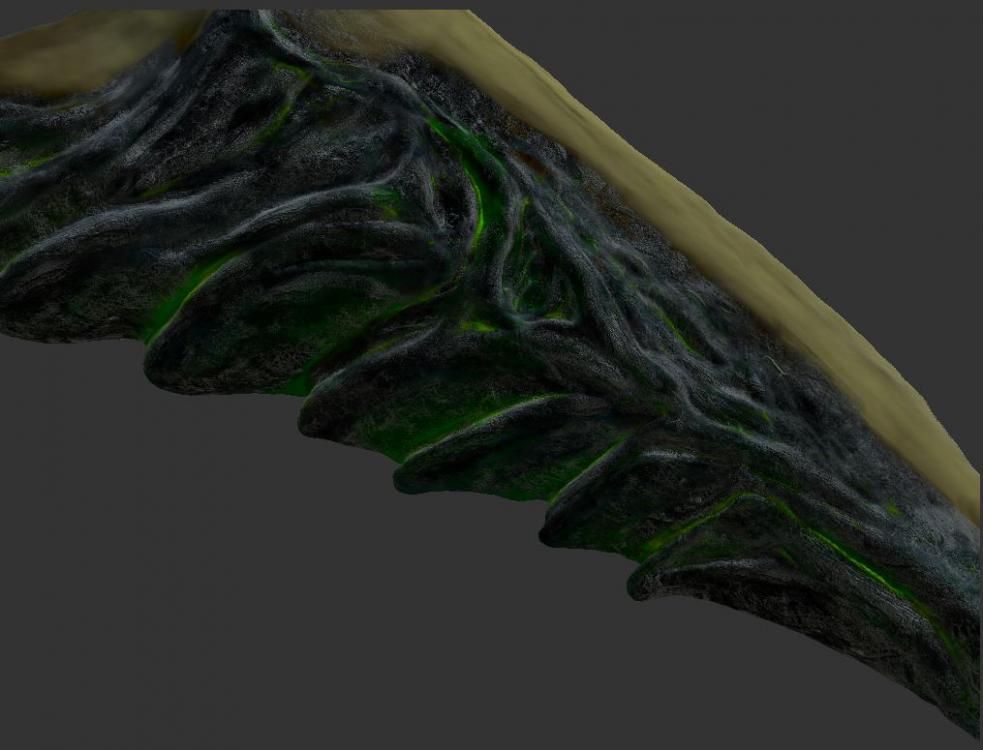
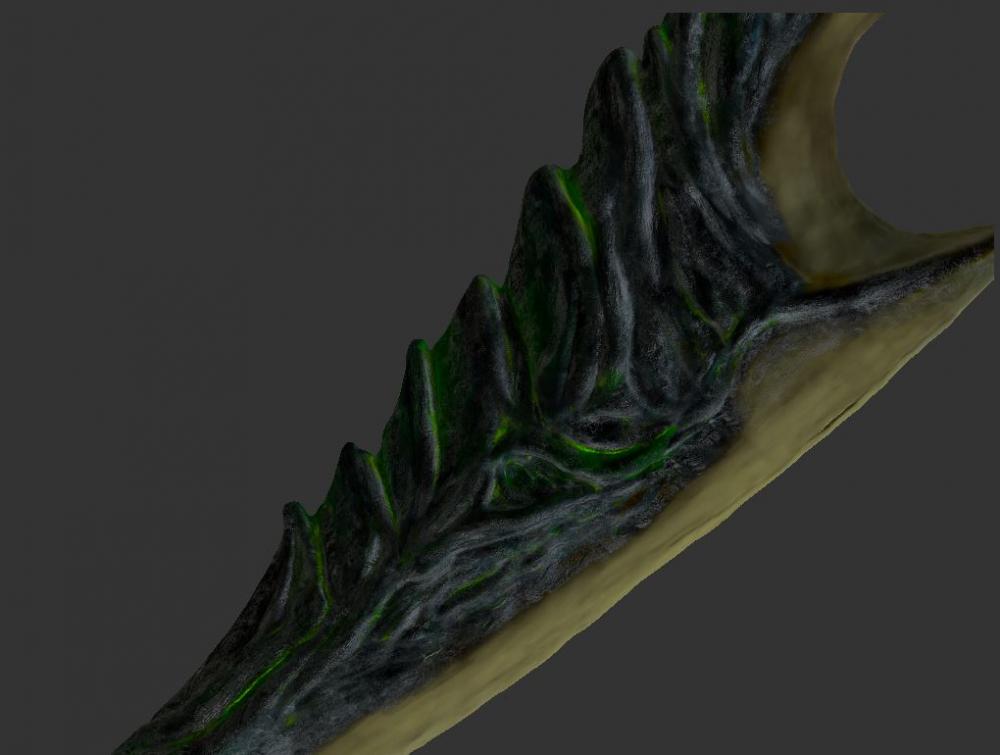
Hello fellow odforce-people, at the moment I'm working on my bachelor thesis which I'm writing about Dynamic Simulations for Film in Houdini. In order to demonstrate these effects, I'm producing two shots of a short film that I've wanted to do for a long time. And for the environment of this short film I decided to do some procedural modelling with Houdini. And since the houdini community is so extremely generous, I decided to take part myself and share my entire project file. It's slightly messy, but I hope it's useful. * I started out in Cinema 4D where I did some basic cloner-modelling to get all the basic shapes right. * Then I moved into Houdini, converted everything to an SDF and cut out dynamically generated holes. (Scatted loads of spheres into a vdb that I generated from the sdf, displaced the spheres, made an sdf from it and "difference-d" it away from the main mesh.) * Having converted the object back to polygons, I ran the mesh through Instantmeshes to get a clean quad-mesh. (Love this program almost as much as Houdini.) * For uv-mapping and memory-efficient exporting I got rid of all the faces that were not visible from the inside. (more than half) (I wrote a little script that sends rays from every point of the mesh to the 'god-points' in the center (because godrays, haha... ha...) and when any of these rays hit, it's marked as visible (green). Then I get rid of all the invisble points (red). * I unwrapped the mesh using Auto-Unwrap from the game-dev-toolkit and exported it (as well as the high-res-version from before) to Substance Painter where I baked all the maps (normals, AO, etc.) from the hi-res mesh to the low-res mesh. * In painter I just smashed a couple of smart material on there that I found on Substance Share, scaled up the UV-Tiling (because huge mesh) and was pretty much done with texturing. The render is a screenshot from painter's integration of I-Ray. (When I get everything together in Cinema and render with Octane, I'm gonna step the lighting up a notch of course. ) Here's a couple of pics: And attached you'll find the project file as well as the base-obj I started out with from Cinema (And one remesh to work with in case you don't have Instant-Mesh set up). To make viewing easier, I turned on a switch that sclices out only a small part of the arena for editing and increased the voxel-size so that loading only takes 15 seconds instead of half an hour. Cheers, Martin ARENAWRANGLE_TOODFORCE.zip
-
- 5
-

-
- instant-meshes
- texturing
-
(and 4 more)
Tagged with:
-
So I used the Triplanar Projection vop to give some geometry a diffuse texture. It was really easy, and I am happy with the results. However, now I want to add displacement to the same object with a displacement map which matches my diffuse texture. Since the triplanar projection vop only outputs color, how can I supply my shader the outN and doffset values that the Displace Texture vop supplies?
- 3 replies
-
- triplanar
- projection
-
(and 2 more)
Tagged with:
-
Hello, I have textured a model in Mari. Fiew examples added as attachment. Mari has option to mimic different shaders (You just select shader like arnold or vray or unreal). I achieved ths texture when unreal shader was selected in Mari. 1. Is there a option to copy shader settings from mari to houdini? 2. What shader material i need to use to get unreal material? 3. Do i need specific plugin for that? What Houdini shader tutorials do you recommend? Can you recommend some one who knows very well how to do custom shaders in houdini?
-
Are you crazy about textures, shapes and colours and constantly looking for new inspiring creation challenges? Are you passionate about 3D? Do you consider yourself great technically and creative? Do you like playing around a variety of software to get your aesthetic and realism always higher? Do you sometimes dream of joining a multidisciplinary team of pioneers based in Montreal and feel you’d thrive amazingly in international ambitious multimedia experience projects? Here is our content reel for you to be inspired: https://vimeo.com/178357432 Moment Factory is looking for creative and expert 3D Artists in different aspects of the 3D pipeline with special interest for modeling, texturing, environment and FX. Our tools are Maya and Houdini. Please note: we are not looking at character animators or any other kind of specialist 3D animators but our 3D artists also animate objects and abstract images and, therefore, a knowledge of animation is a requirement for this role. Send me your CV/linkedIn profile and portfolio/Demo reel at julietb@momentfactory.com We offer to sponsor the working visa for non-residents in Canada. Some rules apply. Note: advanced level of English is necessary and only artists with relevant portfolio will be contacted.
-
- fx
- environment
- (and 5 more)
-
Hey there! Before I begin to describe my issue, please keep in mind that I am a beginner at 3D modelling and am still learning. The problem I am encountering is that I have installed the Quixel Colors tool to texture my model in Quixel. The problem is that once I try to render the material map, I get the following error in the Houdini Console: Traceback (most recent call last): File "C:\Users\Scott\Desktop\Quixel SUITE 2.0\quixelcolors\lib\QuixelController.py", line 129, in <lambda> File "C:\Users\Scott\Desktop\Quixel SUITE 2.0\quixelcolors\lib\QuixelController.py", line 149, in openDDO File "C:\Users\Scott\Desktop\Quixel SUITE 2.0\quixelcolors\lib\QuixelController.py", line 127, in <lambda> File "C:\Users\Scott\Desktop\Quixel SUITE 2.0\quixelcolors\lib\houUtils.py", line 148, in bake File "C:/PROGRA~1/SIDEEF~1/HOUDIN~1.523/houdini/python2.7libs\houpythonportion.py", line 341, in setParms raise hou.OperationFailed("Invalid parameter name: " + parm_name) hou.OperationFailed: The attempted operation failed. Invalid parameter name: vm_renderengine I am not sure that I can identify the problem and hope that someone can help me with this! Thank you in advance for your efforts.

