Search the Community
Showing results for tags 'procedural'.
-

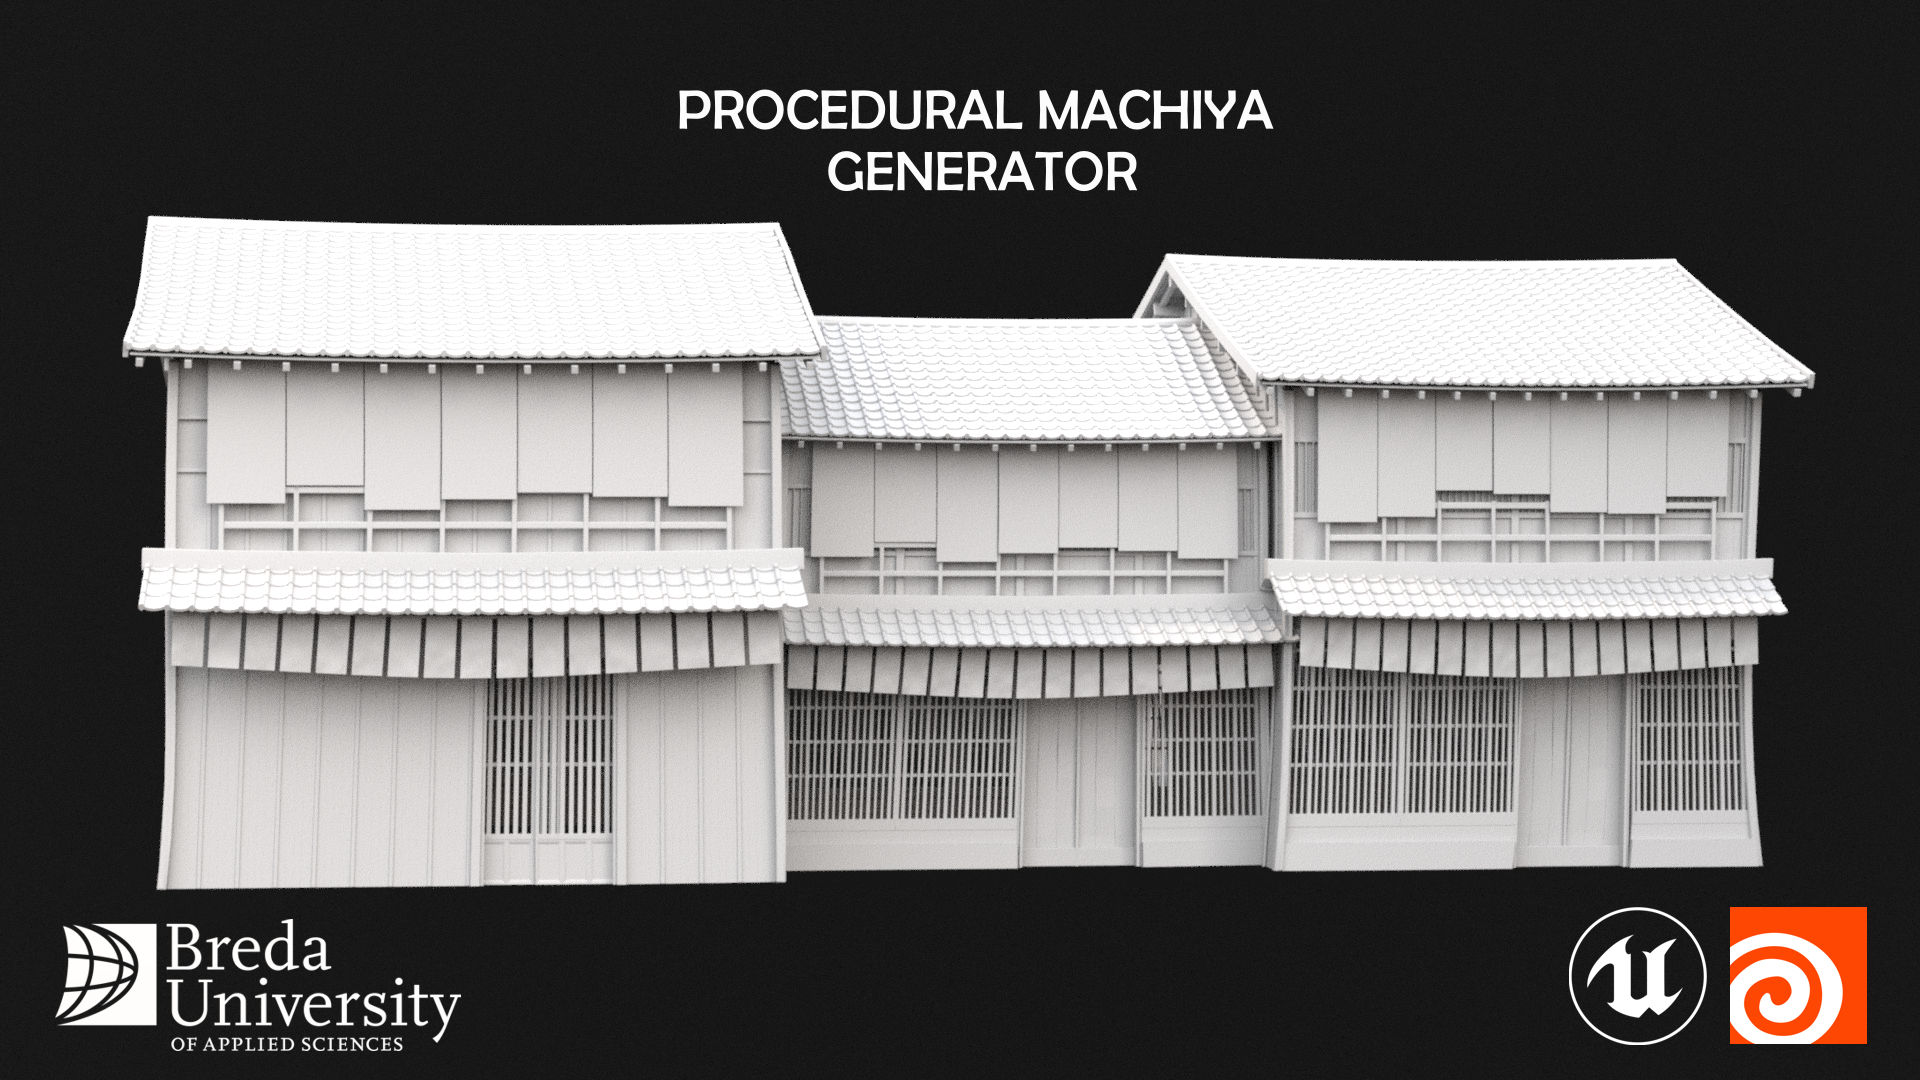
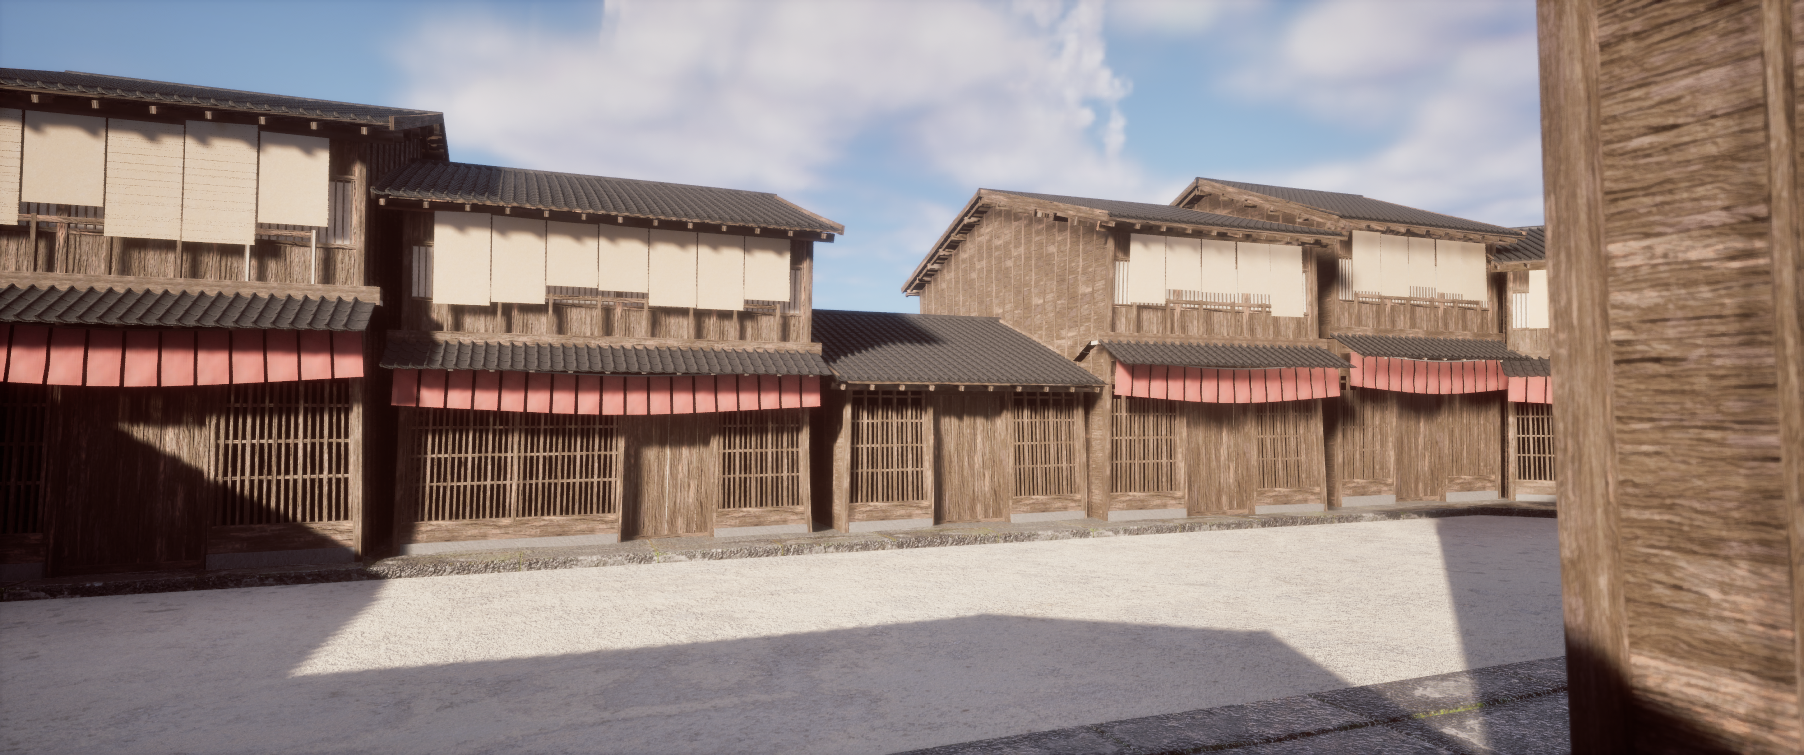
Machiya house generator in Houdini and Unreal
SikandarMaksoedan posted a topic in Tools (HDA's etc.)
Hello everyone! For the past 8 weeks I have been working on a Japanese Town House generator! This project was made for Breda University of Applied Sciences as a part of my Block A. This is my first Houdini project, so if anyone has feedback for me it would be greatly appreciated. The project was made from scratch as I did not find the built-in Labs building generator easy to build upon. The building generator allows you to change both the roof tiles, the lattices, the windows and the flags for different variances. The size of the building is determined by user placed bounding box, so the tool is able to generate an entire street from just a blockout! Here you can see a diagram of the basic logic used to generate the buildings, excluding the preview mesh generation. I have also made a short video using PDG to showcase different ways that the building generator can create distinct and unique outputs: WhiteOutSpedUp (1) (1).mp4 Here is the tool working in Houdini SpedUpHoudiniShowcase.mp4 And finally, the tool working in Unreal! ToolInUnreal.mp4 Thank you everyone for reading, if you have any questions please ask away!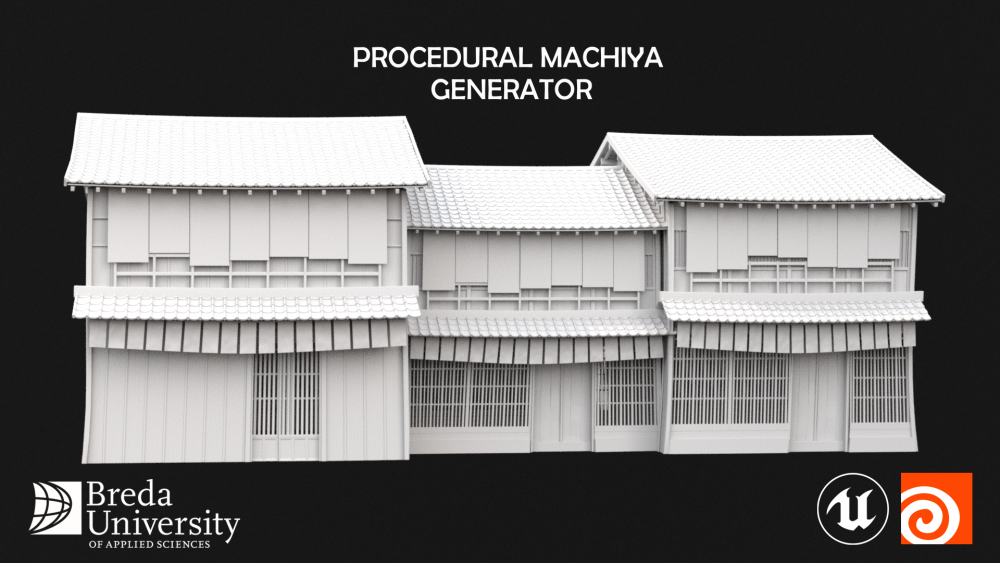


- 1 reply
-
- 8
-

-
- building generator
- building
- (and 9 more)
-
Hi, I am Procedural Generative Artist. I am specialized in Procedural Asset Creation. I can create 3D assets for Games/Movies/3D Printing. My works have been featured in Several Websites. I am also able to create FX. You can see my reel below. I am looking for any kind of work. You can see my projects in pamirbal.com olcaytopamirbal@gmail.com

-
Getting closer to a new surreal idea I had in mind for a long time...Walls with Eyes! Here is my initial test for a small section of the wall. hoping to add in more detail and deformations to the rig the wall skin rig. I made the entire model and rig process combined into a single HDA. May need to optimize the HDA further to speed up things. Instead of using deformers to the bend the grids I started off with using curves and a combination of ray intersects and vex to create the eyelids, after creating the initial shape I was able to skin the curves using the Skin SOP, this gave me more control on how I can design the character, without worrying about intersection polygons and normals. The curves also acted as representatives for each loop on the wall and so I was able to control them in wrangles through multiple technics in vex.
-
LookAt Setup in SOPs, VEX, VOPs. Having used the Houdini default tools several times, I wanted to achieve the same effect in SOPs. Here is a detailed post to understand better how the LookAt works and how it can be used in creative ways https://www.sharanvaswani.com/single-post/2020/09/27/Using-VEX-and-SOPs-to-make-a-LookAt-Setup
-
 Please apply through the following link: http://gr.8job.co/I1hm8HB3 Founded in 2010 by the original creators of the Call of Duty Franchise, Respawn was created with the philosophy that when talented people have creative freedom, they'll make extraordinary games that achieve the unexpected. Our shipped titles include critically acclaimed multi-platform games Apex Legends, Titanfall, Titanfall 2, Star Wars™ Jedi: Fallen Order and Medal of Honor: Above and Beyond. You can learn more about our studio and values at respawn.com/studio. In collaboration with Lucasfilm, the Star Wars FPS Team is developing a new AAA FPS in the Star Wars galaxy. Inspired by classic titles like Dark Forces and Jedi Knight: Dark Forces 2, our story-driven single player game is being developed from the ground up leveraging the power of Unreal Engine 5. We’re combining this inspiration and technology with Respawn’s pedigree for making best-in-class shooters to deliver a brand new experience our players will love. We are looking for an experienced and knowledgeable Senior Technical Artist to join our Star Wars FPS team. This role is for a specialist in procedural content creation and tools. Our ideal candidate has extensive experience building tools and pipelines in Houdini and enjoys the challenge of empowering art teams with flexible tools that adapt to change. If you thrive in procedural node networks and want to help build a galaxy, we’d love to hear from you. What you'll do... Develop new procedural tools and help build new assets, locations, and empower our art teams to do innovative new techniques. Collaborate with Environment Art, Character Art, Level Design, VFX, and other disciplines to automate repetitive processes. R&D and evaluate new procedural tools and adapt them to our project, including new features in Unreal 5.2. Establish and maintain best practices, quality bar, pipelines, and documentation. Work with engineers, artists, and designers to address game performance and memory usage issues. Constantly raise the quality bar, develop new solutions, and streamline processes. Ideally, you will have... 4+ years of games industry experience as a technical artist or other technical discipline. Portfolio that shows relevant technical experience in games (tools, pipelines, etc.) A deep understanding of Houdini and Houdini Engine. Secondary experience with other tool sets like Blender Geometry Nodes is a plus. Strong scripting experience in Python, VEX, HLSL or others is a plus. Experience with Blueprint scripting is a plus. Strong understanding of pipelines and how to design and optimize them. Ability to own a challenging issue and find practical solutions. Strong understanding of game engines and art integration as well as corresponding technical restraints. Experience addressing game performance and optimization, ideally in Unreal. Ability to both receive and deliver constructive criticism. If this opportunity sounds like a great fit for you, please submit your resume and portfolio and we will get back to you once we have reviewed it. In addition to opportunities for creative impact and professional growth which come with being a member of our team, working at Respawn has many other perks and benefits! Learn more at respawn.com/perks. Please apply through the following link: http://gr.8job.co/I1hm8HB3
 -
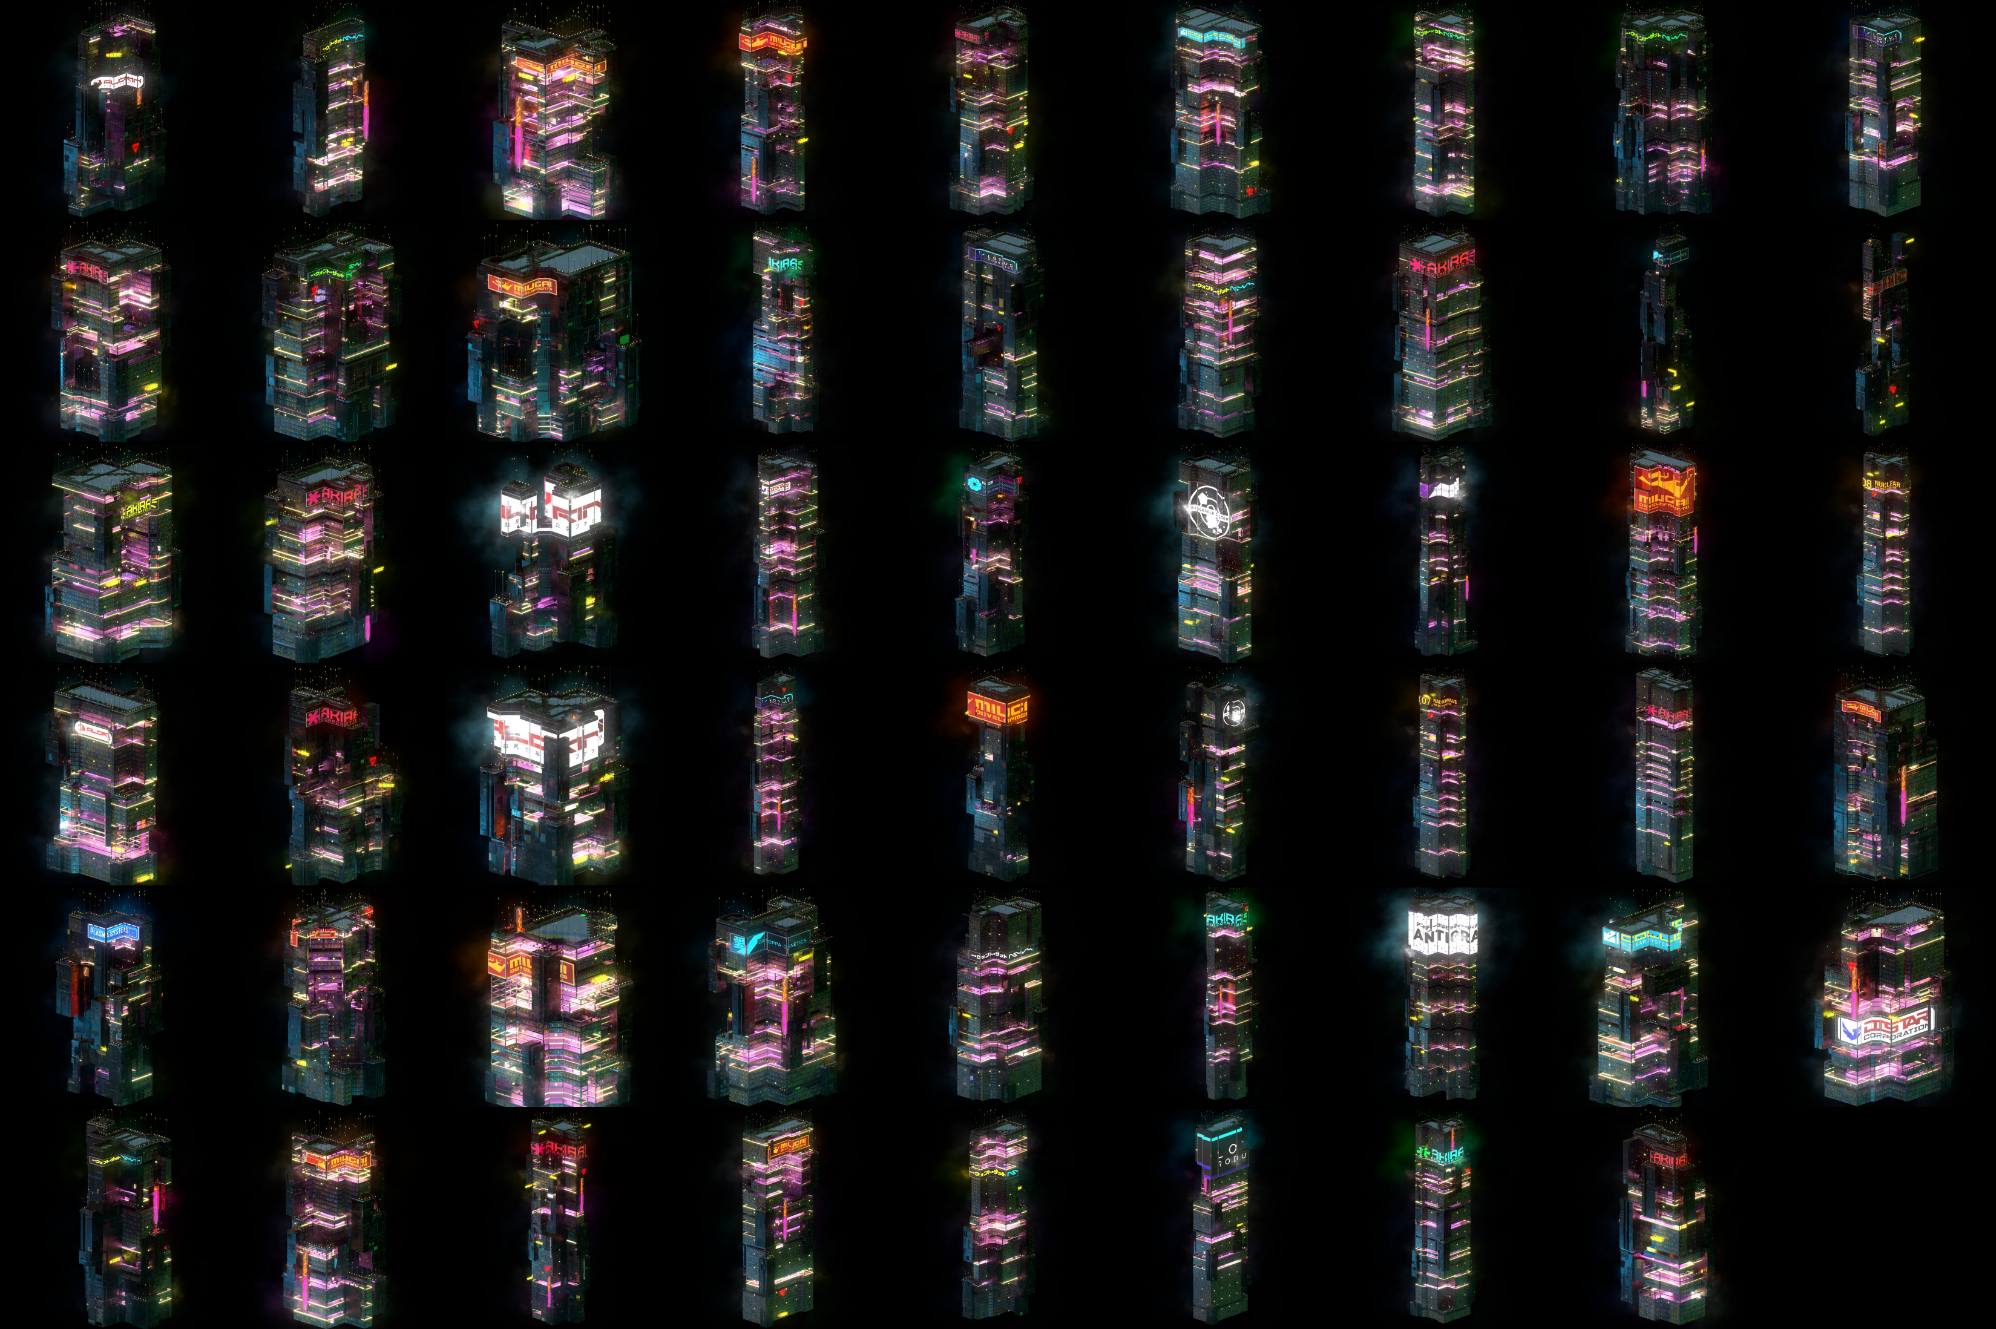
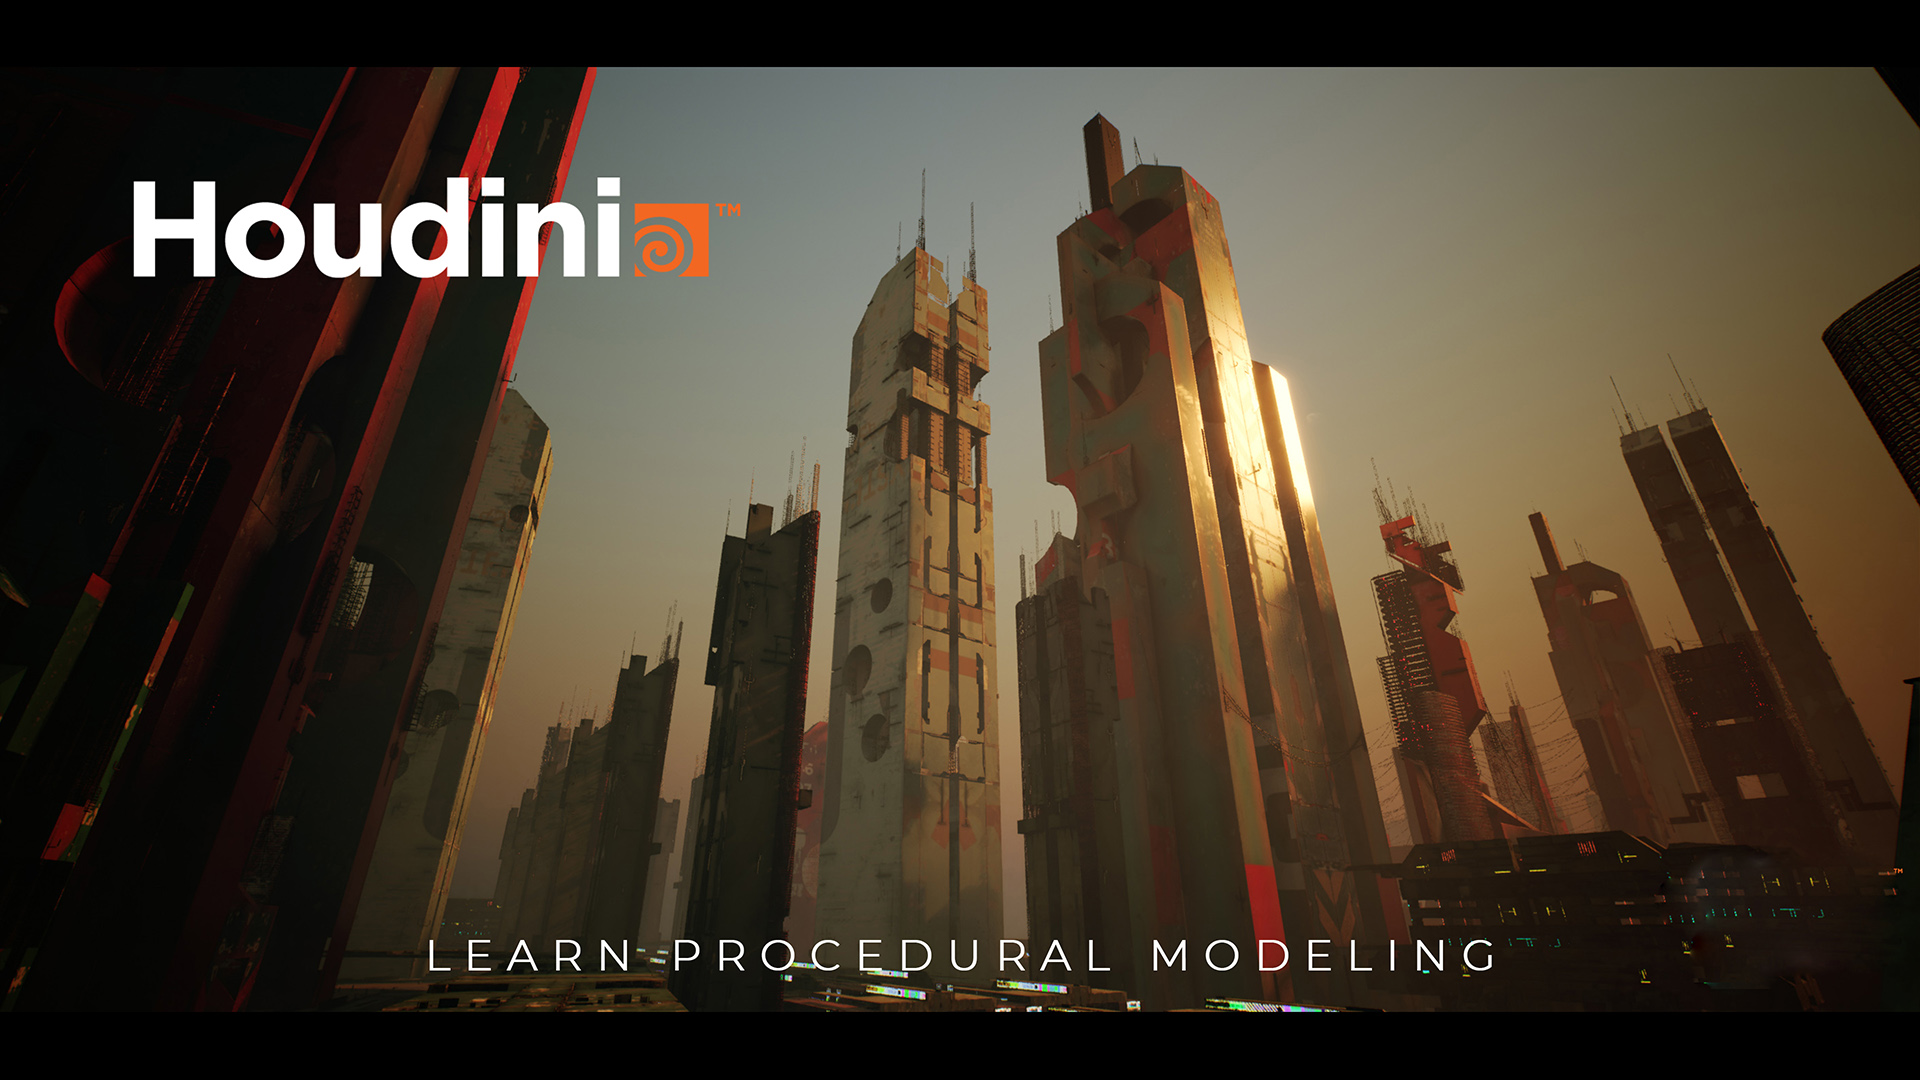
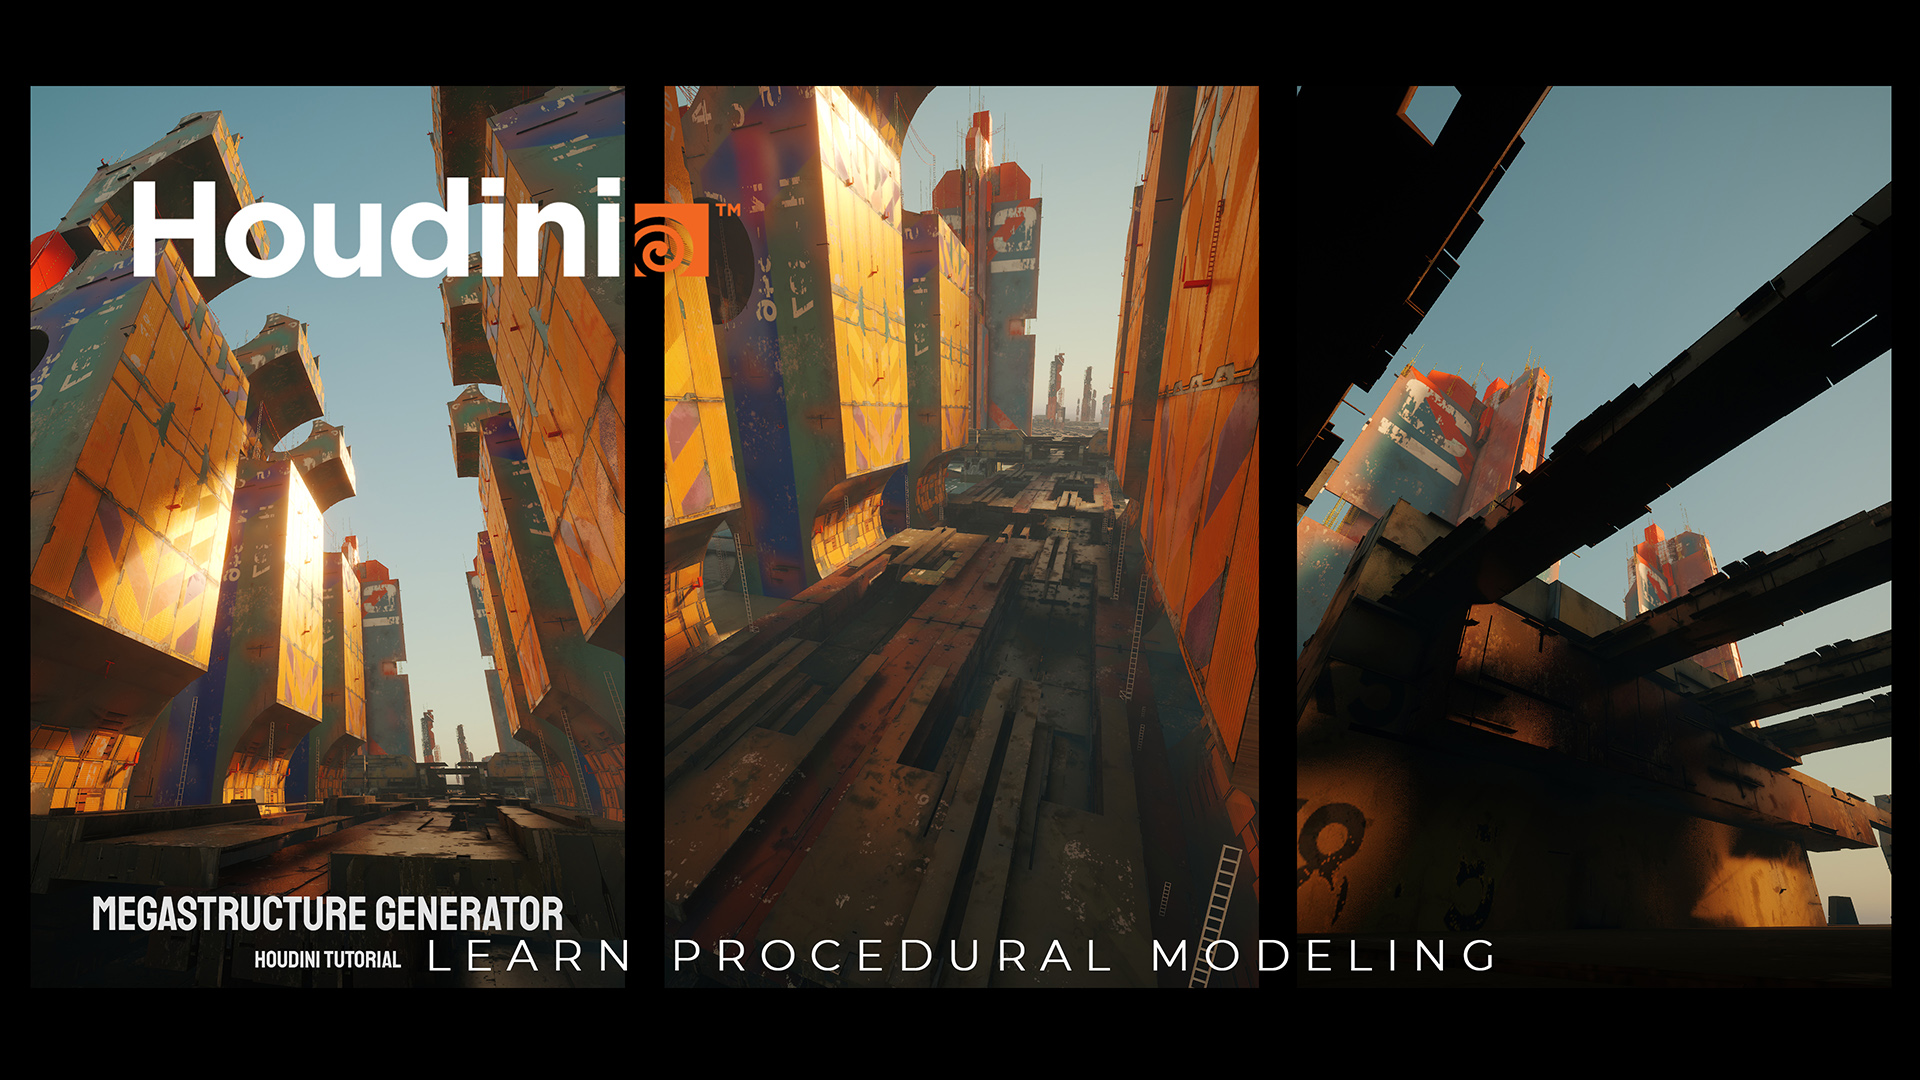
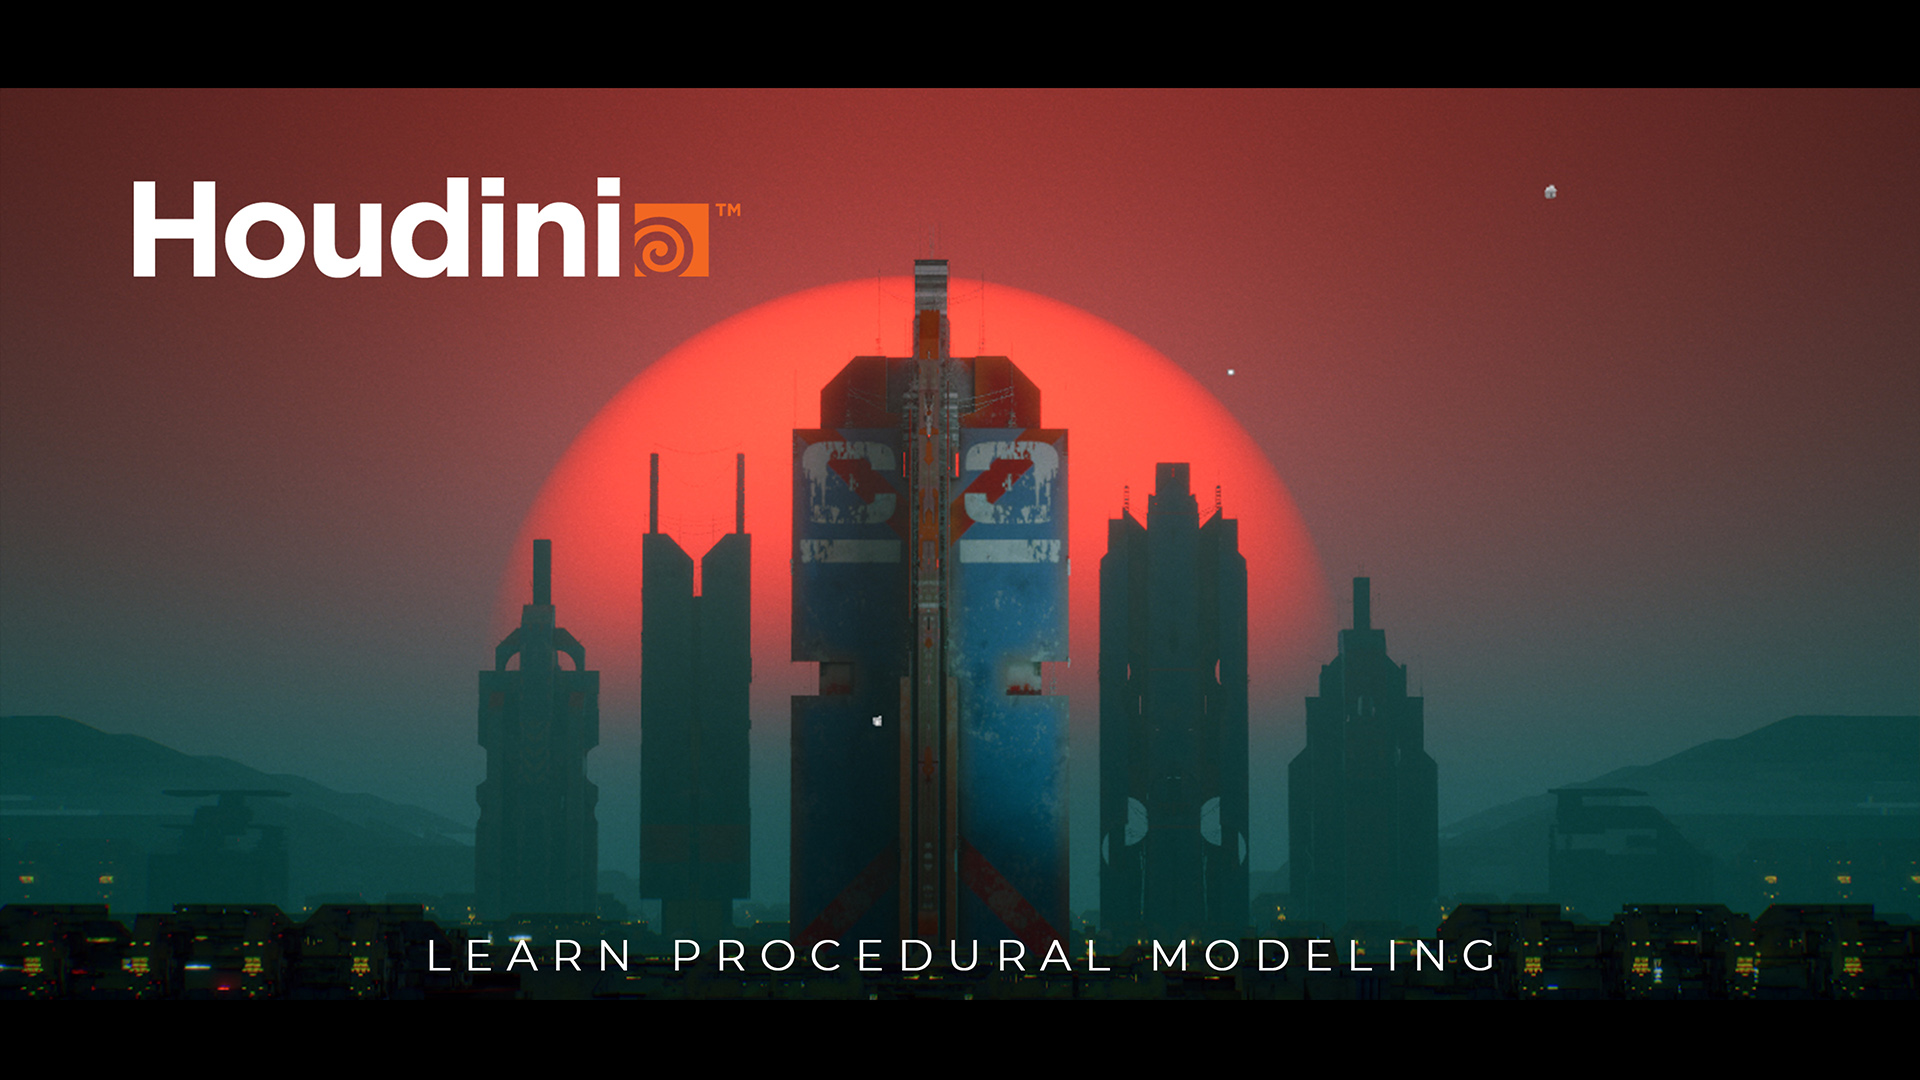
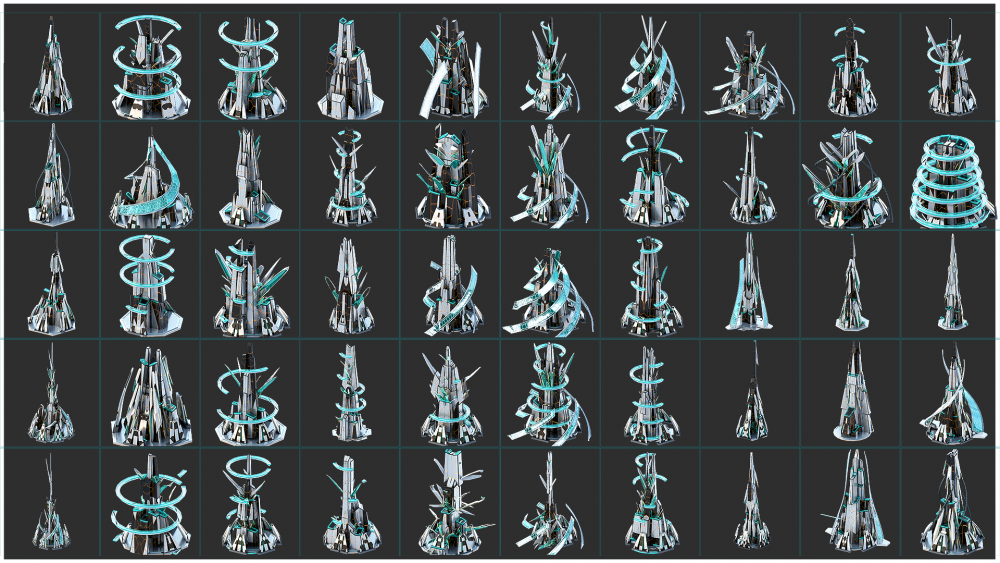
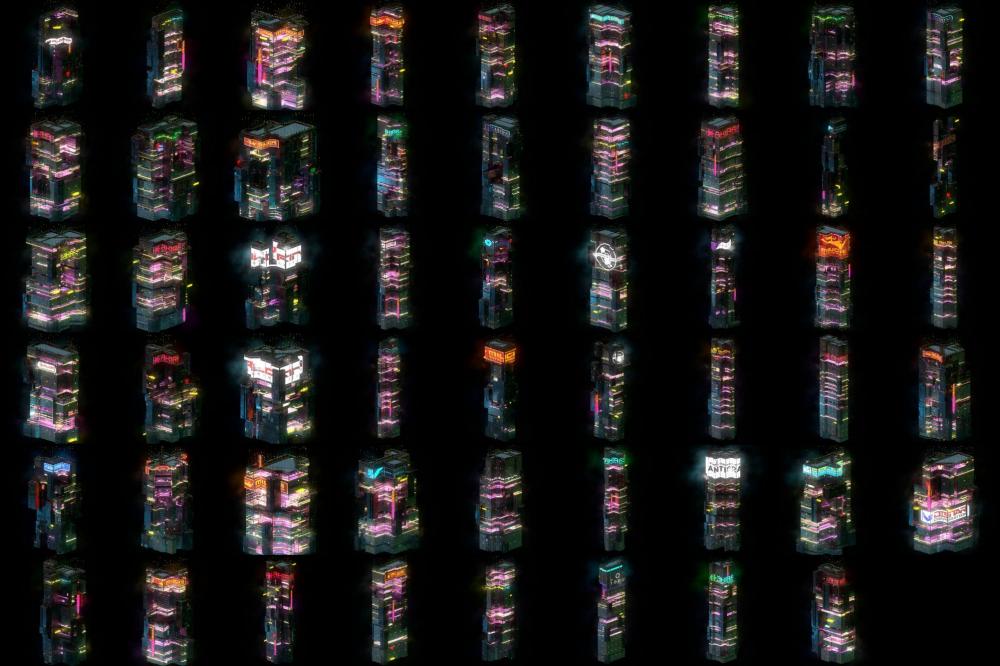
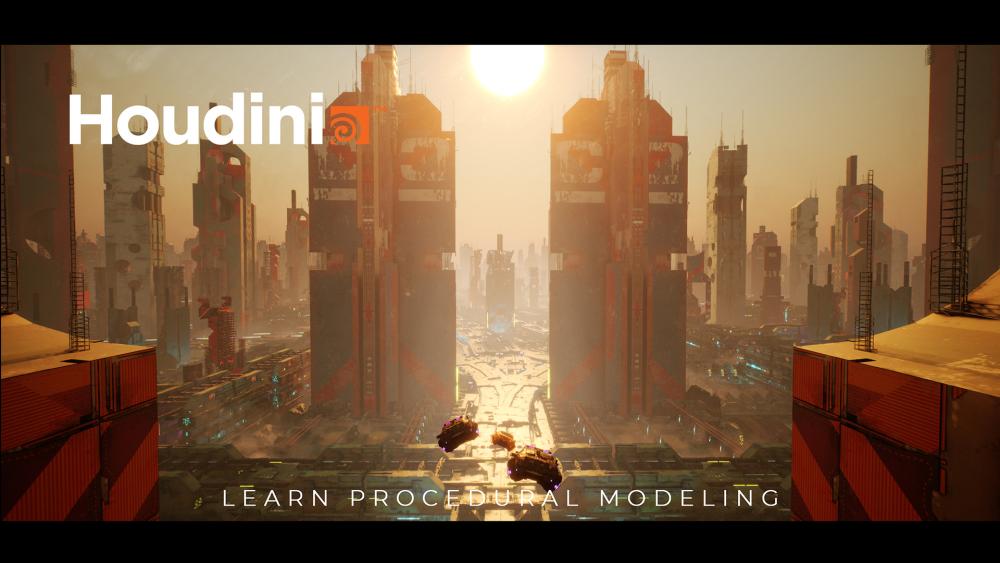
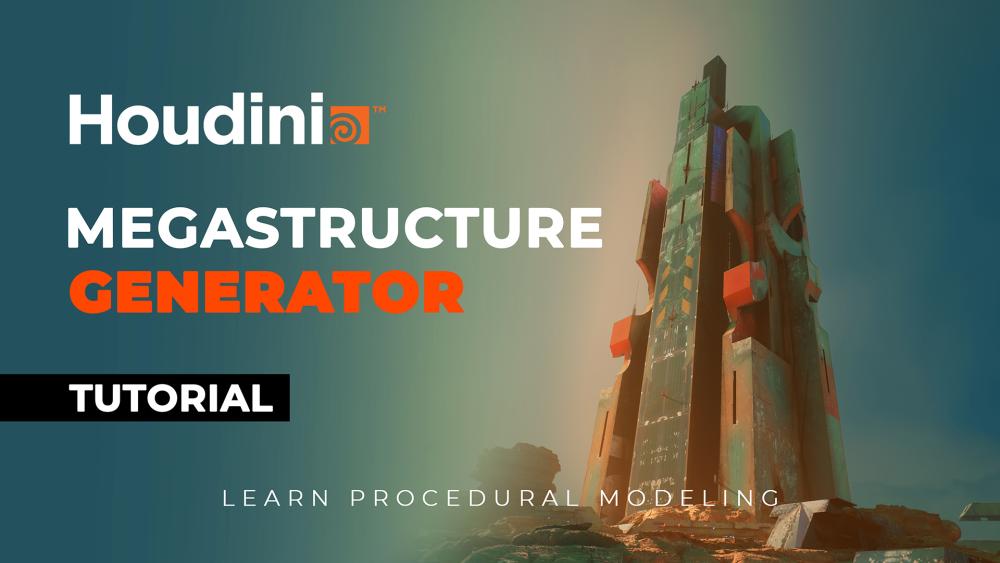
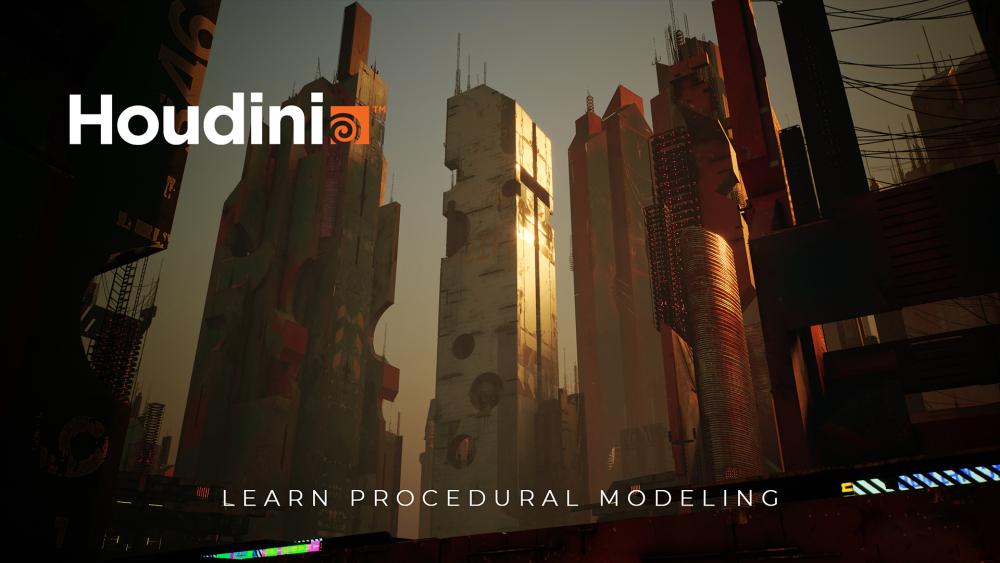
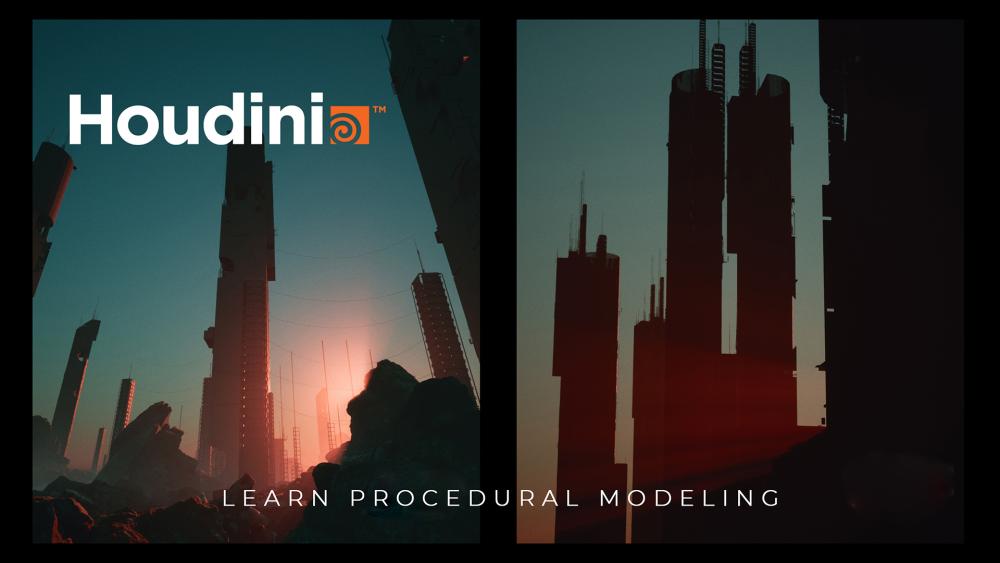
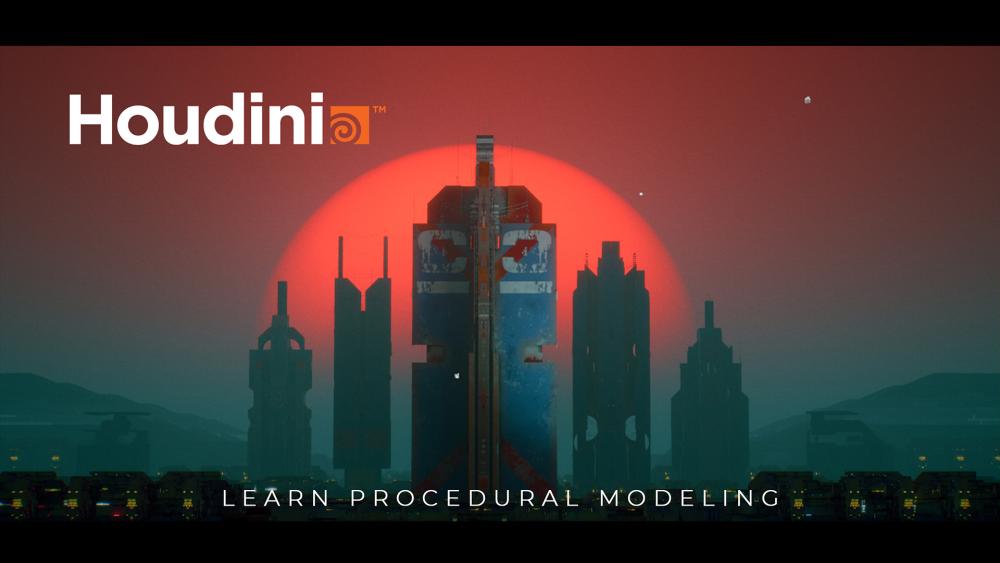
 Download: Gumroad: https://gumroad.com/l/MegastructureGenerator Artstation: https://www.artstation.com/a/26887378 What you will learn: In this tutorial, you'll learn how to use Houdini's powerful procedural modeling tools to create a building generator that can generate a wide range of building designs with just a few clicks. Throughout the tutorial, you'll be guided step-by-step through the process of building your own custom building generator from scratch. You'll start by learning the basics of Houdini's procedural modeling workflow, including how to create and manipulate nodes, and how to use expressions, attributes, groups to create complex, parametric models. By the end of the tutorial, you'll have a fully functional building generator that can create a virtually limitless number of building designs with just a few clicks. Whether you're a seasoned Houdini user or just getting started with procedural modeling, this tutorial is the perfect way to take your skills to the next level and unlock the full power of Houdini's procedural modeling tools. What's Inside? 17 Video Chapters. 6 Hours of Lessons. Houdini 19.5 Project Files. HDA Megastructure Generator. Unreal Engine 5 Project Files. (3 different cities) Introduction: Chapter 1 - Basic Shape. Chapter 2 - Big Details. Chapter 3 - Ventilation. Chapter 4 - Medium_Details. Chapter 5 - Small_Details. Chapter 6 - Small_Details_2_Platform. Chapter 7 - Big_Antenna. Chapter 8 - Small_Antenna. Chapter 9 - Small_Antenna_2. Chapter 10 - Decorative_Panels. Chapter 11 - Cables. Chapter 12 - Creating_HDA. Chapter 13 - Creating UV. Chapter 14 - Materials. Chapter 15 - Automatic Search. Chapter 16- Add_Complexity_Levels. Chapter 17 - Export. Tools: Houdini 19.5 Unreal Engine 5 Download: Gumroad: https://gumroad.com/l/MegastructureGenerator Artstation: https://www.artstation.com/a/26887378 Download: Gumroad: https://gumroad.com/l/MegastructureGenerator Artstation: https://www.artstation.com/a/26887378
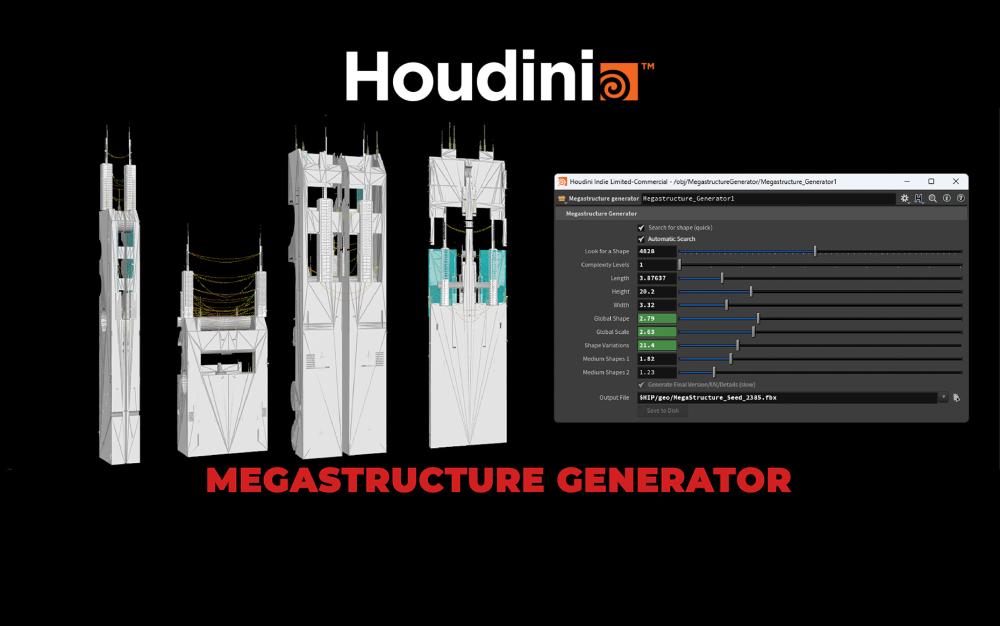


-
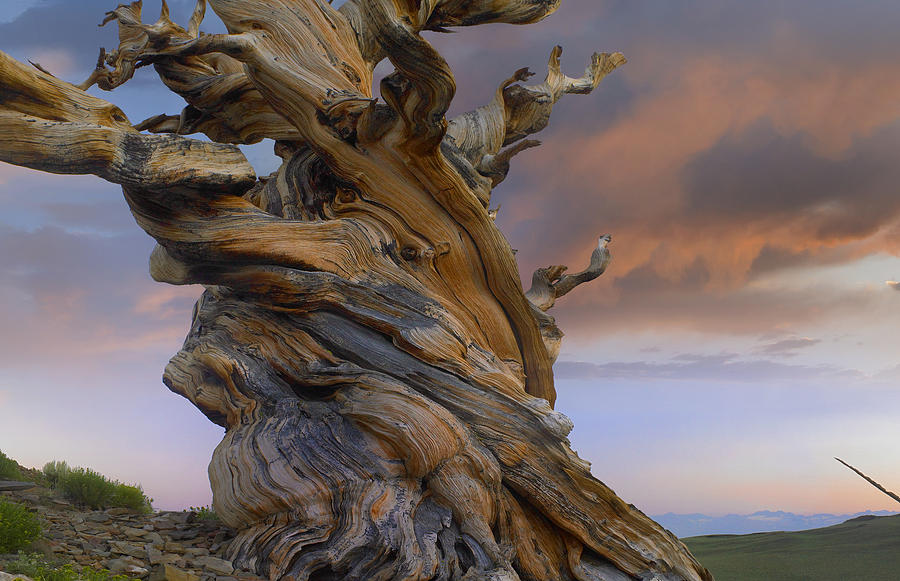
Hello, i am relatively new to Houdini and i would like to ask the community for methods to find a solution for my following project. So far i've been working mainly with C4D and Blender. I would like to find a workflow to create tree shapes from 3D models. Specifically, in my project i would like to take posed mesh from DAZ3D of 2 hugging humans and basically turn them into a "wood sculpture". (probably 2 seperate intertwined tree trunks) I would like to find a way to do this procedural, so i can use this on different shapes in the future. For now my focus is on creating the shapes, not texturing. So far i found 2 guides that might help for an approach: 1. 2. Guide 1 is a great approach, but the branches are too small and look like veins. Also the human shape is "too visible". I am looking to create a more natural tree look with really thick, wild growing branches. More like a tree that naturally grew into the shape of a human by chance. Guide 2 looks like a great way to approach the tree bark displacement, but there are only rock shapes shown and i sadly cant find a guide for a more organic, wood-like look. My guess would be to find a way to combine both of these methods, but sadly my experience in Houdini is too small to find a solution by myself. I'm looking to create pretty much this exact type of tree shape: I found this image under the keywords "foxtail pine tree", after searching for twisted branches. I hope someone can give me some tips to find a solution to realize my vision for this project. I am highly convinced there is a possibility. Really looking forward to what you guys have to say!
-
http://www.patreon.com/posts/31506335 Carves out polygons using a point attribute with the ability to define the carve values per primitive using primitive attributes. Pure VEX implementation, 10x faster than the default Carve SOP (compiled). It preserves all available attributes. It supports both open and closed polygons.
- 16 replies
-
- 3
-
-
- procedural
- fx
- (and 9 more)
-
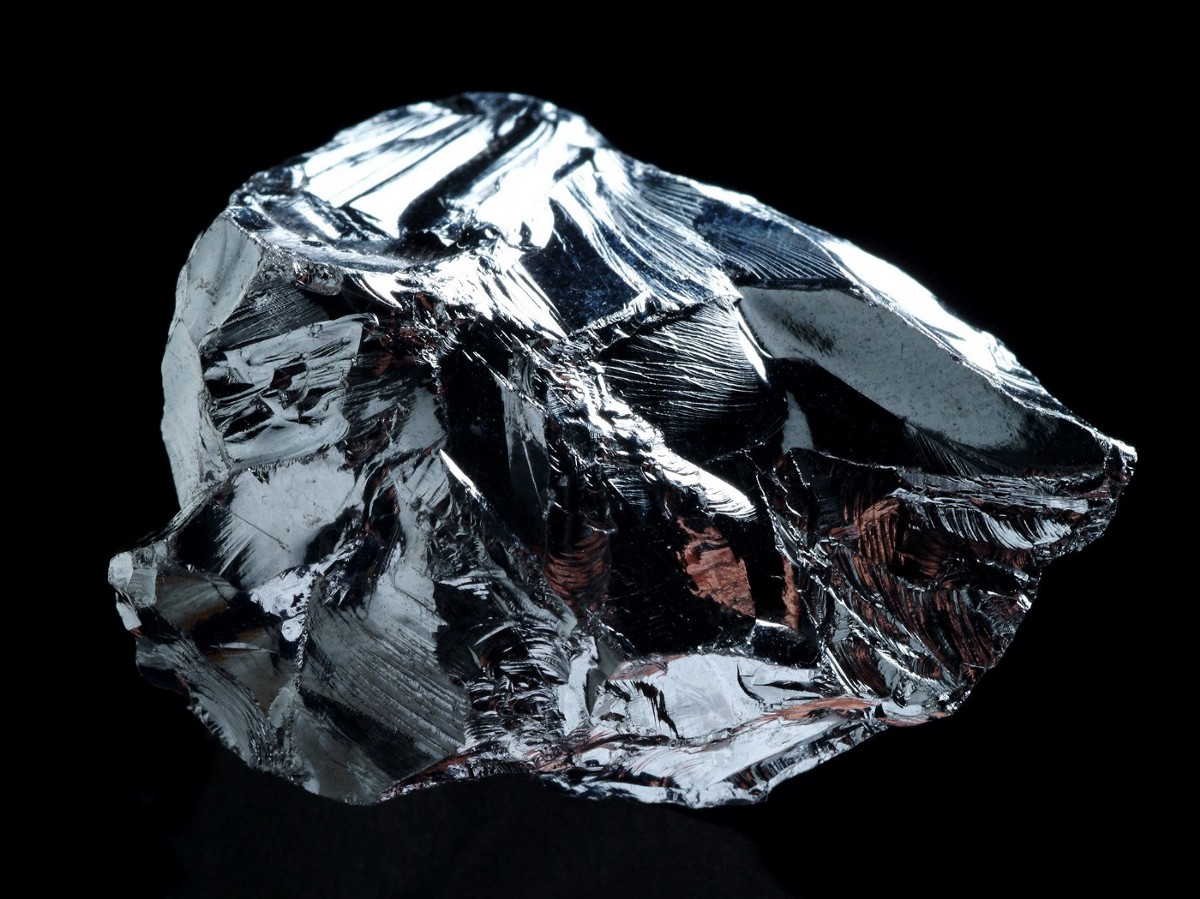
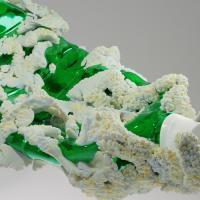
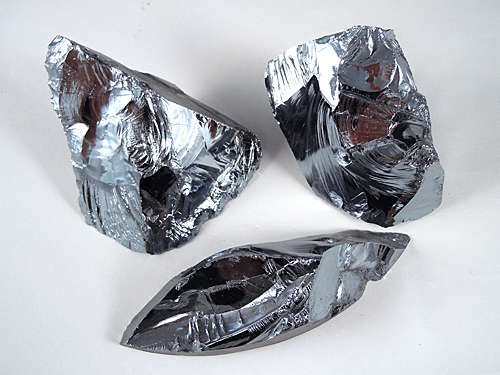
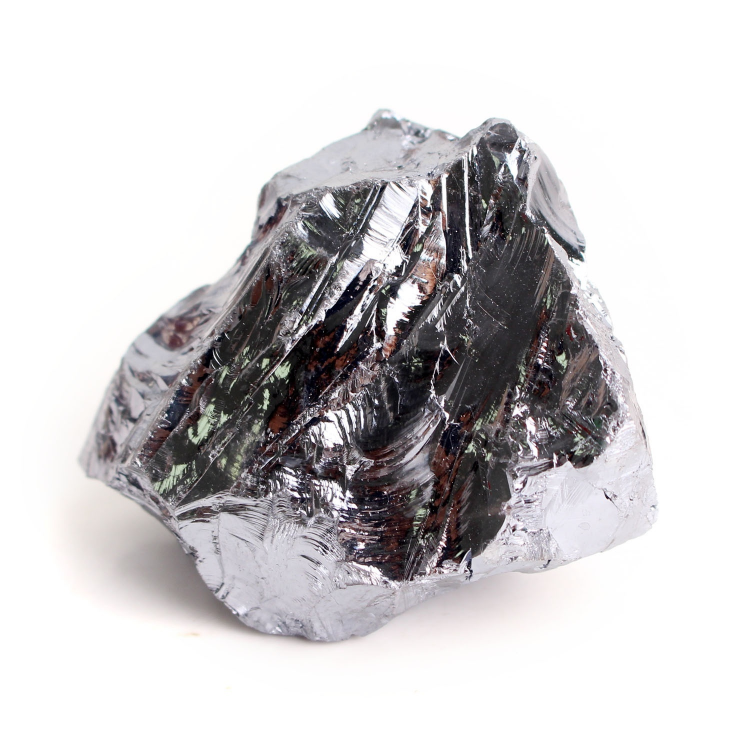
Hey everyone, I'm a generalist newcomer, I've been lurking for some time around Houdini and lately found some time to get into it. I decided to start my learning with a classic, procedural rock generation, I've been following some nice tutorials with good results (youtube.com/watch?v=2oC9TOgQ3KE youtube.com/watch?v=-IcOKBNNfyo&list=PLNbgmFvU__fiEIv-g12l5KDiW1YAH9MRt&index=2) So I decided to do my own version of it and I wanted to recreate this kind of silicon mineral, because I find the form of the surface (and material) really fascinating. Now, I think the general setup from the turorials I followed gets me in the right direction for the shape of the rock, I can get the sharp edges and all. What I am struggling with are the smaller details, the tiny grooves that follow the direction of a face, the diversity in the surfaces the fact that some faces stay smooth while others are sharp and jagged. The tutorials I followed use vop noise layers (both vdb and geometry version) to generate details in the form, but I cannot seem to find a good combination of noises to get close to tis shape. I am even wondering if the vop approach is at fault here, and maybe I need to try something else for something like this. But I don't know what exactly. So I wanted to ask fro help and advice from the more experienced users, let me know if you have some ideas or knowledge you can share on this problem!

-
Hi, I was wondering if anyone knew of an approach to procedurally have a pen write up effect like the attached video? Few thoughts on the experiments I did - Tracing a font or an AI file results in text outlines and ideally it would need to generate a single curve possibly in the center of each Alphabet to even start with the effect, not sure how to go about that. Thanks! Pen Write up.mp4
-
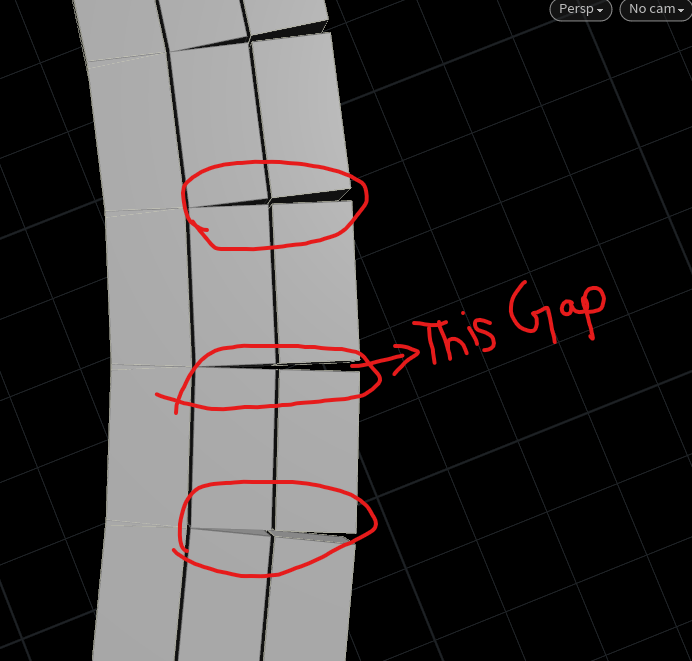
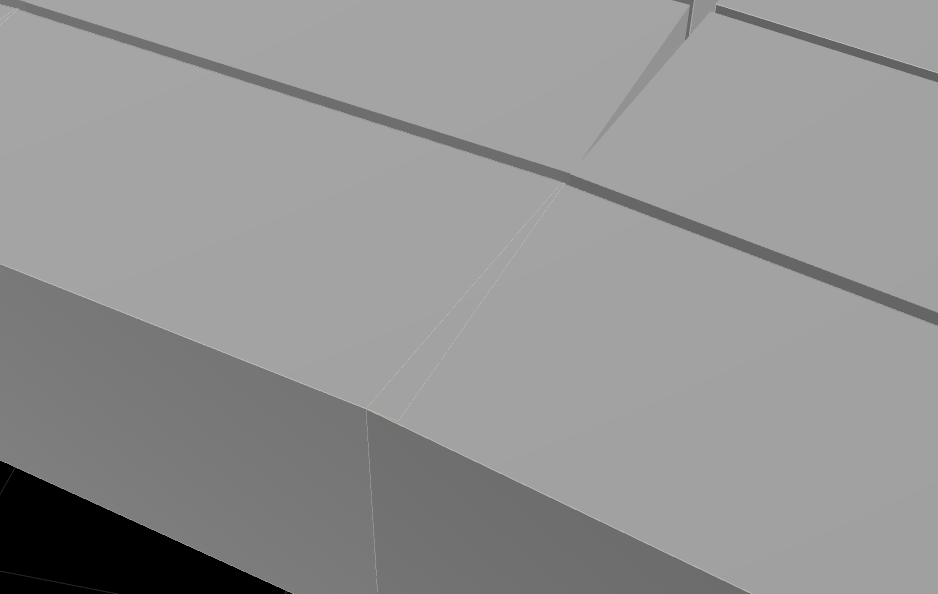
hello all, iam just dong a wall tool but i found that if my line is in curve shape i might get some gaps in-between the bricks. is there any way to fix these thing and i also found that some of the bricks are intersecting with each other. it will be a issue while doing RBD. is there any way to fix these things
-
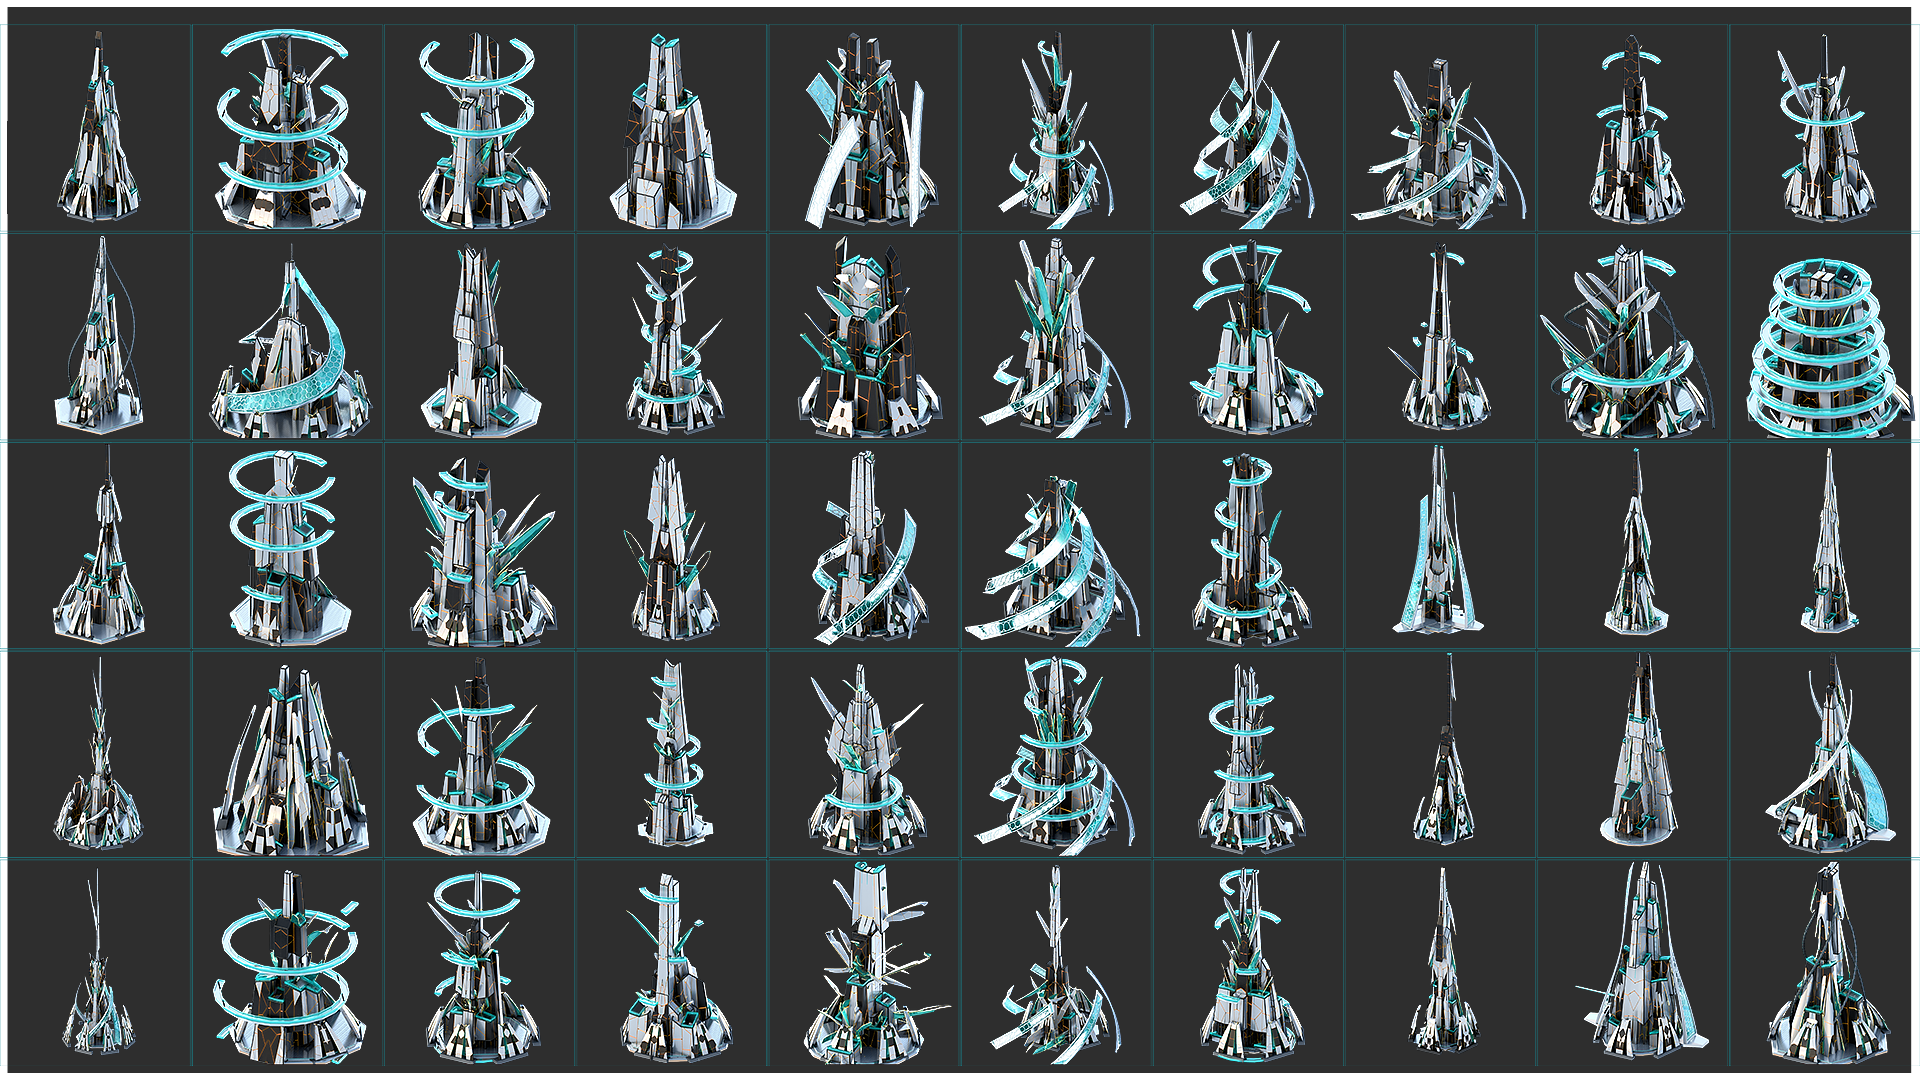
 Hi guys, I'd like to share my latest personal r&d project of creating procedural assets. Still work in progress. Cheers, Shawn
- 1 reply
-
- 10
-
-

-
- procedural
- assets
- (and 4 more)
-
 Hi everyone, On Friday April 22nd Breda University of Applied Sciences will organize another edition of the Everything Procedural Conference. We have speakers confirmed from leading AAA game studios, including Epic Games, Playground Games, Remedy Games and Embark Studios to name a few. You can join the conference at our beautiful campus in Breda or join the event online from the comfort of your home or office. More details and tickets here: everythingprocedural.com CONFERENCE How proceduralism helps create Forza Horizon 5’s version of Mexico Speaker: Andrea Riccardi & Ole Greonbaek - Playground Games Building a City in the Matrix Awakens Experience Speaker: Rober Osborne - Epic Games Create and Fracture - Remedy's CONTROL: Foundation DLC Speaker: Johannes Richter - Remedy Games Generating Procedural Inventory Speaker: Mark R. Johnson Worldbuilding Pipeline at Twirlbound Speaker: Ilia Tonev - Twirlbound Procedural Music Generation in Robo Maestro! Speaker: Joost van Dongen Automated Physically-Based Animation Through Reinforcement Learning Speaker: Riley Miladi - Embark Studios Procedural Techniques in Solar Ash Speaker: Len White - Heart Machine MASTERCLASS SideFX Houdini and Unreal Engine 5 Speaker: Simon Verstraete - SideFX STUDENT SHOWCASE MusicXML workflow for Houdini Speaker: Marn Schokker - Breda University of Applied Sciences Houdini Slime Simulation in Unreal Engine Speaker: Jack Glavimans - Breda University of Applied Sciences Improving Procedural Workflows in Unreal Engine Speaker: Michael van den Berg - Breda University of Applied Sciences
 -
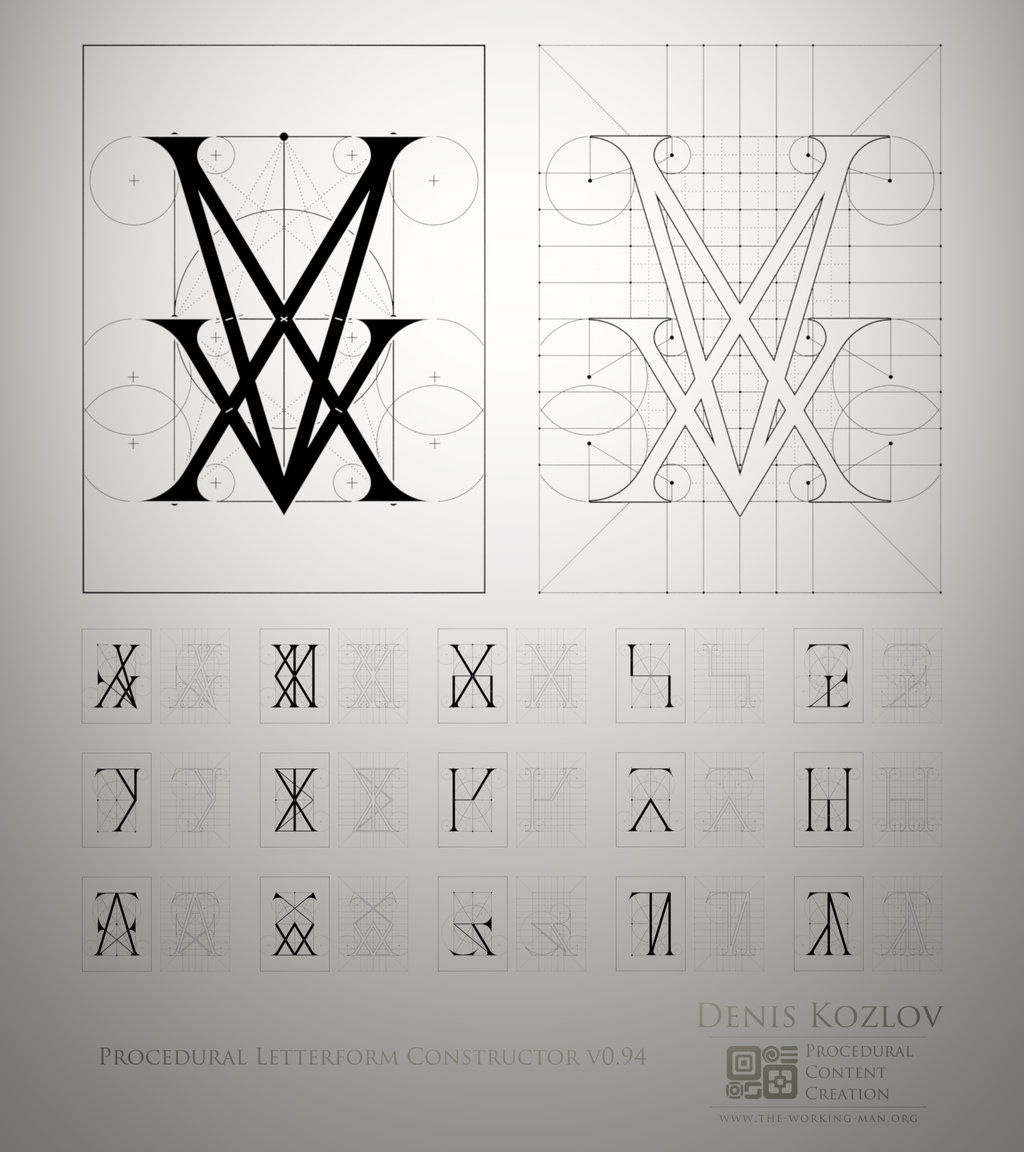
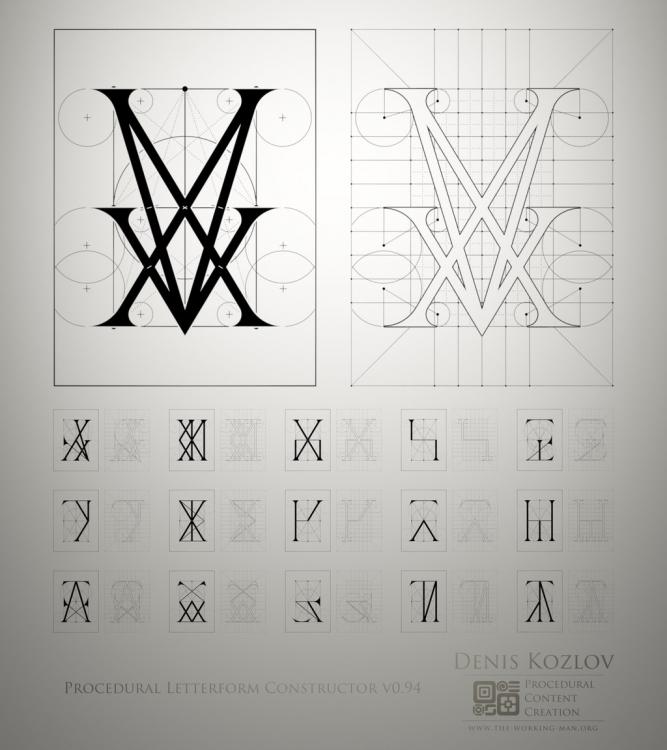
Best approach in Houdini ? just wondering some really nice Art from Denis Kozlov .
-
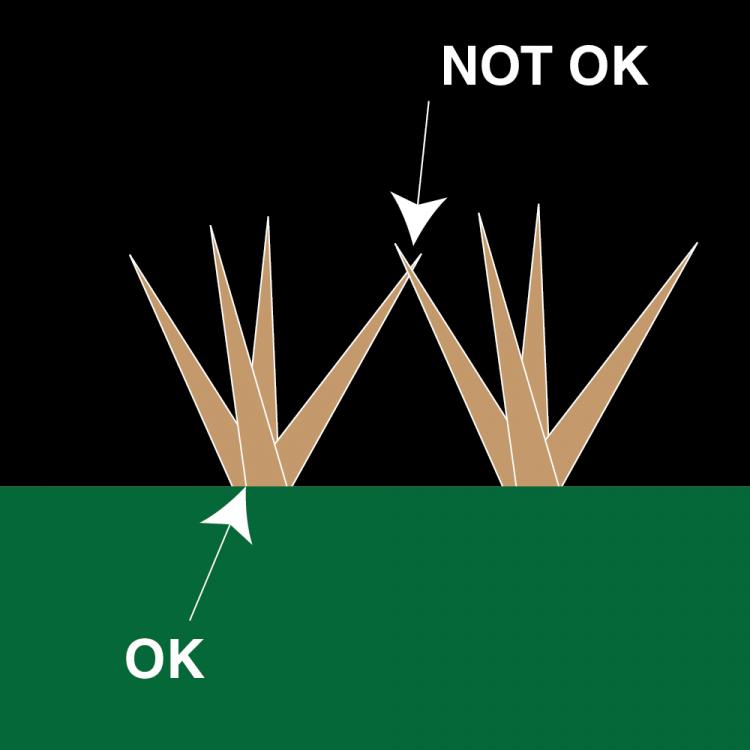
Hi, I am not sure how to explain this well, so apologies in advance. I have this basic cactus generator, there are clusters of thorns, at their base the thorns intersect with each other, which I currently don't mind, because I will solve or hide that later.. However I don't want the tips of the thorns to intersect with the tips of thorns from other clusters, as this is easily observed. Is there a way to place each thorn or cluster of thorns after the other and check if there are any intersections, after a new cluster has been placed and if yes rotate and maybe scale the intersecting thorn(s) until there are no more intersection? Like that cycle through all the clusters? I know my scene might not be set up well to do that.. Would that be expensive to calculate and/or difficult to implement? I attached the hip file, and an illustration to clarify what I mean: base_cactus.hiplc
-
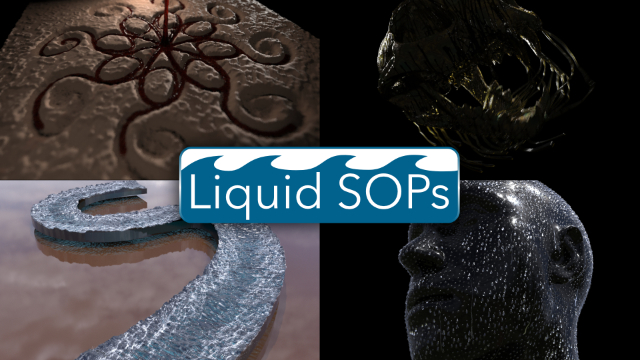
Liquid SOPs is a new class focusing on building art directable liquid FX without actually using any simulation solvers. The goal is to generate the look and movement of liquid, but without the overhead and complexity of actual simulation calculations. So this means no flip particle simulations, no volume advection, not even vellum will be used in this class. Just good old fashioned ingenuity, procedural animation, noises, curves, VOPs, and of course some VEX to make it all work together. This class should get you to think about the mechanics of liquids, which will allow you think differently in breaking down that information into simpler ways that can be built with just geometry. Enroll today: https://www.houdini.school/courses/hs-224-liquid-sops Teaser: https://vimeo.com/678063221
-
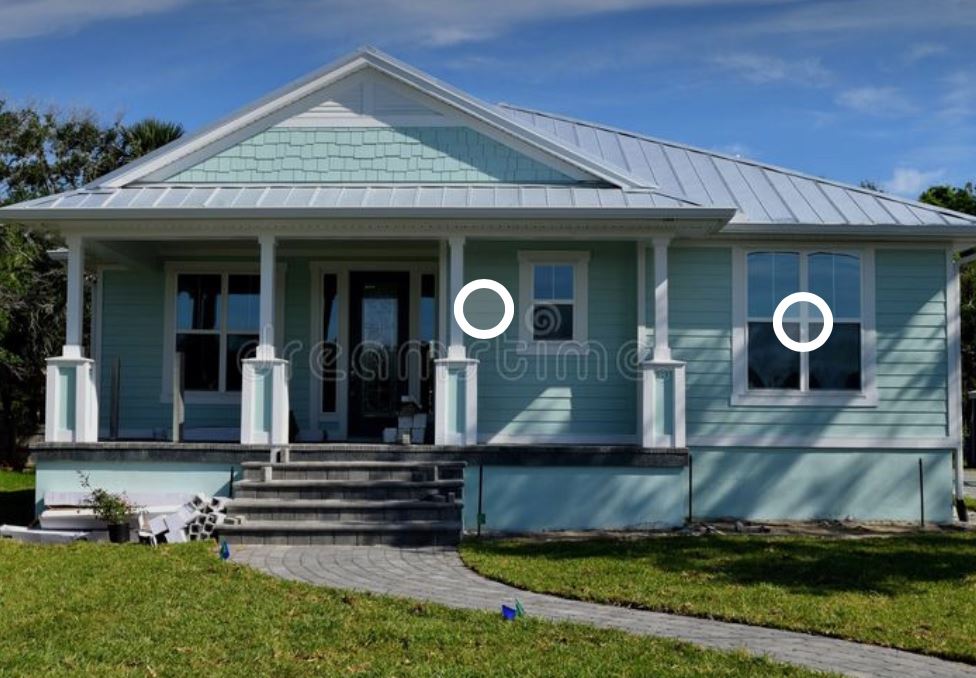
Hi All, I'm looking for some advice on something I’m struggling with. I have been looking into procedural building creation, and I’ve seen two approaches; make a procedural building which can then be scattered, or use Lab Tools Building Gen - with OSM data, and use a kit-of-parts solution. I’ve done some proof-of-concept tests with both options, but they both have limitations. The first option gives you random variations - albeit in a limited way, because the variation isn’t completely controlled. The second option - with Labs and OSM, definitely gives you more control over what you’re creating, and enables the layout of actual locations. The problem is I want to make a residential neighborhood with a specific style of house, these are all either 1, or 2 story homes - please see example attached. So far, the biggest issue is I can't find any explanation of how would handle the sloped roof procedurally. The Labs/OSM solution is great for cities, where buildings mostly have a flat roof - this works really well. I need to create variations of a certain type of home where some have bay windows, some have a porch on the ground floor - some all across the front, some only half-way across. I can add specific variation to individual buildings using either hand-placed overrides, or volume overrides. But it's the roofs which vary based on the footprint of the house that I cannot fathom - so different for each house, and I need it to be procedural. Does anyone out there have any suggestions on how I might best approach this, as I’m hitting a dead-end currently? Thanks in advance!
-
Hi, I have been making procedural Lake House, after watching tutorial of Anastasia Opara, But the shape of my house is a bit different, I am facing lots of problems, I cannot find closed balcony of my house,the code finds others primitives, Please , help, here my hip file VEX22.hipnc , I think that the code of Anastasia finds only one primitive but my house has a balcony that consists of two primitives , Please share your experience
-
Hello, I made this effect in Blender and wondered how would I recreate it in houdini, it's so that I can control how many segments I need without manually adjusting each one to avoid clipping. test1.mp4
-
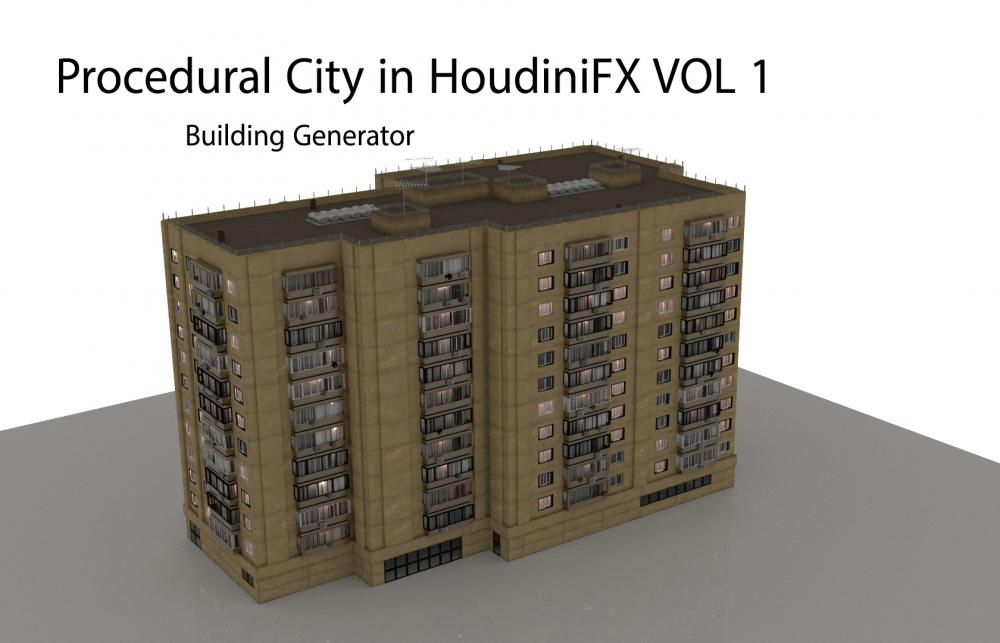
Hello and Welcome to HossamFX.org : Description : Hello everyone. and welcome to this course procedural City Vol 1 building generator . One year ago I received an email from one of my customers. He asked me To record a tutorial about procedural City in HoudiniFX and I did it In this course you will see with me how I can convert those boxes to this nice building Just buy one click. step-by-step I will start with you on this journey to see how we can create a smart system in Houdini FX. This system can decide where to add a window, where to add a balcony , how to create procedural UV, and How to use the imported materials from Quixel megascans , manipulate and modify it. Using this tool you can generate an infinite number of buildings. I will use those buildings in vol 2 to create a beautiful city. I will show you how to create every tiny detail you see in this building from scratch !!! I will stay away from complexity and the use of code . In addition to procedural modeling skills, this course will give you a broad idea of creating procedural UV’s and manipulating textures . Creating a PDG network is on our list in this course and the final render will be explored in Mantra & RedShift. Now I'll let you watch this presentation of the final result of testing this system to randomly generate 50 different buildings !!! Notice : Watermarked Tutorial, link to download will be sent AFTER 72 hours as maximum thank you !!! Course Link : https://www.hossamfx.org/procedural-building-generator Kind Regards !!! Hossam Aldin Alaliwi www.hossamfx.org
-
Free video tutorial can be watched at any of these websites: Fendra Fx Vimeo Side Fx Project file can be purchased at Gumroad here: https://gumroad.com/davidtorno?sort=newest
-
Made this a while ago, finally got around to uploading it to gumroad. https://gum.co/ofsD
- 17 replies
-
- 5
-
-
-
- procedural
- lightning
- (and 1 more)
-
Free video tutorial can be watched at any of these websites: Fendra Fx Vimeo Side Fx Project file can be purchased at Gumroad here: https://gumroad.com/davidtorno?sort=newest
-
Free video tutorial can be watched at any of these websites: Fendra Fx Vimeo Side Fx Project file can be purchased at Gumroad here: https://gumroad.com/davidtorno?sort=newest